Sansun Arctic Power Supply
3. Installation
The installation of the Arctic PSU was easy and all we needed was a screwdriver and 10mins of our time. We started off by simply attaching the PSU on the PC case...
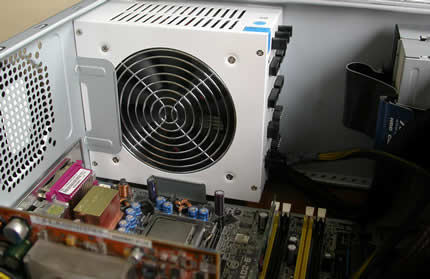
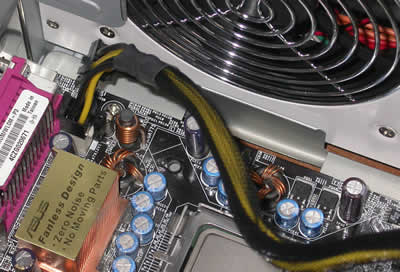
Next, we plug in the motherboard power supply cables, which includes two ATX 4 pin cables, to cover the needs of both 4 pin ATX and 8 pin EPS mobo owners...

The power supply cables are plugged in...
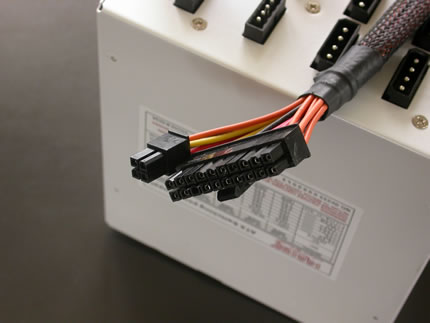
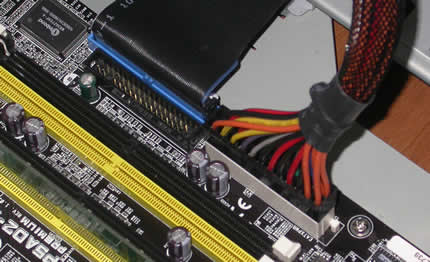
Moving on, we plug in the 20/24 pin connector to the motherboard. Once more, the Arctic offers a 20/24 pin solution. to cover the needs of both types of motherboards...
With the main power cables connected, we connect the rest of the power supply cables to the various devices like HD drives, optical drives and floppy.
The results can be seen in the screenshot below.
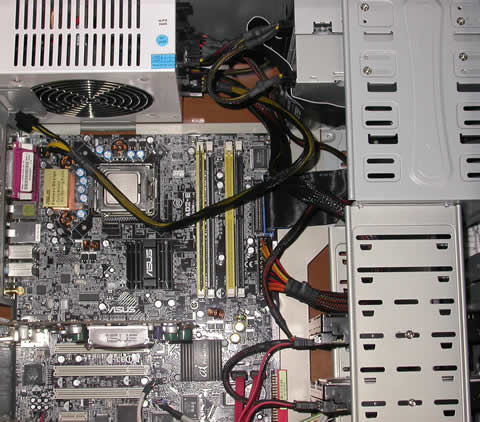
That concludes the installation of the Sansun Arctic Power Supply Unit. As already stated, installation was easy and practical, with all cables tucking away nicely which makes for a neater layout and easier access to all components, as well as improving airflow inside the case.
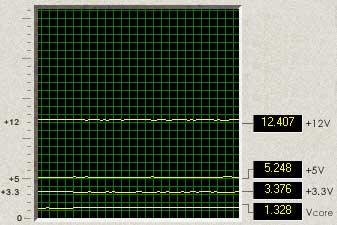
The above screenshot is from ASUS Probe. It was taken when our system was running 3DMark05 and shows that all supply rails are very steady.


