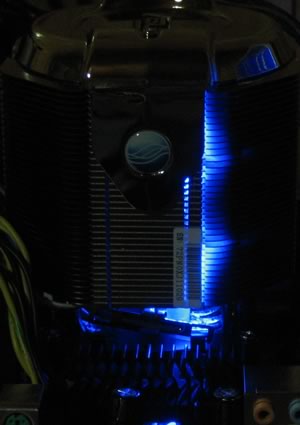
Asus Arctic Square
3. Installation
Time to move on to the installation. The first step is to get cross-like plastic mount and remove the white protective tape. The tape covers a sticky material that helps keep the mount in place while you assemble the rest of the cooler. As we found in our tests, if you remove the mount, most of the glue stays on the motherboard, so there's not much left for second use.
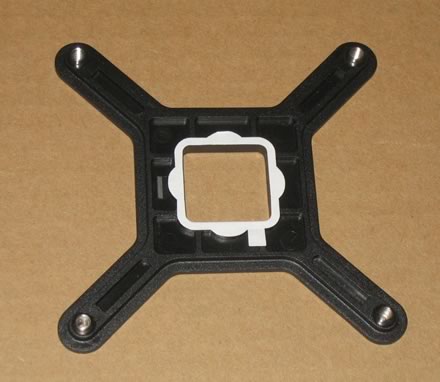
The plastic mount goes on the back of your motherboard. Just push it in place, it stays there thanks to the glue.
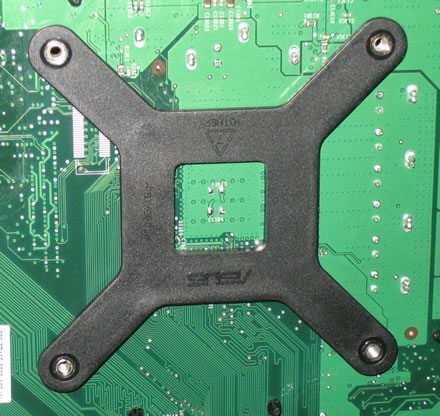
On the top side of the motherboard, we can see the four holes where the cooler will be screwed in...
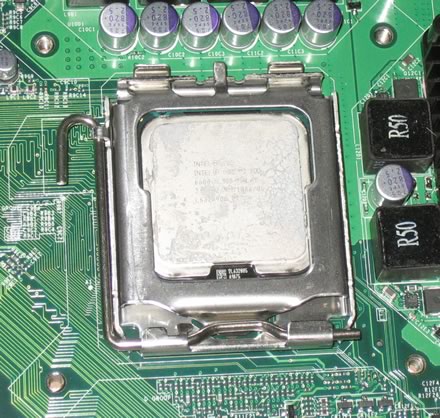
The next step is to mount at the metalic base, the four screws and the plastic caps so that you can screw and secure the base to the motherboard.
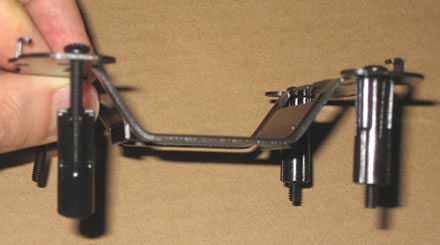
There are four "black" and four "silver" screws. At first, it wasn't very clear which screws should be used. I started off with the black, but after several attempts I realised that the silver were the right ones.
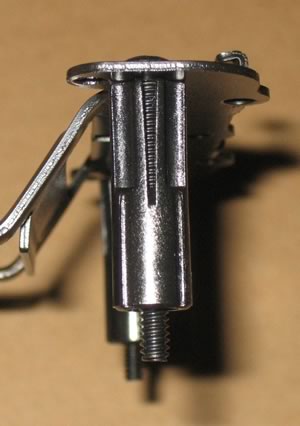
The next problem was which holes should be used for the screws. There are no numbers or markings on the holes, so after consulting the installation guide for some time, wading through the diagrams and checking against the mounting plate, I finally figured out which ones.
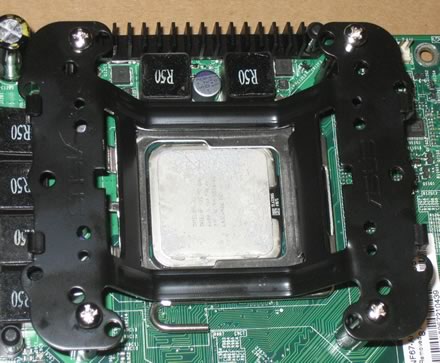
The screws tightened and the base is securely mounted.

Apply thermal paste to the copper base of the cooler and gently sit the big cooler gently on the CPU and mounting base. Nothing difficult here...
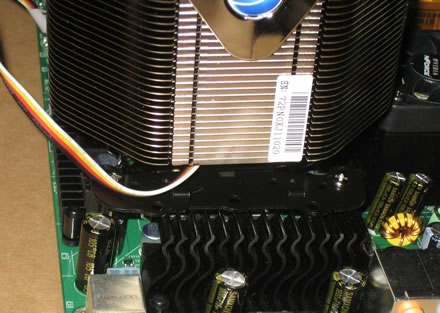
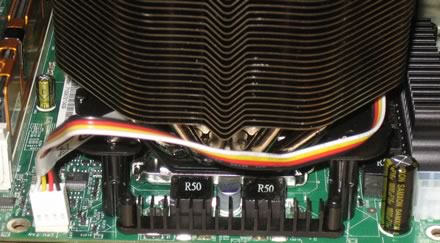
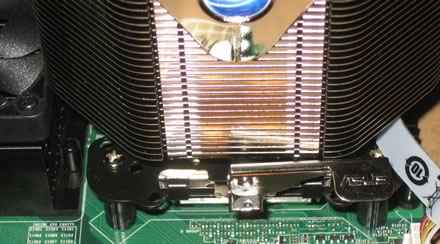
Then we have to clamp the cooler in place with the metalic plate, which helps hold and secure the cooler. Not the best or easiest task...
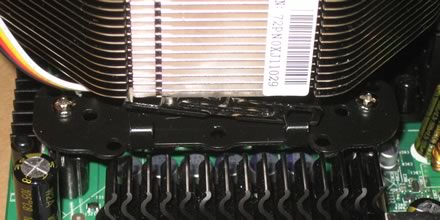
but after several attempts, we finally got it right.
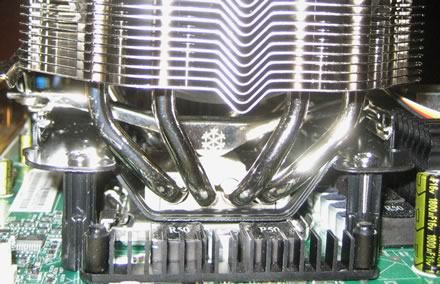
And the last step, push down the lever to clamp the cooler securely!
When the cooler is operational, a blue electric light is produced.
