Kingston MobileLite Wireless review
3. Using the Kingston MobileLite Wireless
You can connect the MobileLite Wireless to your computer, as long as you have installed the appropriate driver support for USB first. One you boot into the operating system, you should connect the MobileLite Wireless directly to your computer’s USB 2.0 port via the included micro USB type B to USB Type A cable. The MobileLite Wireless will enumerate as a standard USB Mass Storage Device. A data volume will appear in “Computer” if a memory card is inserted in the MobileLite Wireless.
As we previously said, the MobileLite Wireless supports the following file formats for either memory card or USB drive:
• FAT32
• NTFS
• exFAT
Ensure to always eject safely the memory cards or USB drives you use in the MobileLite Wireless. If they are not ejected correctly it may cause detection issues once inserted in the MobileLite Wireless.
Once plugged in your computer via USB, the MobileLite Wireless is behaving like a card reader with a memory card or a USB hub with a USB drive.
Of course, MobileLite Wireless has been designed to be accessed wirelessly from an Apple or and Android device, through the corresponding applications (Mobility Lite) available at the Apple's App store and the e Google App store, respectively.
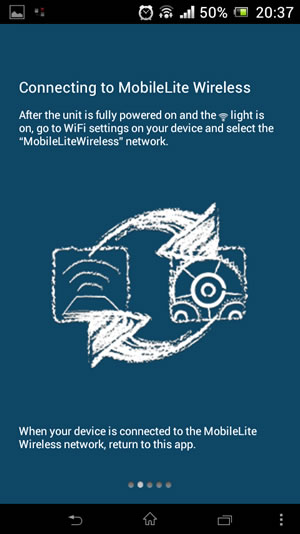
Before using the device, you'll have to charge it first. Full charging will take about 1.5hour, with the MobileLite Wireless plugged into a USB port or a separate wall charger. Once the power LED is off, the device is ready for use. To power on the device, press the power button for 3 secs. The Wifi led will light up and you are ready to go, once the MobileLite Wireless broadcast its default SSID / Network name, MobileLiteWireless.
Insert an SD or USB storage device and search for the new "MobileLiteWireless" network. The network is password-free so you can easily join it. Of course, it is advised to add a WPA2 security to the wireless network of your device.
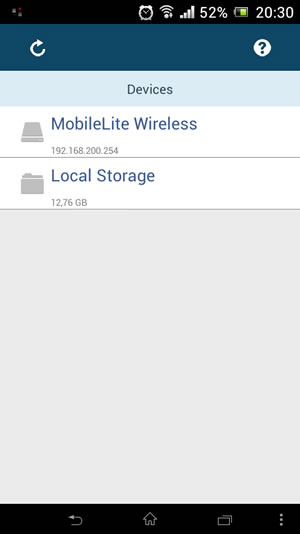
Through the 'Mobility Lite' application you can access the device and its contents contents from your smartphone or PC (http://192.168.200.254).
The first screen gives you an easy access to the connected devices - in our case the MobileLite Wireless device and the local SD card:
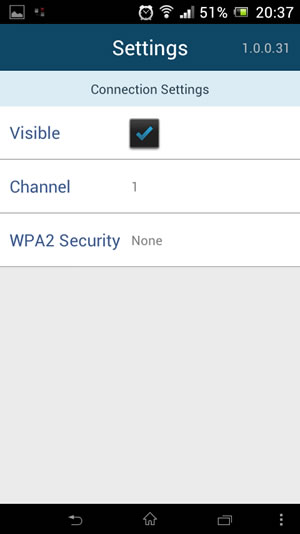
Under the settings you can find more information about the product and the battery status.

Under the connection settings you can change the WPA2 security for the device in order to keep unwanted visitors away.
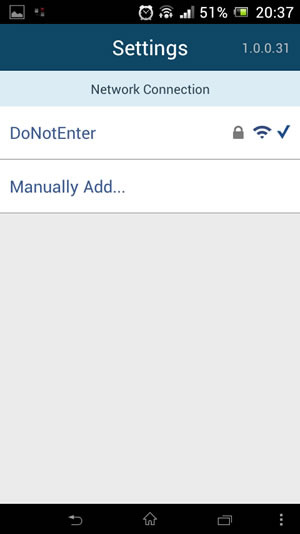
Finally, under the Network connection you can bridge an existing wireless internet connection so your device (tablet, smartphone) will be able to access the contents of any inserted medium (SD/USB) while remaining connected to the Internet:
There is also a build-in help menu to help you understand the main functions of the device.

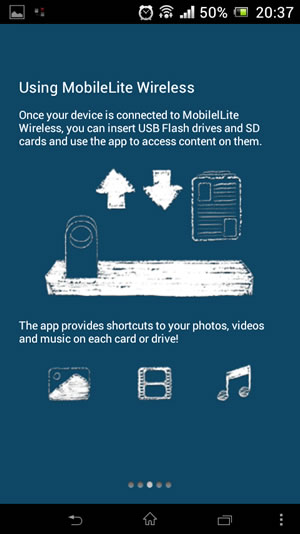

Let's start using the device. After selecting the 'MobileLite Wireless' device, you can see the available connected devices, either an SD or a USB drive:

Select any of these devices and the stored files will appear. There are several options available for each folder or file; depending the file type you can Facebook/Tweet/Email or just Move/Copy/Delete or rename them.
Individual files up to 10MB can be emailed using the built-in email application directly from your MobileLite Wireless. Files can either be located on the Local storage space or the MobileLite storage space.
In order to share pictures directly on your Facebook or Twitter accounts, you need to have the Twitter and Facebook applications installed on your device.

A picture preview is available by clicking on an image file:

The Move/Copy/Delete functions are available for folders:

You can also apply filter to your file types - pictures, movies and music:


Thanks to the Kingston MobileLite application you can transfer your pictures from your Apple device Camera Roll the MobileLite Wireless. You can also export pictures from your MobileLite Wireless (on a memory card or a USB drive) to the Camera Roll of your Apple device.
Once you’ve entered the edit mode and clicked on the sub menu button anywhere in the MobileLite storage space, you will see an “Import from Camera Roll” button. You will then be able to browse your Camera Roll and select a picture to import.
Documents can be opened in a separate application installed on the Apple device by using the "Open In" feature. This enables support for file formats which are not natively supported by the iOS or simply an alternative application for viewing files. The application(s) available in the “Open In” feature depends on what applications are installed on the Apple device. Note that “Open In” function is only supported for document file types, and not for pictures, audio or video files.
You can also synchronize files directly to the Local storage space on the Kingston MobileLite application from iTunes.