Spire DiamondCool
2. Installation
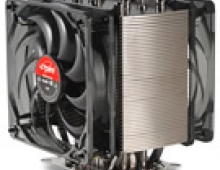
As with most non stock coolers we have tried, the Spire SP507B7-U DiamondCool did not present us with any problems during installation, apart from the back plate installation which was not really a problem per se, but just took a bit more time than with other fans we've installed. The test system which we used for this specific review is as follows and in fact uses the reviewed processor released just a few days ago by CDRinfo (more info about the processor review can be found here).
 |
| the CPU specs... |
 |
| and some info about the mobo used... |
First thing's first. We must clean the CPU of any previous thermal compound before applying the new. After we're done cleaning the old thermal paste, we place on the CPU, the new thermal paste which comes included in the retail package from Spire.
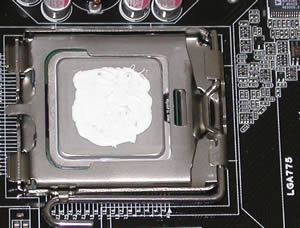 |
we put some paste in the center of the CPU and spread it around evenly.... |
Afterwards, we installed the back plate onto the motherboard which is an easy enough task. When finished, it should look like this...
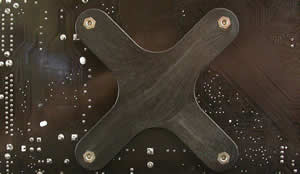 |
| the back plate is an X shape.. |
And now for the easiest part of the installation, mounting the heatsink onto the CPU. No troubles there, as we do not have to mess around with brackets or any other types of fastening clips. Just screw the heatsink onto the backplate and move on...
 |
| not a lot left to do now but to place the fan onto the CPU... |
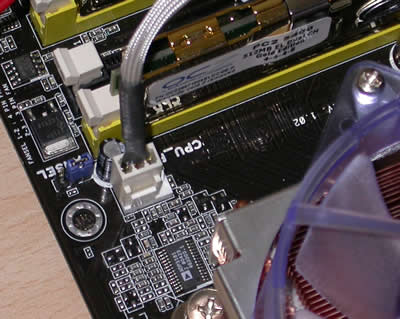
The power cable is the last step before turning the whole system on to start testing its cooling potential.
 |
| Fit the levered clip and then push down and leaver back so it clips over protruding ear on the opposite side of the supporter. |
As we've seen, the installation is very easy and should cause no problems. Now we are ready to put the cooler through its paces to find out just how good it is.


