Thermaltake Wing RS301 PC case
2. Package, first look
Review Pages
2. Package, first look
3. Installing the PC components
4. Final thoughts
The Thermaltake Wing RS301 case retails online at t ~€65, which is a good price for an entry level mid-tower PC case.
The device comes in a large black box:

The WingRS 301 case is well packaged and two fairly compact Styrofoam spacers hold it in place. The package contents are limited to a mainboard speaker, a mixed bag of screws and a single expansion slot cover.
The box has black color, something that add points to its luxurius look and also fits to most modern interiors. The most obvious external feature is the big reinforced top handle that can be used to move the case as a carry-on baggage:


Don't expect to see any novelty in the design of the case. This does not mean that it lacks convenience and ergonomics. On the front there are four 5.25" bays, two USB ports and the Audio in/out jacks. The front panel is made out of plastic and the bays out of steel. The whole structure feels very sturdy:


Rubber tabs on the bottom side are available to keep the case stable and absorb any vibrations:

The back-lit power button has a good response and a robust feel. Right below it you can see the reset button and the HDD access LED (red):

Two ventilation slots are placed on the right side of the case. These could be useful if you need to install extra cooling fans inside the box:

Opening the case is very easy due to thumb size screws:

The Thermaltake Wing RS301 internal unveils lot of empty space:


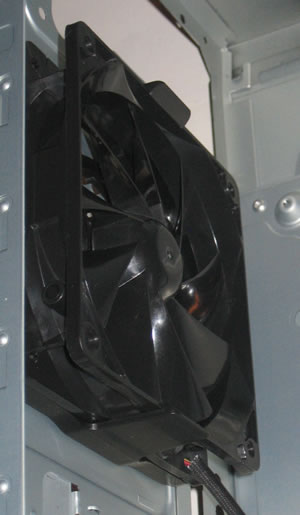
A120mm fan has been pre installed by Thermaltake:
You don't have to use and tools to install your HDD or ODD drives at the 5.25" and 3.5" bays, due to their convenient design:

The case looks typical from the rear side:

The expansion slots are covered with a a back plate they are fastened on the case with screws. Keep in mind that these covers currently in place are of the breakout kind, which means that they cannot be reused once removed from their current position:

Review Pages
2. Package, first look
3. Installing the PC components
4. Final thoughts


