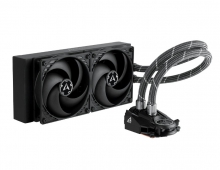
Arctic Cooling Freezer 7
2. Installation
The Arctic Cooling Freezer 7 CPU Heat Sink was extremely easy to install, and the whole procedure took only a few minutes to complete, with the CPU heatsink itself requiring only a few seconds to install.
Let's have a look at the steps that are required to install the F7 heatsink.
First step obviously is to remove the previous, stock box cooler.
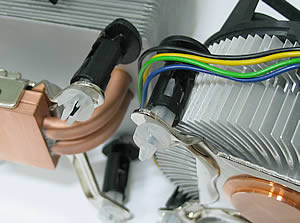 |
| as one can see, the mounting clips are the same... |
Then we clean the CPU surface of any Thermal Compound that was left over from the original box cooler. After cleaning the surface, we should have a nice clean CPU that looks something like this...
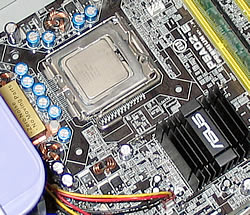 |
| be sure to clean any remaining compound, failing to may prove hazardous... |
Now we need to apply a new layer of thermal compound onto the CPU's surface. In this case, we used the paste which comes with the F7 in the retail package, the ARCTIC MX-1. Note here that this compound hardens during the first 200h as Arctic Cooling claims, while performance improves steadily. Apply the MX-1 compound evenly all over the CPU's surface, and it should look something like this...
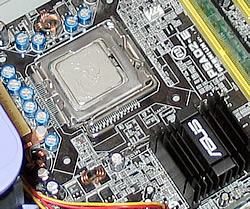 |
| a thin layer must be applied, and make sure no air bubbles are trapped beneath the compound... |
Now, install the F7 heatsink onto the CPU, the easiest part of the installation I might add. Line up the F7 with the CPU and orient it so that the fan will blow the hot air towards the rear of the case (as is should with ATX cases) or to the front, depending on the airflow of the case fans. Before clamping the fan into position, move in small circular motion so that the thermal compound spreads evenly and any air bubbles are expelled.
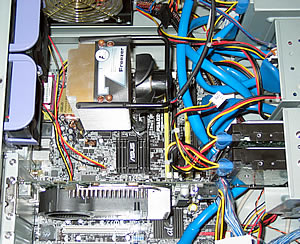 |
| In our case the case fans blow the air in... |
Now we can secure the Arctic Cooling Freezer 7 heatsink to the CPU.
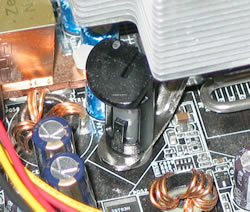 |
| We put the cooler on the CPU and connect the clips onto the retention module ... |
And finally, we plug in the fan power cable to the appropriate supply clip on the motherboard as shown in the picture below...
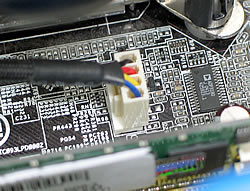 |
| all one needs to do now is just press the power button... |
We are now ready to go. Installation completed successfully.


