Asus Rampage Extreme
3. BIOS
Review Pages
2. Unpackaging
3. BIOS
4. Benchmarks - Everest Ultimate Edition, SiSoftware Sandra
5. Benchmarks - PCMark Vantage, SYSmark 2007 Preview
6. Benchmarks - MAXON CINEBENCH, x264 HD Benchmark, TMPGEnc 4 Xpress
7. Benchmarks - SuperPI, wPrime
8. Benchmarks - 3DMark 06, Crysis v1.2, Unreal Tournament 3 Demo
9. Overclocking
10. Final words
Most of our tests were performed with 0501 (latest stable) BIOS installed, while there is already a newer 0601 BIOS that should provide even higher stability as most users tend to agree...
The first tab of the BIOS Window should be familiar to all those who have been using any Asus motherboard.The "Extreme Tweaker" tab includes the basic functions for overclocking
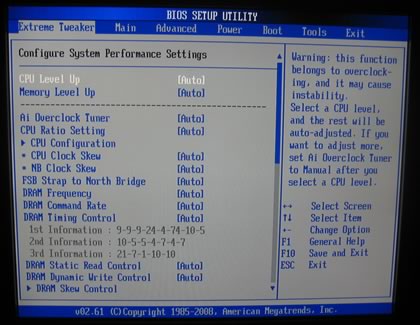
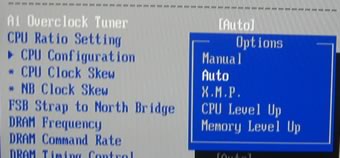
The motherboard includes an auto overclocking system, called Ai Overclock Tuner. Five options are available:
- Manual: Allows you to individually set overclocking parameters.
- Auto: Loads the standard settings for the system.
- X.M.P.: Loads the optimal settings for the system.
- CPU Level Up: Allows you to select a CPU level, and the related parameters will be adjusted automatically.
- Memory Level Up: Allows you to select a memory level, and the related
The CPU Level Up and Memory Level Up options allows us push our CPU ( Intel Q9300) to performance levels "equal" to an Intel QX9770:
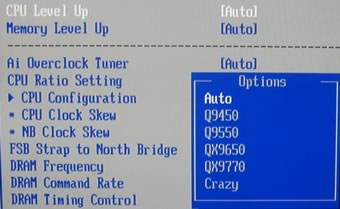
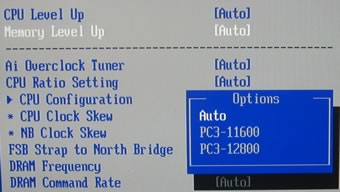
We used the manual settings for all hardware tests. The FSB Strap to North Bridge can be set to up to 400MHz. Most users will leave this option to "Auto". There are many memory dividers to play with (1,1:2, etc.). The memory dividers are affected from the selected FSB, so in order to have the fastest possible settings, leave the FSB to "Auto". We can see that the BIOS reads the memory timings and displays them.

When you leave Ai Overclock Tuner to "Auto", three "Extra" FSB:DRAM settings are available: DDR3-1600, DDR3-1800 and even DDR3-2000MHz. These settings are not available when you perform manual overclock.
There are also tons of different voltage controls that can improve the overall stability of the system:

Here is a list with all the available voltages and frequencies:
- CPU Voltage: 1.10000V~2.40000V with a 0.00625V interval
- CPU PLL Voltage: 1.50V~3.00V with a 0.013V interval
- FSB Termination: 1.10V~2.00V with a 0.013V interval
- CPU GTLVref: [Auto] [0.63x] [0.61x] [0.59x] [0.57x]
- NB GTLVref: [Auto] [0.67x] [0.63x] [0.60x] [0.57x] [0.56x] [0.53x] [0.51x] [0.49x]
- North Bridge Voltage: 1.25V~2.05V with a 0.013V interval
- DRAM Voltage: 1.50V~3.40V with a 0.013V interval
- NB DDRVref: [Auto] [DDR3_REF-30mV] [DDR3_REF-20mV]
[DDR3_REF-10mV] [DDR3_REF+10mV] [DDR3_REF+20mV]
[DDR3_REF+30mV] - South Bridge 1.5 Voltage: 1.50V~2.05V with a 0.013V interval
- South Bridge 1.05 Voltage: 1.05V to 2.00V with a 0.013V interval
Passing to the "Advanced" tab, we can find more settings for SpeedStep, C1E support and of course the CPU multiplier:
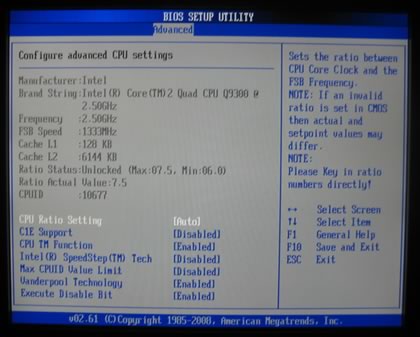
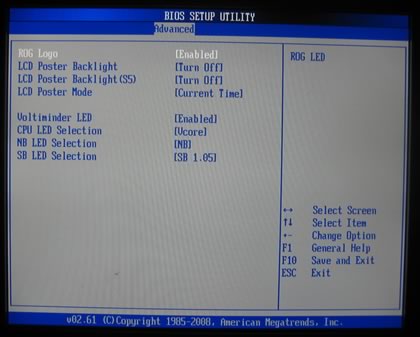
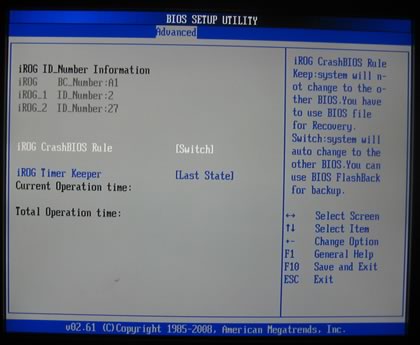
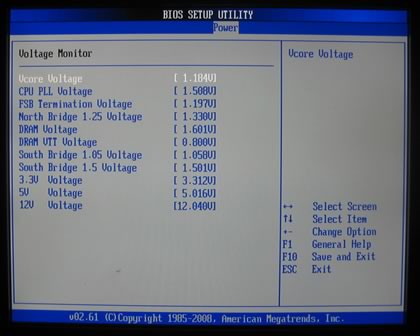
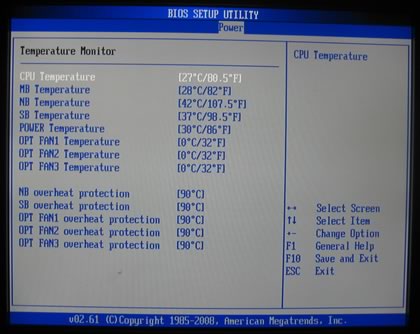
Under the Power tab, there are the usual temperature/voltage readings
- Test Configuration
Let's see now how our CPU was identified under CPU-Z:


Review Pages
2. Unpackaging
3. BIOS
4. Benchmarks - Everest Ultimate Edition, SiSoftware Sandra
5. Benchmarks - PCMark Vantage, SYSmark 2007 Preview
6. Benchmarks - MAXON CINEBENCH, x264 HD Benchmark, TMPGEnc 4 Xpress
7. Benchmarks - SuperPI, wPrime
8. Benchmarks - 3DMark 06, Crysis v1.2, Unreal Tournament 3 Demo
9. Overclocking
10. Final words


