Breaking News

Viltrox Launches AF 75mm F1.8 EVO and AF 90mm F2.2 Lenses COLORFUL Unveils New iGame M15 and M16 Origo Gaming Laptops at COMPUTEX 2026 GIGABYTE Showcases Sleek STEALTH and Elegant WOOD PC Builds at COMPUTEX 2026 GIGABYTE Showcases Industry-leading CQDIMM Performance and Ecosystem Expansion at COMPUTEX 2026 G.SKILL Demos Trident Z5 NeoX RGB Series DDR5 with AMD EXPOT Technology

logo

  • Share Us
    • Facebook
    • Twitter
  • Home
  • Home
  • News
  • Reviews
  • Essays
  • Forum
  • Legacy
  • About
    • Submit News

    • Contact Us
    • Privacy

    • Promotion
    • Advertise

    • RSS Feed
    • Site Map

Search form

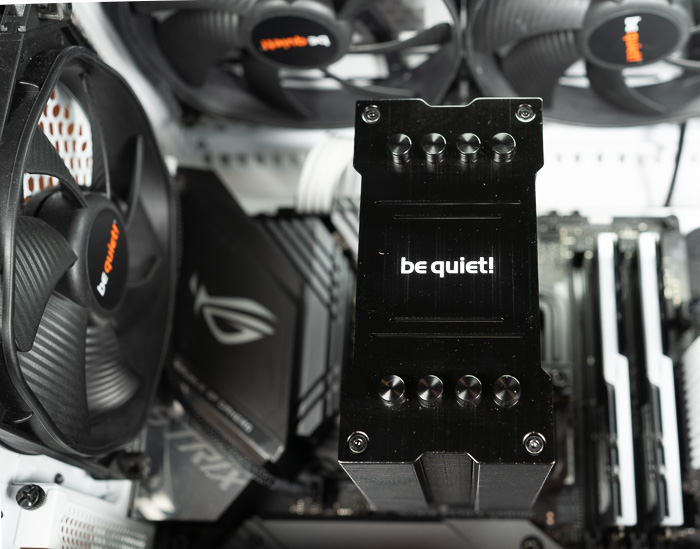
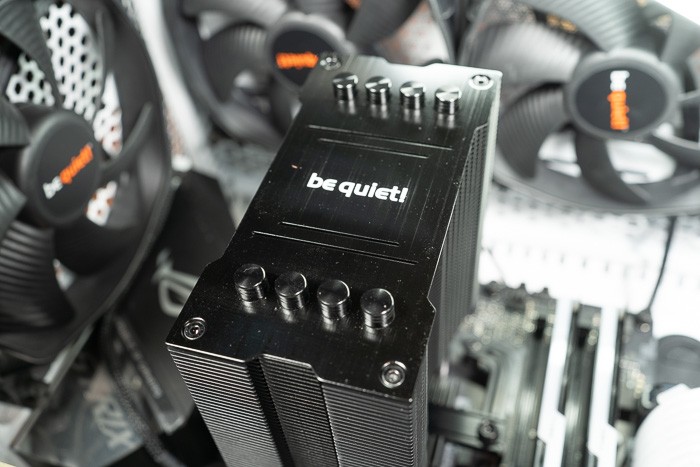
be quiet! Pure Rock 2 FX

Aug 1,2022 0

3. Installation process


Review Pages

1. Introduction
2. Retail Package
3. Installation process
4. Performance
5. Conclusion


Installing the CPU cooler requires several steps. For our tests we used an AMD4 CPU (AMD Ryzen 5600X), so we had either view the online video from be quiet! or simply read the included manual some basic steps are mentioned below:

1. To permit mounting of the cooler please remove both the plastic retainers of the AMD retention module. The factory fitted backplate affixed to the rear side of the motherboard will be needed for subsequent installation of the cooler.

2. Place the 4x AMD spacer nuts onto the backplate bolts protruding through the front side and affix both short AMD mounting brackets with the AMD backplate screws.

3. First remove the protective foil from the underside of the cooler. Spread the thermal paste on the surface of the CPU. The amount supplied is sufficient for one or two applications.

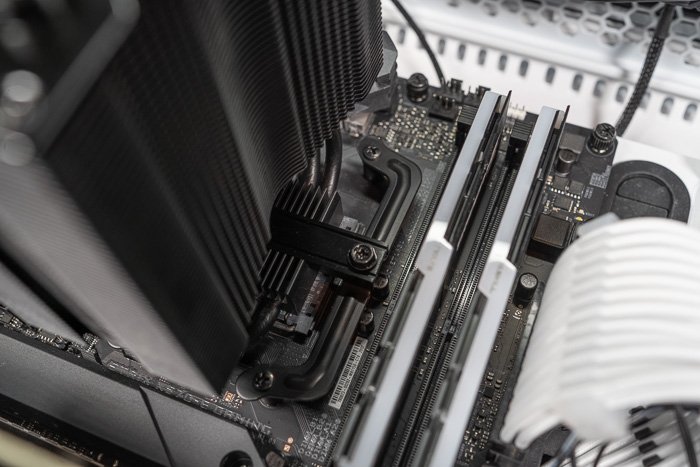
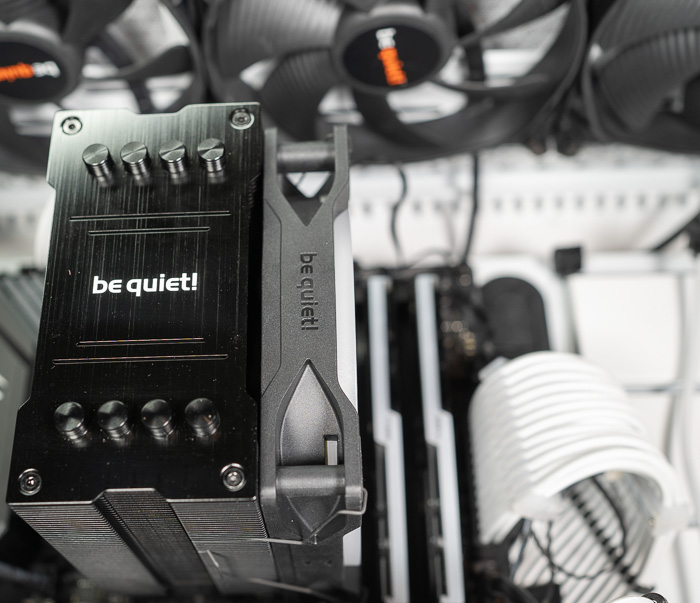
4. Position the cooler mounting bridge centrally on the cooler. Next place the cooler unit onto the CPU. Loosen both heatpipe caps that are found in the middle of the topside of the cooler

5. Insert the Intel/AMD mounting bridge fastening screws from above into the cooler mounting bridge and then screw these alternately tight. You can use the cross-tip screwdriver for this. Subsequently retighten both heatpipe caps on the topside of the cooler.

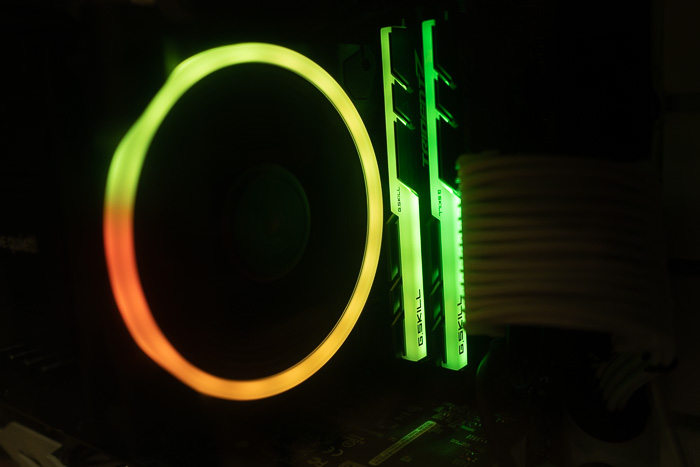
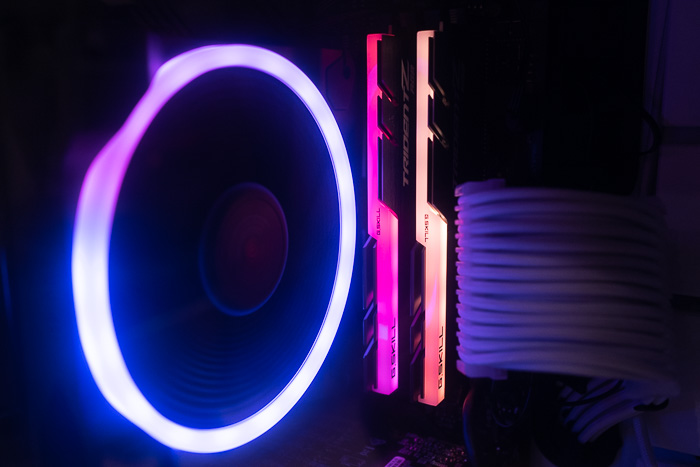
6. Fasten the 120mm fan using fan clips onto the front side of the cooler. Connect the fan cable to the CPU
fan connector on the motherboard.


Review Pages

1. Introduction
2. Retail Package
3. Installation process
4. Performance
5. Conclusion


Pages

  • « first
  • ‹ previous
  • 1
  • 2
  • 3
  • 4
  • 5
  • next ›
  • last »

be quiet!

Tags: be quiet!
Previous Post
be quiet! Pure Loop 2 FX (280mm)
Next Post
be quiet! Silent Wings Pro 4

Related Posts

  • be quiet! unveils new power, cooling, and peripheral lineup

  • be quiet! Dark Rock Pro 6

  • be quiet! introduces Dark Rock Pro 6 and Dark Rock 6

  • be quiet! Pure Power 13M 1200W

  • be quiet! Dark Perk Mice

  • be quiet! Power Zone 2 1200W

  • be quiet! enters high-end gaming mouse market with Dark Perk Ergo and Dark Perk Sym

  • be quiet! announces new Power Zone 2 1200W and Pure Power 13 M 1200W

Latest Reviews

Swit NP-FZ100 Battery
Cameras

Swit NP-FZ100 Battery

The Technology Stack Behind Modern Digital Gaming Platforms
Consumer Electronics

The Technology Stack Behind Modern Digital Gaming Platforms

be quiet! Dark Rock Pro 6
Cooling Systems

be quiet! Dark Rock Pro 6

How Online Casinos Use Encryption, Verification, and Risk Controls to Build User Trust
Enterprise & IT

How Online Casinos Use Encryption, Verification, and Risk Controls to Build User Trust

Why Low-Latency Infrastructure Matters More Than Raw Specs
Enterprise & IT

Why Low-Latency Infrastructure Matters More Than Raw Specs

Popular News

CORSAIR announces Vanguard Pro 96 and Vanguard 96 Gaming Keyboards

CORSAIR announces Vanguard Pro 96 and Vanguard 96 Gaming Keyboards

TEAMGROUP Launches EXPERT P34F Find My External SSD

TEAMGROUP Launches EXPERT P34F Find My External SSD

MSI Launches FORGE GK600 TKL WIRELESS Special Edition Compact Mechanical Keyboard

MSI Launches FORGE GK600 TKL WIRELESS Special Edition Compact Mechanical Keyboard

Samsung announces Galaxy Tab S11 and Galaxy S25 FE series

Samsung announces Galaxy Tab S11 and Galaxy S25 FE series

Viltrox Showcases Upcoming Lens Lineup and New TTL Flash at IBC 2025

Viltrox Showcases Upcoming Lens Lineup and New TTL Flash at IBC 2025

Panasonic Introduces the First Ultra-Telephoto Zoom Lens in the LUMIX S Series

Panasonic Introduces the First Ultra-Telephoto Zoom Lens in the LUMIX S Series

MSI Launches DATAMAG 40Gbps Magnetic Portable SSD

MSI Launches DATAMAG 40Gbps Magnetic Portable SSD

Viltrox Joins the L-Mount Alliance, Expanding Creative Possibilities

Viltrox Joins the L-Mount Alliance, Expanding Creative Possibilities

Main menu

  • Home
  • News
  • Reviews
  • Essays
  • Forum
  • Legacy
  • About
    • Submit News

    • Contact Us
    • Privacy

    • Promotion
    • Advertise

    • RSS Feed
    • Site Map
  • About
  • Privacy
  • Contact Us
  • Promotional Opportunities @ CdrInfo.com
  • Advertise on out site
  • Submit your News to our site
  • RSS Feed