Maxtor OneTouch external HD
2. Installation
Maxtor OneTouch HDD - Page 2
- Installation
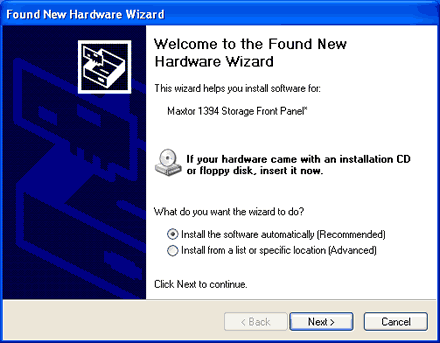
The Maxtor OneTouch drive was connected to our PC with the FireWire connection. After turning on the power, a hardware wizard prompts you to install the drivers for the front panel button. Notice that even if you decide not to install them (for example, you've lost the installation CD) the drive will work without any problems:

After pressing cancel, we inserted the installation disc and a friendly wizard came up. It's very good to see that Maxtor's installation supports 5 main languages, even so, we would like to see more of them supported:

After pressing on "English", the wizard continued and we selected "Install Software", which installed the front panel drivers along with the Dantz Retrospect Express software:

If you need more help, the wizard lists the Guide & help contents

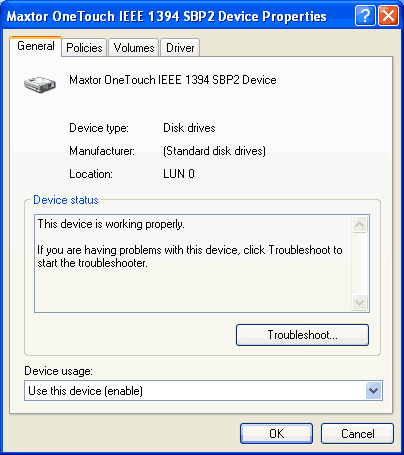
After windows restarted, we checked the drive's properties under Windows:

As we can see, WinXP SP1 has automatically chosen "Optimize for quick removal" since the drive is installed externally. The user can change to "optimize for performance" mode if he/she desires (restart is needed).


"I love my "ONE TOUCH external HDD";I would soon have to replace my broken drive with a [NEW] one!"
"Good detailed review!"