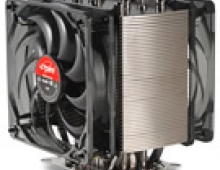
Spire Verticool II
2. Installation
The Spire VertiCool II is quite easy to be install on a 775 socket, as well as on a K8. In a few steps, you can have your system working with the VertiCool II. Keep in mind that in the case of a 775 socket, you'll have to remove the motherboard from the PC case.
 |
| the CPU specs... |
 |
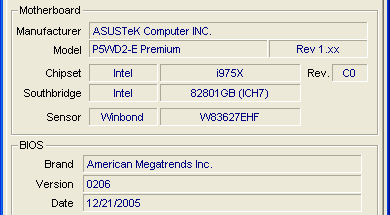
| and some info about the mobo used... |
We will use the mounting brackets for the 775 socket.

In the case of a K8 socket, the pre-installed brackets have to be replaced with those for a K8.


First thing's first. We must uninstall the original cooler and clean the CPU of any remnant thermal compound before applying the new. After we're done cleaning the old thermal paste, we place on the CPU, the new thermal paste which comes included in the retail package from Spire.
 |
 |
| we put some paste in the center of the CPU and spread it around evenly... |
Next, we installed the back plate onto the motherboard which is an easy enough task, but the motherboard needs to be removed from the PC case. When finished, it should look like this...
 |
| the back plate is an X shape. |
And now for the easiest part of the installation, mounting the heatsink onto the CPU. No troubles here, as we do not have to mess around with brackets or any other types of fastening clips.
 |
| not a lot left to do now except to sit the fan on the CPU... |
Just screw the heatsink onto the backplate and move on...
 |
 |
The power cable is the last step before turning the whole system on to start testing the cooling potential.
 |
 |
| Connect the power cable onto the board... |
As we've seen, the installation is very easy and should cause no problems. Now we are ready to put the cooler through its paces to find out just how good it is.


