Streacom BC1 V2 Bench Table
2. How to use it
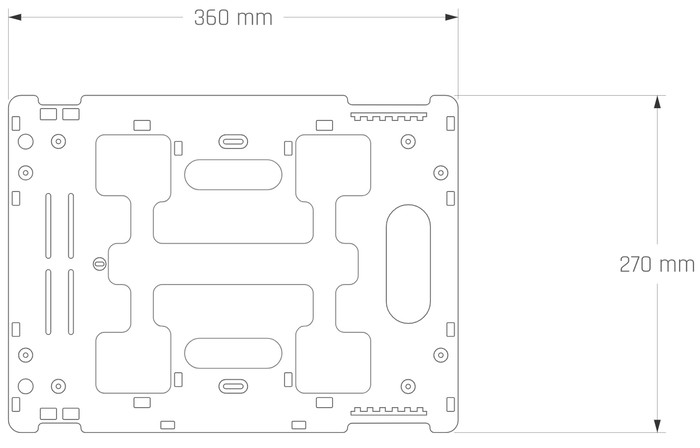
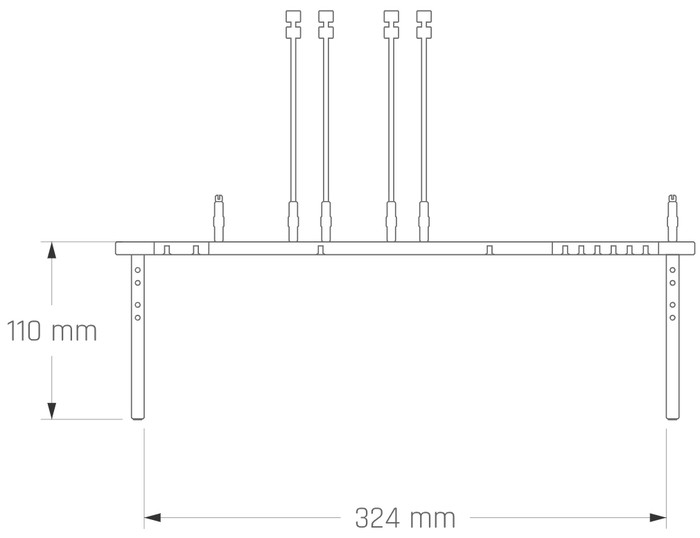
Below are the product dimensions, you can mainly install up to ATX boards. Being an 'open' table, the motherboard can be larger than ATX but there will be some compromises.
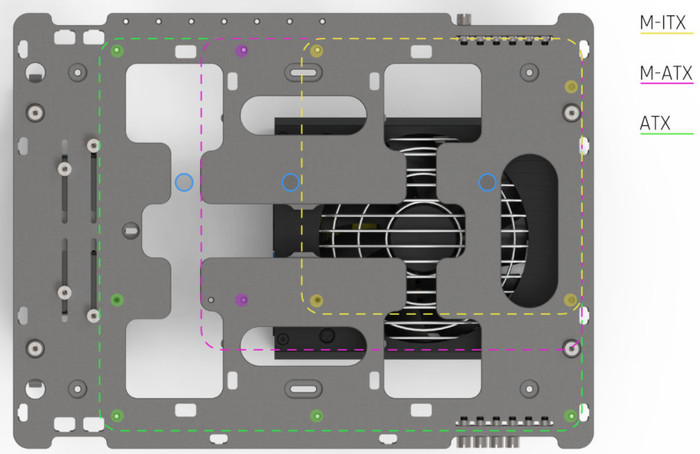
Any of the additional mounting holes on an E-ATX will not be supported and if the board extends past the edge of the table, it will block the use of the side mounting brackets (for radiators, fans, etc).
Most power supplies will fit at the bottom of the case.
While VGA cards are no problem for this case as well.
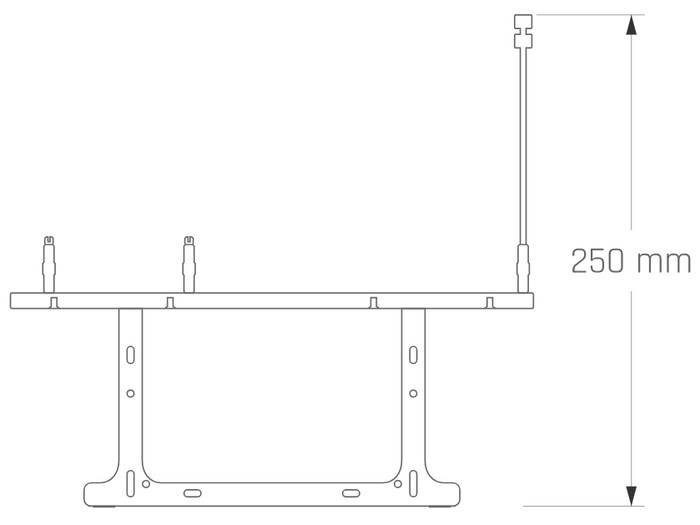
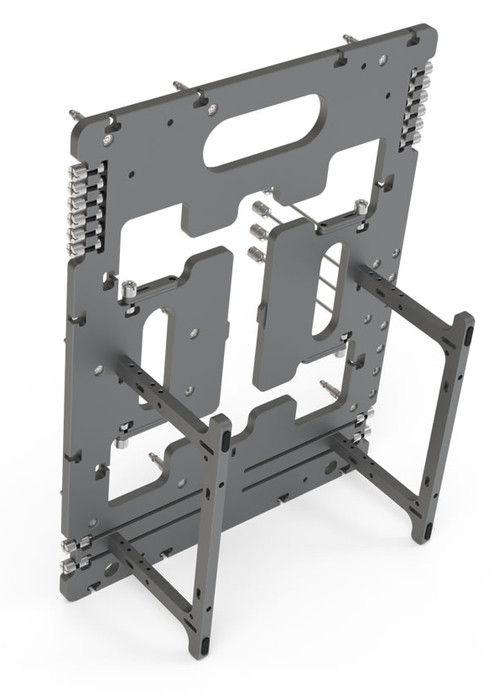
In order to start using the product you have to remove the two feet, which also can be used to move the table to a vertical stand. Then you need to remove all standoffs and hand screw them at the main body at the pre-drilled points. There are 2 types of standoff supplied with the BC1, 8 of each type, one that accepts M3 screws and the pushpin type that is designed specifically to easily secure the motherboard. The M3 standoffs are used in combination with the PCIe screws to secure expansion cards but can also be used to secure the motherboard with screws (instead of just the pushpins). At the side area, there are also 2 types of thumbscrew included with the BC1, M3, and 6#32 thread. 6 of each are stored on either side of the BC1 but there are an additional 4 x M3 that are used to secure the brackets and 4 x 6#32 to secure the feet. In addition to the thumbscrews, there are matching nuts that are secured to the body. These can be removed if needed to provide additional fixing points. The different grip pattern allows you to easily differentiate between the M3 and 6#32 threads.
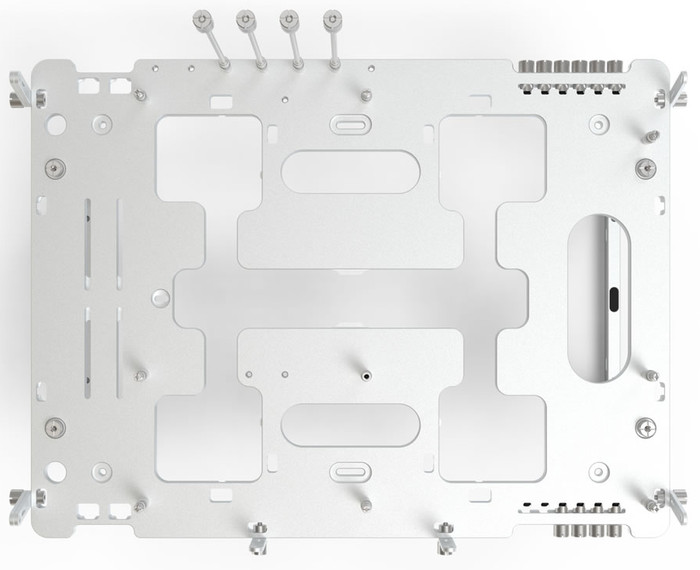
There are a total of 4 x PCIe support screws supplied with the BC1 and they comprise an extended-length screw and 2 x M3 nuts, one of which is permanently attached to the screw and the other which is used to secure the expansion card. These support screws are designed to be used in conjunction with the M3 standoffs to provide the correct height relative to the motherboard. Lastly, brackets are used to mount additional hardware such as AIO radiators and fans to the body. There are a total of 8 individual brackets that comprise 4 interlocking pairs. They can be used individually or combined depending on usage requirements. The included feet can also be used at a vertical stand of your system, a nice addition.
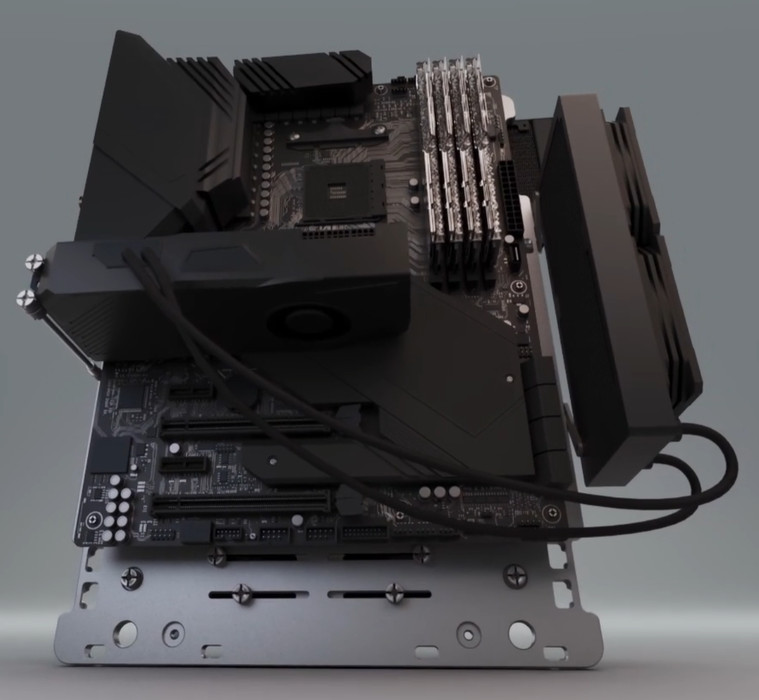
Lastly, here is what a complete system will look like, with water cooling both CPU and GPU. Note that all HDDs (2.5" and 3.5") are screwed to the main body and touch the table. Streacom also has two 12mm holes in order to fit power on/reset physical buttons, and while they sell them in various colors and cable lengths, probably you will find them cheaper at Aliexpress.
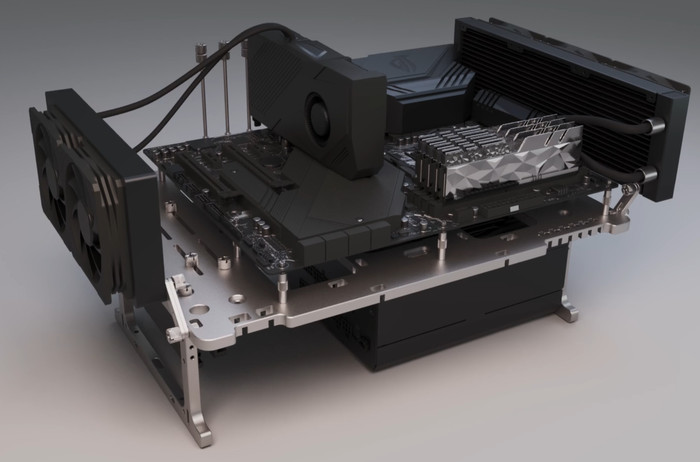
The BC1 supports standards ATX PSUs with a maximum depth of 217mm if drives are installed. In vertical mode, this is reduced to 180mm as the gap between both feet is reduced. PSUs of more than 10kg may put excessive stress on the legs so they should be used with caution.
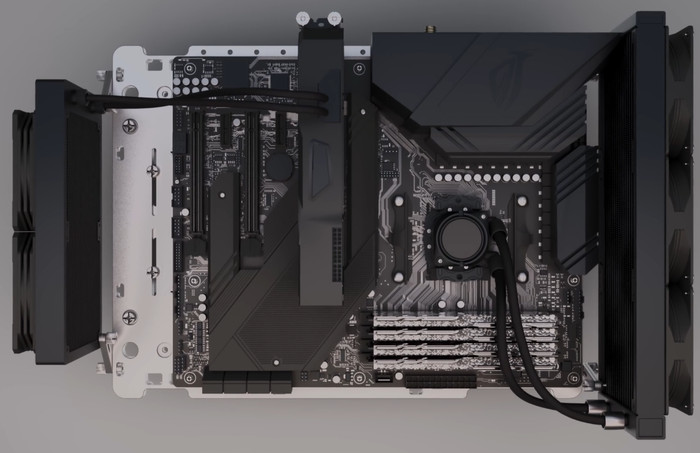
In addition, Streacom mentions that some ATX PSUs feature an additional frame that spaces the screw mounting holes further away from the feet, making the BC1 screws too short to reach them. Presumably, this has been added to reduce noise/vibration but it does stray from the ATX standard, and making longer screws to ensure compatibility would lead to problems with other PSUs and hardware. Fortunately, there is a workaround using our PSU spacer screws that extend the mounting holes beyond this frame and allow the PSU to be fitted to the BC1.

