Thermaltake Wing RS301 PC case
3. Installing the PC components
Review Pages
2. Package, first look
3. Installing the PC components
4. Final thoughts
We started building a complete system from the scratch. Our motherboard is a full-ATX board from Gigabyte with an AMD X4 9950 processor and 2GB of RAM installed.

We used a power supply unit from ArcticCooling:

The first step is to install the back plate. This requires requires you to remove the installed case fan first - not very convenient if you ask me:
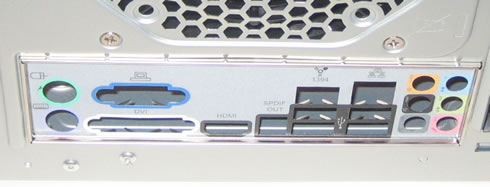
Installing and fastening the motherboard into the case was easy but... there were no motherboard spacers bundled. These spacers would keep the installed motherboard in a safe distance from the case, protecting it from possible short circuits that could damage it. Instead, Thermaltake offers some small bumps as mainboard spacers, not a wise solution in my opinion. In any case, finding some motherboard spacers is not very difficult.
The cables for front panel LEDs and connectors have a good length and can easily reach the motherboard. Installing two extra expansion slots at the back was not a problem and still, there is a lot of empty space left as you can see below:
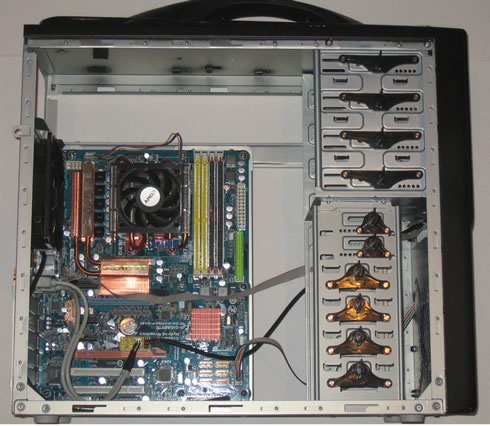
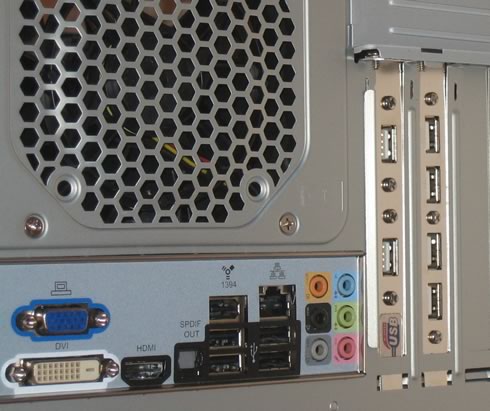
The front plastic cover of the case can be easily removed in order to install a 5.25" device. Notice that you have to bend and remove the corresponding metallic plate first:

The built-in plastic screws for the optical/HDD drives are easily accessible and make installation easier. However, we are not very sure that they can be durable enough, especially if you carry the case with you:
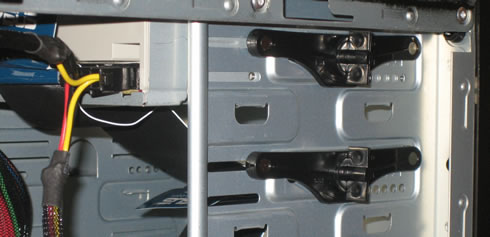
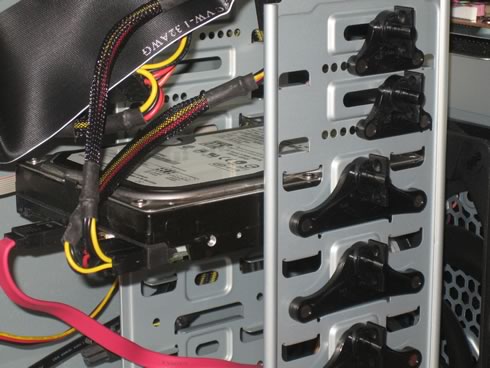
We also installed an extra 120mm fan on the front for better cooling. Here is how our box looks like after connecting all the components and the power supply unit:

Review Pages
2. Package, first look
3. Installing the PC components
4. Final thoughts


