GameSir G8 Galileo Game Controller
2. The package
The retail package of the GameSir G8 Galleo gaming controller is nice and rather big.

There is another box inside the outer shell
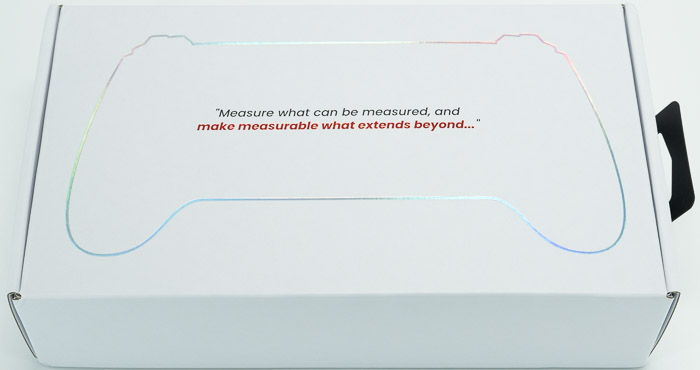
Everything is well packaged and secured.
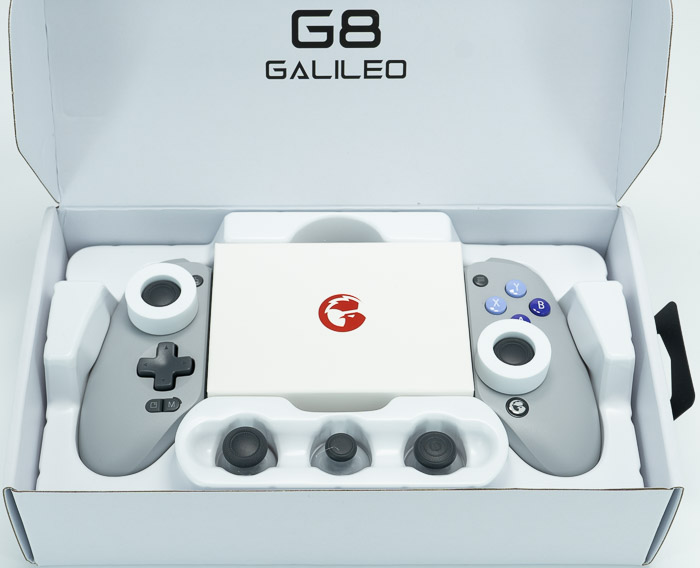
The package includes the controller itself, a small/high/round thumbstick, a printed user manual, a GameSir sticker, product certification and a thank you & after-sale service card.

The product itself is very nice to view and hold. It has 217*107*54 mm dimensions with a weight of 252gr.
.jpg)
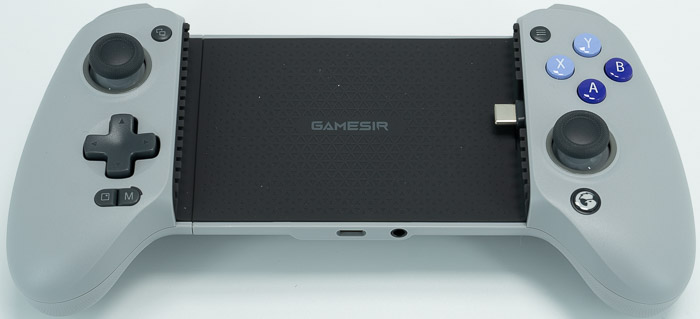
As GameSir mentions, the product supports (without phone case), up to 110-185 mm in length, 13 mm or below in depth, and phone camera depth ≤ 5mm. That means most big phones will work just fine, however, if you have a big camera module (like the latest Xiaomi, Honor products), may won't fit after all. For best results ask GameSir for phone support to be sure. GameSir says that it is not recommended to use it with a case. If a case is necessary, a case less than 1mm is recommended.
.jpg)
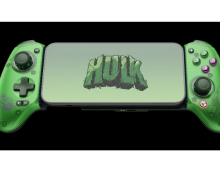
The building material is very good plastic ABS with only one color that reminds us of the Nintendo SNES color theme. You can also order the product with a carrying case. There is only one model for both iPhone 15 and Android devices that are powered via TypeC port.
.jpg)
At the area where the phone rests, you will find a textured black surface for added grip and product support. Installing a mobile phone is easy, just pull the left side of the controller, slide your mobile phone and the included spring will secure the phone at the correct position.
.jpg)
There are also analog triggers at both sides that are Hall Effect-based for increased durability. At the bottom area, you will find a headphone jack and a TypeC connection for charging the phone while playing, very nice idea if you ask me. Gamesir says that not all phones are supported for charging while playing.
.jpg)
The overall design is very ergonomic, as you will see both palm areas have a natural curved design and the bottom laser cut surface will add grip for your hands.
.jpg)
At the back, you will find two extra buttons that can be programmed via the GameSir app.

The faceplates of the GameSir G8 are magnetic and swappable. You can interchange the thumbsticks according to your preferences.

We used a Samsung S22 Ultra mobile phone that can fit perfectly. Note that cases will not probably fit with this mobile gaming controller.

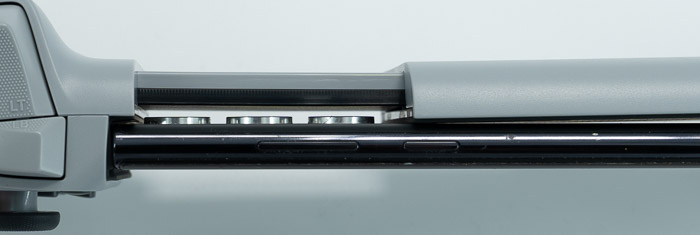
There is enough space at the camera module, at least with the Samsung S22 Ultra phone.
Note that when the controller is turned on after 10 minutes of inactivity, the controller will enter standby mode. Also when the controller is turned on, hold the Home button for 5s and the controller will enter standby mode when the controller is in standby mode, press the A/B/X/Y/ Home button to wake up the controller. Below are the supported button combinations:

The back buttons can be mapped to A/B/X/Y/LB/RB/LT/RT/LS/RS/View Button/Menu Button/Capture Button /D-Pad as follows:
- Set the L4/R4 button value: Hold the M+L4/R4 buttons simultaneously until the Mode/Connection Status Indicator blinks white slowly. Then press the button you want to map to L4/R4. When the Mode/Connection Status Indicator returns to the initial state, the L4/R4 button value is set.
- Cancel the L4/R4 button value: Hold the M+L4/R4 buttons simultaneously until the Mode/Connection Status Indicator blinks white slowly. Then press the L4/R4 button. When the Mode/Connection Status Indicator returns to the initial state, the L4/R4 button value is canceled.
*After 10s of inactivity when setting, the controller will automatically exit the setting mode and the button value will remain the same.
Users can perform sticks and trigger calibration as follows
1. Connect your phone to the controller. Hold the View+Menu+Home buttons for 5s until the Connection Status indicator and Mode indicator blink rapidly to indicate calibration mode is entered.
2. In calibration mode, follow below steps to complete calibration:
a) Ensure the triggers and sticks are in their natural position without any contact, then press the A button.
b) Rotate the sticks at their maximum angles 3 times and let them return to the initial position naturally.
c) Press the triggers to their maximum travel 3 times and let them return to their initial position naturally.
3. Press the A button to complete and exit the calibration mode.
*Calibration should be kept at a constant speed and gently operated to avoid errors in the collected data.
*If the sticks and triggers can be used normally, please do not calibrate.


