Intel X38 Motherboard Roundup
7. BIOS
Review Pages
2. Asus Maximus Formula
3. The Package
4. BIOS
5. Gigabyte GA-X38-DQ6
6. The Package
7. BIOS
8. Test Configuration
9. Everest Ultimate Edition 2007
10. SiSOFT Sandra
11. PCMARK - 3DMARK
12. Science Mark - PovRay - x264 Benchmark
13. Maxon Cinebench
14. SuperPi
15. SYSmark 2007 - WorldBench
16. Lost Planet: Extreme Condition
17. Overclocking
18. Conclusion
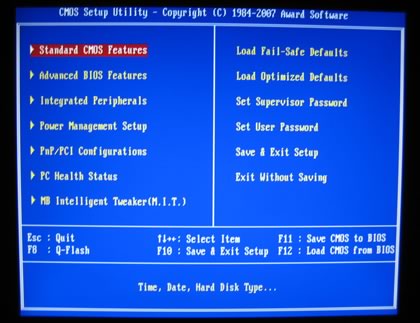
The BIOS is based on Award, and is very "typical".
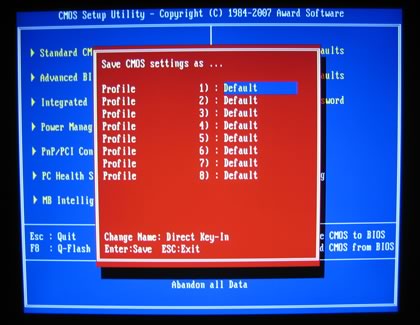
Pressing F11, you can save the BIOS settings to a "memory file". There are 8 available slots. This is useful since you can store/access different memory/FSB/CPU combinations:
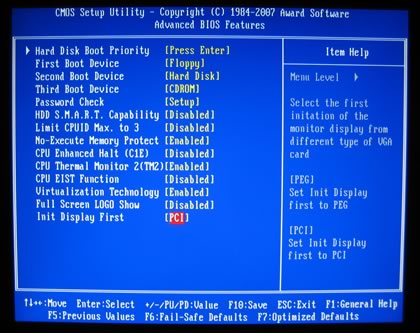
In the Advanced BIOS features, we can find various settings for the CPU:
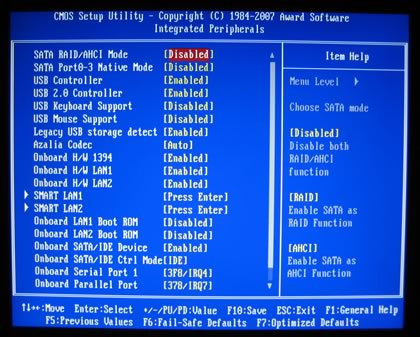
While for Integrated peripherals, there are many options available
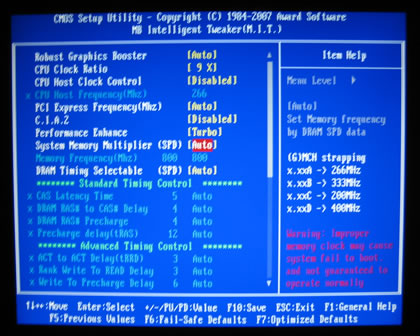
The "M.I.T" tab, controls the most important functions on this board. At last we see that memory timings are here. With the GA-P35-DQ6, you had to press CTRL+F1 while in the main BIOS screen to get access to them, rather inconvenient. We've tried to fit all available options in one page. There are many options to play with, so let's see them one by one.
CPU Host allows you to manually set the CPU host frequency. This item is configurable only if the CPU Host Clock Control option is enabled.
- For an 800 MHz FSB CPU, set this item to 200 MHz.
- For a 1066 MHz FSB CPU, set this item to 266 MHz.
- For a 1333 MHz FSB CPU, set this item to 333 MHz.
- For a 1600 MHz FSB CPU, set this item to 400 MHz.
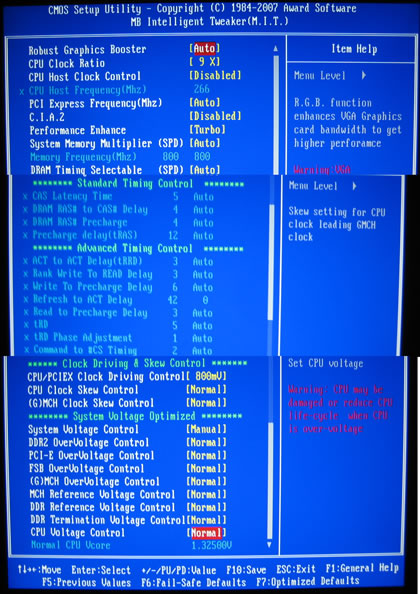
The first option is the "Robust Graphics Booster" that is supposed to give more bandwidth to the graphics. We left it at Auto:
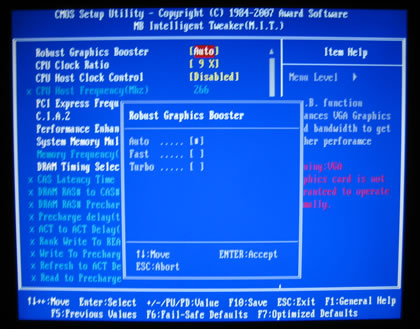
CPU Intelligent Accelerator 2 (C.I.A.2) is designed to automatically adjust CPU computing power to maximize system performance. C.I.A.2 allows your system bus to be changed dynamically based on CPU loading through the use of 5 preset states.
- Cruise Increases CPU frequency by 5% or 7% depending on CPU loading.
- Sports Increases CPU frequency by 7% or 9% depending on CPU loading.
- Racing Increases CPU frequency by 9% or 11% depending on CPU loading.
- Turbo Increases CPU frequency by 15% or 17% depending on CPU loading.
- Full Thrust Increases CPU frequency by 17% or 19% depending on CPU loading.
Most users will prefer this option "disabled" (default):
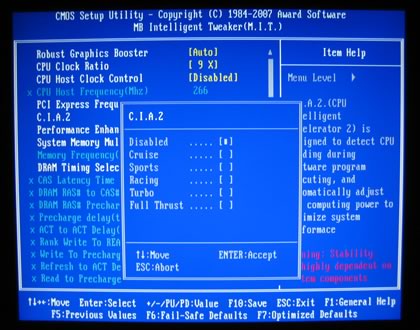
More options are available in Performance Enhance. We set it at Turbo:
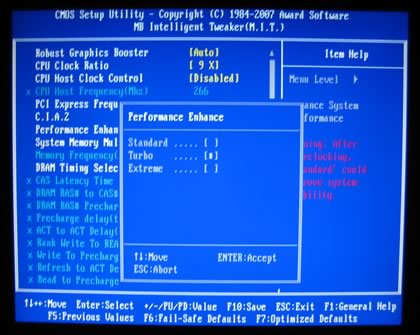
Note that from our test with the Extreme setting, it didn't improve performance. Actually, it made things worse.
There are many memory dividers, and depending on the FSB frequency, you can choose the corresponding settings:
The available memory multipliers are simply amazing, I haven't seen so many on any other motherboard:
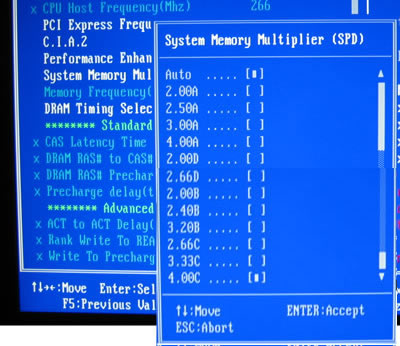
- 2.00A: 533MHz
- 2.50A: 667MHz
- 3.00A: 800MHz
- 4.00A: 1066MHz
- 2.00D: 533MHz
- 2.66D: 709MHz
- 2.00B: 533MHz
- 2.40B: 640MHz
- 3.20B: 853MHz
- 2.66C: 709MHz
- 3.33C: 888MHz
- 4.00C: 1066MHz
DRAM timings can be either left at Auto or set manually. The fact that all Auto chosen memory timings are displayed is very good. With the Asus Maximus Formula, you don't have this information.
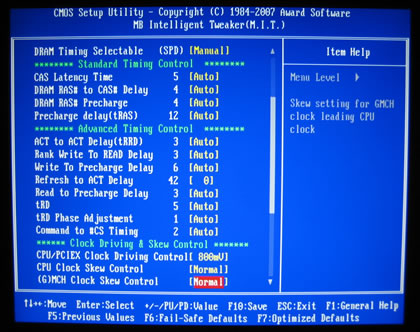
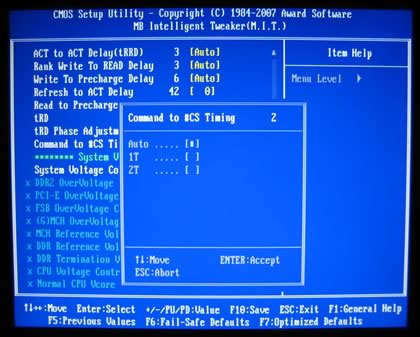
DRAM 1T timing option is available...
Lastly, the PC Health tab offers information about voltages and system temperatures:
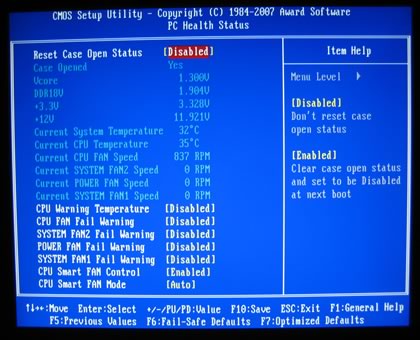
Several memory options are available but unfortunately, voltages are not absolute values but offsets. That is not good since you don't know the exact voltage the motherboard has selected for your CPU/subsystems. There is a work around, if you use Gigabyte's Windows Easy Tune 5 software, from which you can view or set voltages, but it would be ideal to have absolute values in the BIOS. The DDR2 voltage can go up to 3.70V, but be careful not to "fry" your memory modules.
- CPU/PCIEX Clock driving Control: 700mV ~ 1000mV with 100mV step
- CPU/MCH Clock Scew Control: 100ps ~ 1500ps with 100ps step
- DDR2 voltage: Normal + 0.05V~1.55V with 0.05V increment
- PCI-E Voltage: Normal + 0.05V~0.35V with 0.05V increment
- FSB Voltage: Normal + 0.05V~0.35V with 0.05V increment
- MCH Voltage: Normal + 0.025V~0.375V with 0.025V increment
- MCH, DDR, Reference Voltage Control: +/- 10%
- DDR Termination Voltage: +/- 50mV
- CPU Voltage Control: 0.50V ~ 2.35 V with 0.00625V step
- FSB: 100 MHz to 700 MHz with 1 MHz increment
- PCI Express: 90 MHz to 150 MHz with 1 MHz increment
- Installation
Using Everest Ultimate Edition 2007, we can get more information about the board:

Both North Bridge and South Bridge chipsets unveiled:


For all tests, we used the latest available BIOS:

Let's now see how our CPU was identified by CPU-Z:


- Easy Tune Pro 5.0 and Bios update
Gigabyte has a Windows application called EasyTune 5 Pro, which performs BIOS settings for overclocking and in general, manages the motherboard's performance. The good news is that most settings can be changed on-the-fly under Windows, without the need to restart. However, it's not certain that this always works, so test your system for stability:
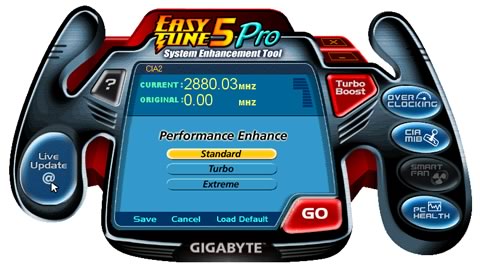
Users can set the most basic functions:
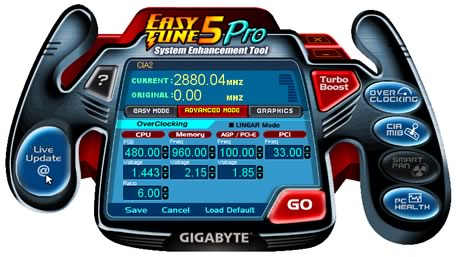
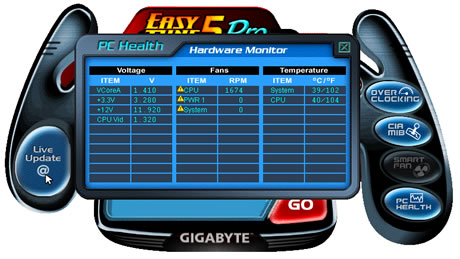
And of course, watch voltages and temperatures:
Gigabyte has a Windows update utility for the BIOS. Things are now very easy when performing the auto update function:
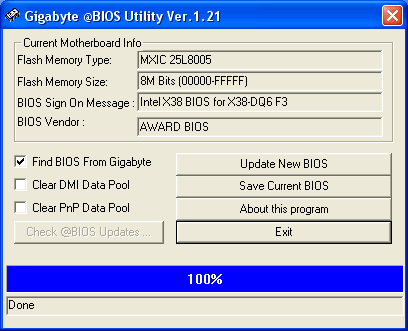
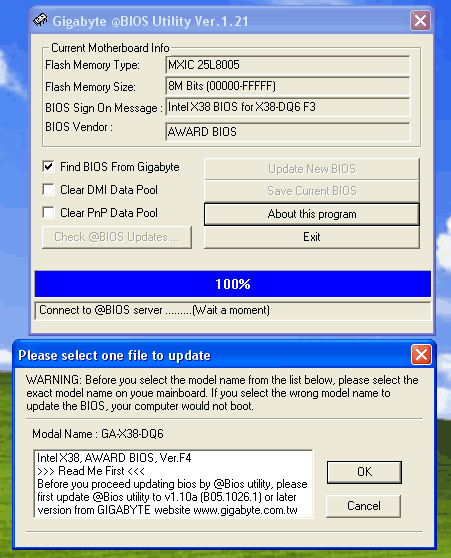
Remember, after a BIOS update, to clear the CMOS otherwise your system might not POST! Our system was updated to to F4 BIOS.

Review Pages
2. Asus Maximus Formula
3. The Package
4. BIOS
5. Gigabyte GA-X38-DQ6
6. The Package
7. BIOS
8. Test Configuration
9. Everest Ultimate Edition 2007
10. SiSOFT Sandra
11. PCMARK - 3DMARK
12. Science Mark - PovRay - x264 Benchmark
13. Maxon Cinebench
14. SuperPi
15. SYSmark 2007 - WorldBench
16. Lost Planet: Extreme Condition
17. Overclocking
18. Conclusion


