Shuttle NC10U Nano PC review
3. Installing components, OS, BIOS
Review Pages
Installing the basic components
We are ready to install the memory and the SSD to the box. The first move is unscrew the two screws of the chassis cover and carefully slide the cover upwards to remove it:

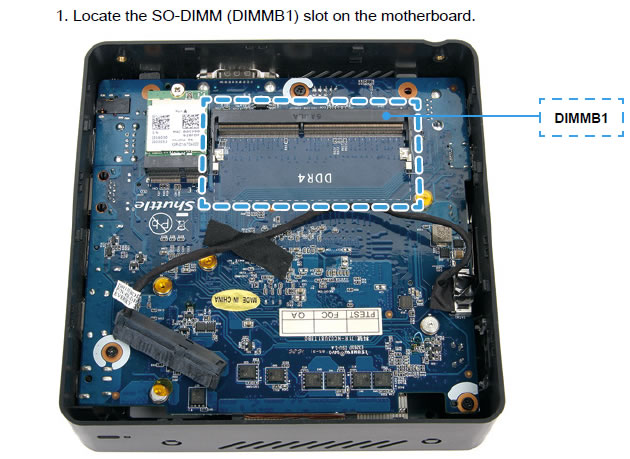
On the mainboard there are two SO-DIMM memory slots:
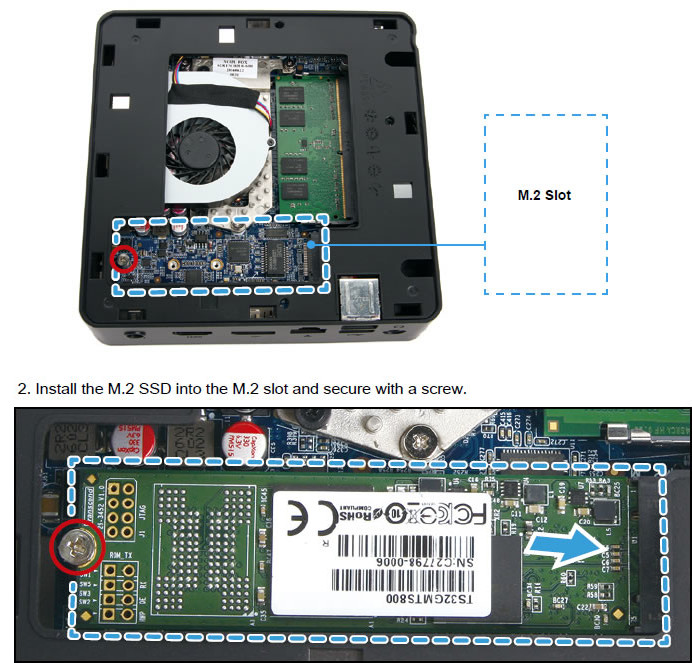
Then turn the device upside down and locate the slots for an M.2 SATA SSD ( B+M key) and an M.2 PCIe SSD with NVMe ( M key)
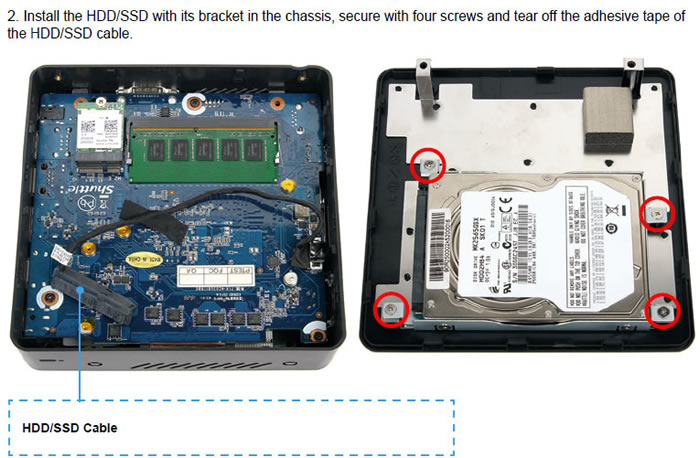
The system also supports 2.5" HDD/SSDs with a maximum height of 15 mm (max.):

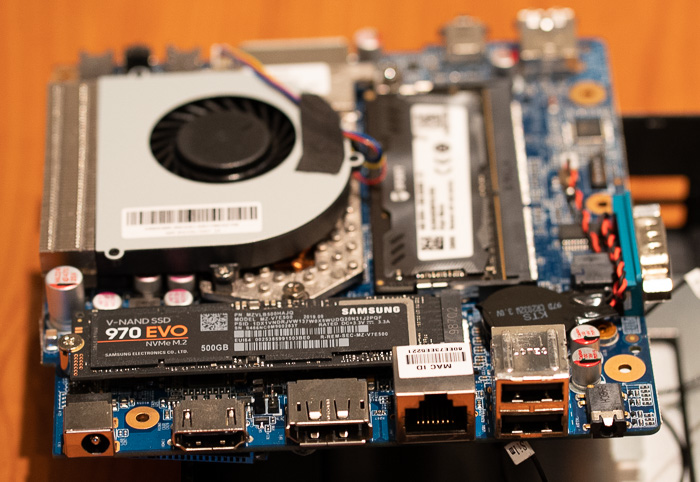
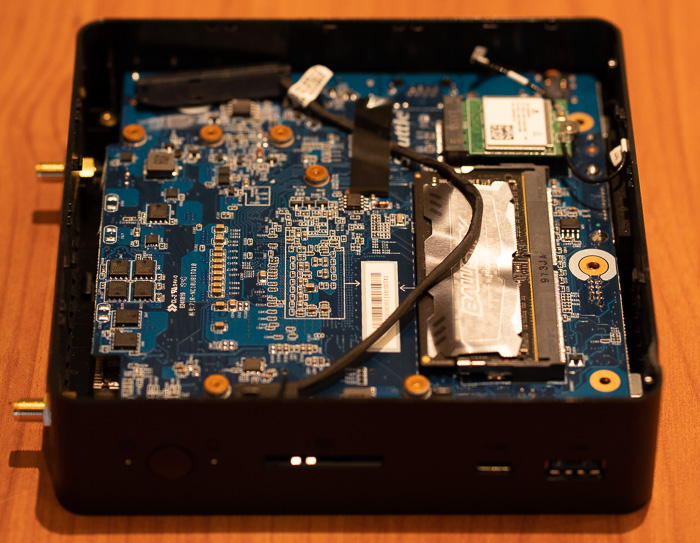
Below you see some pictures of the mainboard with all the essential components installed:

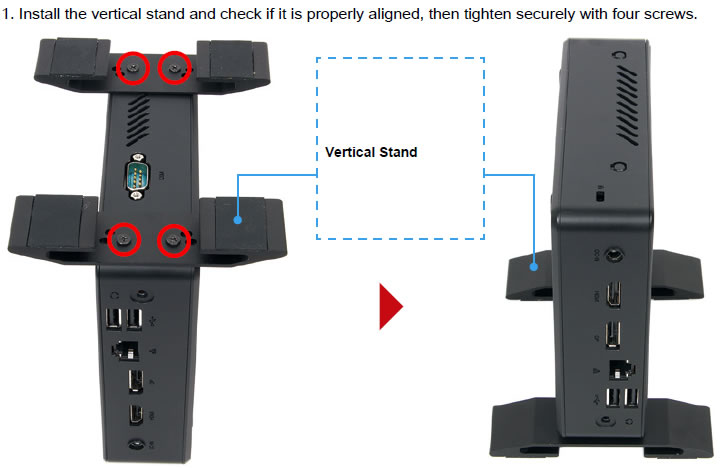
If you need to use the convenient vertical stand with the box, follow the following instructions:
The included VESA mount is also very easy to install:

Bios and Windows Installation
With all the hardware set in place we are ready to install an OS. You can choose either Windows 10 (64bit) or your favorite Linux distro (like Ubuntu).
Our choice was Windows 10, so we created a Windows 10 USB flash drive and entered the BIOS (pressing del at the boot screen). The next step is to select the booth from the USB device option. The installation finished after some minutes with most of the components recognized without needing to install any additional drivers. However, it is suggested to install the drivers found at the Shuttle's support website.
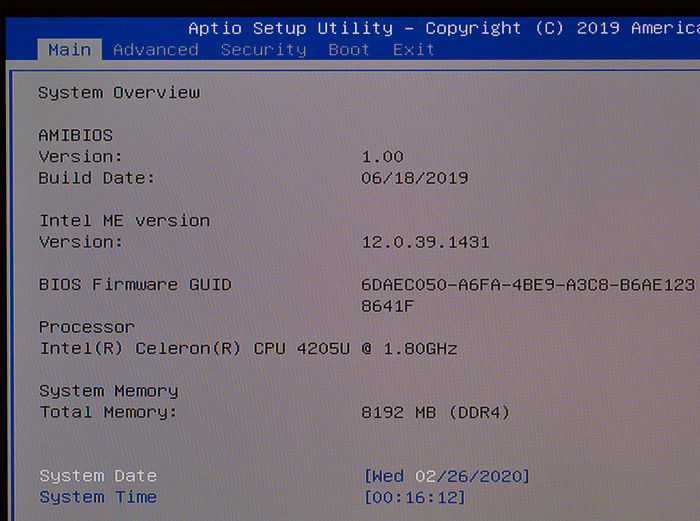
Our system came the initial 1.00 bios installed, and we flashed it to the latest available v1.01.
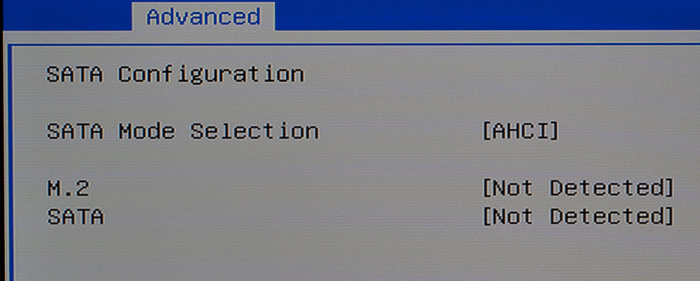
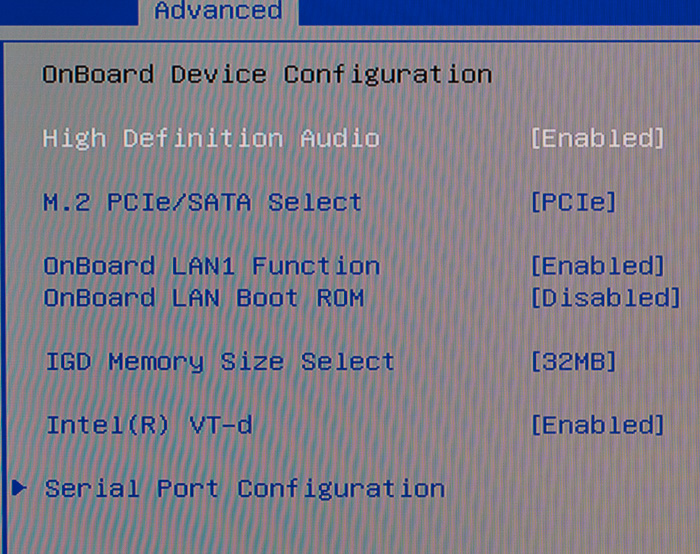
The basic settings of the American Megatrend Inc (AMI) BIOS are illustrated below. Everything looks straightforward and easy to understand:


Review Pages


