Shuttle SN27P2
4. A Look Inside
Opening the case is very easy, (four screws on the back). However, after that, you need to use a philips screwdriver, since there are so many screws to remove in order to install CPU, memory and HDDs.
There are two HDD cases. The material is made out of aluminium, however, there are no special measures taken to absorb noise and vibrations (for example rubber mounts). You need to remove the four screws for each bay in order to proceed further into the interior of the case.
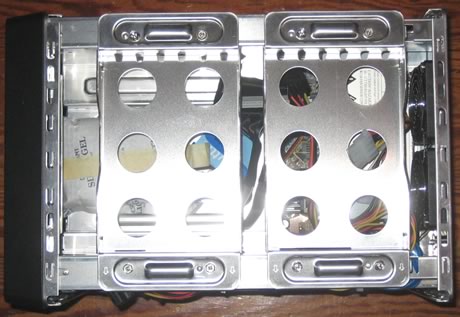
Moving south, we can see that SATA and power cables are already pre-installed, so you don't have to worry about cabling. Good move from Shuttle.

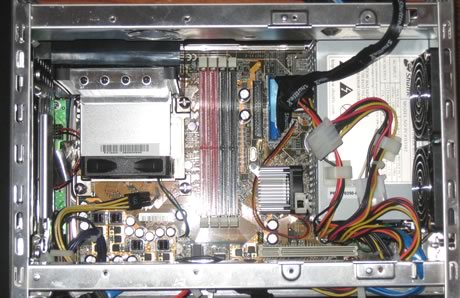
Zooming on to the board, we can see the four memory banks (8GB maximum capacity).

While on the right, you can see the three (3) SATA connectors (+ one external SATA) and the PCI/PCI-E slots:

On the left, there is a big fan to cool down the CPU
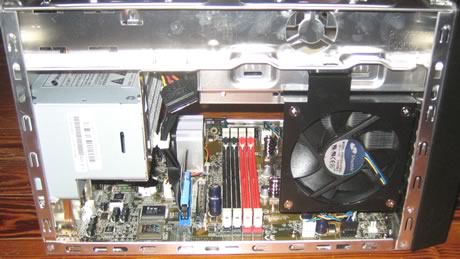
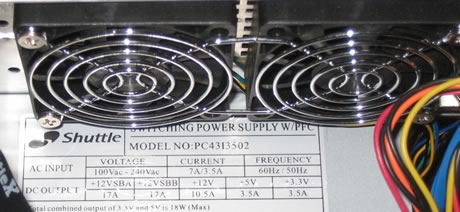
There are also two 60mm fans to remove heat from the interior of the case, while the PSU is rated at 400Watts and is quiet enough:
After removing the two HDD bays, we can see another bay, this time for am optical storage device and of course Floppy drive or perhaps another HDD. Again, IDE cables are pre-installed as well as power cables:
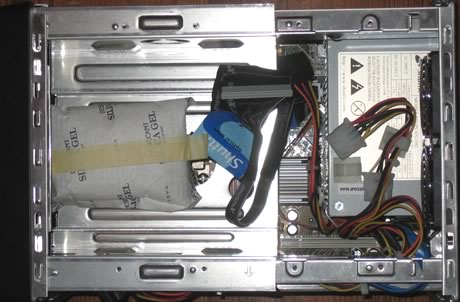
Removing the storage bay, we can get a top view of the board
