Spire Gigapod III
2. Installation
Review Pages
The installation process is quite easy and no experience is required to setup the Gigapod III and get it working. You will need a 3.5" Hard Disk drive since the device is only the case. For our tests, we used a Western Digital 80Gb HDD.
 |
| ...the Gigapod III... |
 |
| ...the WD80 we used... |
In order to open the Gigapod III, you have to remove the back plate which has the connections and power button on it. The back plate is not initially screwed on to the housing so that you can easily pop it off and install your hard disk drive. There are two screws included in the package that you then use to screw the backplate on.

After removing the back plate you'll have to attach the HDD. Connect the IDE cable first and then the power.
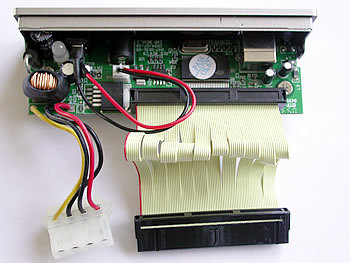 |
| ...the back plate of Gigapod III... |
 |
| ...the WD80 connections... |
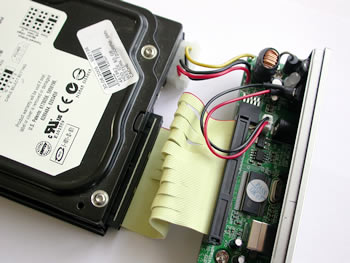 |
| ...the two devices connected... |
In order for the HDD to sit firmly and properly in the Gigapod III case, Spire has included in its retail package, two guides which are positioned on each side of the HDD. The guides have to be aligned correctly, with the three notches on the inside of the guides lining up with the screw holes on the sides of the HDD as shown below:
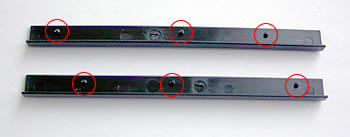 |
| ...the two guides... |
 |
| ...the side panel on the HDD... |
 |
| ...the HDD with the guides installed... |
The only thing left, is to slide the Hard Disk into the Gigapod III and screw it shut.
 |
| ...the guides fit perfectly... |
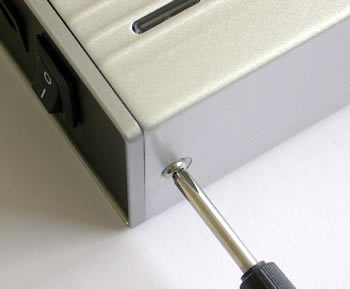 |
| ...and don't forget the screws... |
Connect the USB cord from the Gigapod to your PC and then the external power supply and you are ready. Turn on power with the power button and your system should automatically recognize the Gigapod III. In case the device is not recognized by your OS, you can use the included CD with the USB drivers.

Review Pages


