Thermaltake Armor A60 Case review
2. A closer look
The Thermaltake Armor A60 retails online for online at ~$90.
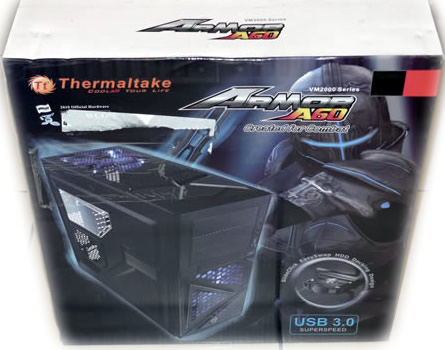
The case arrives in a colorful box with the "futuristic" soldier on the front. The 'Created For Combat' logo on the front indicates that this case is designed for action oriented gamers.
Besides the case, the package includes the user manual as well as a small plastic bag that contains all screws and standoffs that are needed for the installation of the compatible motherboards and drives.
The Thermaltake Armor A60 is constructed from SECC steel and has a net weight of 15 lbs. This is rather light for a middle tower case and we can attribute this to something left out of the specifications, the thickness of the SECC steel. As you may have guessed the metal is extremely thin and while fancy bends and embossing help strengthen the metal it doesn't prevent the panels from rattling.
The front of the Armor A60 is a plastic bezel that features a triangle shape, three 5.25" device bays, a steel mesh cover, and the front I/O ports. These include one USB2.0, one USB3.0, audio and eSATA, as well as the power and reset buttons.

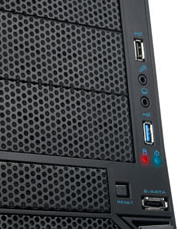
The front bezel pops off easily, without requiring hand-cramping release mechanisms. We also liked the fact that the front I/O ports are not attached to the bezel. This means that when removing the front cover, there is no worry about guiding and pulling wires out or damaging any of the components.
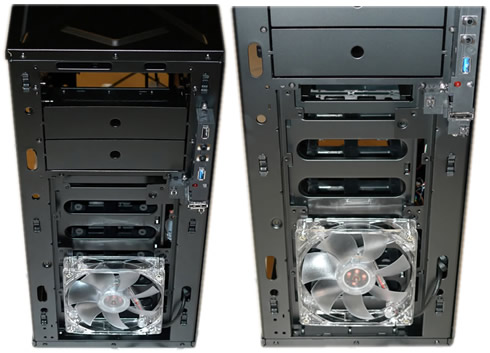
Underneath the bezel is a 120mm blue LED fan with the option to add another. Here is how the front panel of the case looks like with the bezel removed and with a single fan installed:
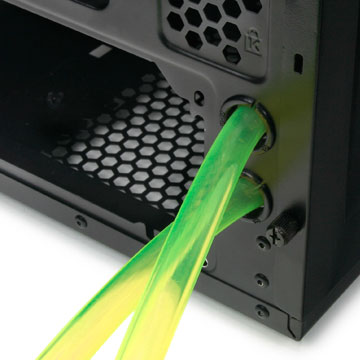
The back of the case two metal loops on the side panel and the case itself that allow a lock to be installed that secures the side panel in place. Another security measure is the keyboard and mouse cable clamp. But probably the first think you'll notice once you take a look to the rear panel is a blue USB cable that hangs down from the water cooling ports at the top. This cable is actually connecting the rear USB 3.0 port of your motherboard with the front USB3.0 connector. This could be considered as an inconvenience, but it may be worth it if you want to use compatible devices on a regular basis. And of course, once a standard for for internal USB 3.0 headers is decided some time next year, the specific cable will not be required running through your case.

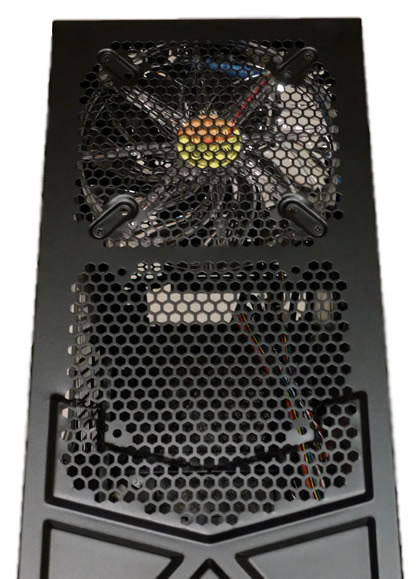
The top of the case features some triangle extrusions as well as a very open amount of perforations that allow for an extra 120mm fan to be installed. A 200mm blue LED fan is included, set up as an exhaust.
The bottom of the case also has ventilation holes underneath the power supply and extends forward far enough to allow another 120mm fan to be installed. Four rubber feet on the bottom make sure the case remains stable and they are just under half an inch tall.
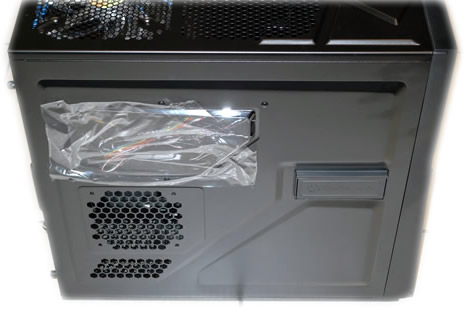
The left side of the case has a small window at the top left of the panel, as well as a spot for a 120mm fan. A door on the right of the side panel is available in order to access the hot-swappable slot without removing the side panel.
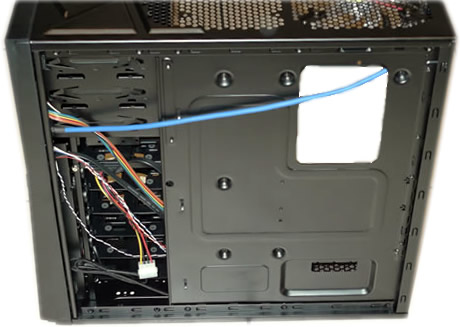
The Thermaltake Armor A60 the inside is painted black as well. The paint is nice and even and smooth inside and out as are all of the edges on the steel chassis and panels. The case offers plenty of free room inside enough to handle video cards up to 305 MM long and can support a CPU heat sink and fan up to 180 MM in height.
Both side panels are easily removable by thumb screws.
We also liked the hole found around the area where the CPU is installed. This allows you to access to the backplate of the CPU cooler, so you can replace the cooler without having to remove the motherboard. The cables can be also routed behind the motherboard tray, or even fastened on the motherboard tray using cable ties.
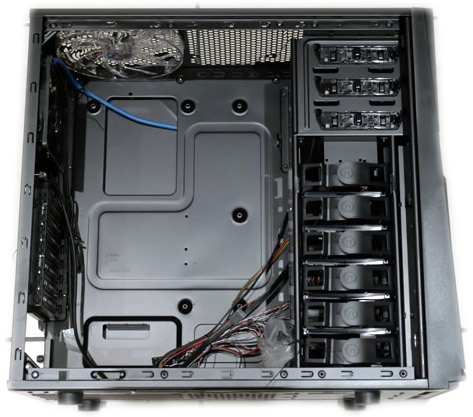
As you can see in the pictures there are are plenty of bay slots for hard drives. In order to remove, the glasp is pushed inwards and they slide out. Though they are made of thin plastic, they most probably won't be so durable and make sure to handle them with care.

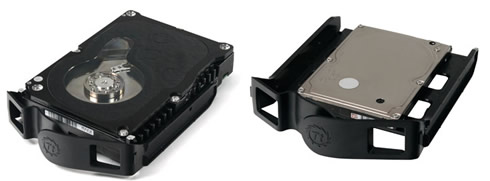
In total, we have three toolless 5.25" drive bays and six 3.5-inch bays. The hard drive trays themselves support 2.5" and 3.5" drives. However, a 2.5" drive will require it to be secured by screws through the base. The 2.5" drives are secured through the bottom of the tray and have noise dampening rubber grommets in the screw holes. In case you install a 2.5" SSD, these grommets are not completely necessary.
The top-most internal bay has hot swap connectors, since this is the bay that is accessible from outside the case.The external 3.5 hot swappable hard drive bay is protected by a swinging flap that stays closed when there is not a drive in use, but retracts back when a drive is inserted into the hot swap bay in the side panel. All it takes is to push the drive in, wait to hear the click and any hot swap compatible hard drive is ready for action. This is very handy feature. Of course, the bay can also support 2.5" HDD or SSD:


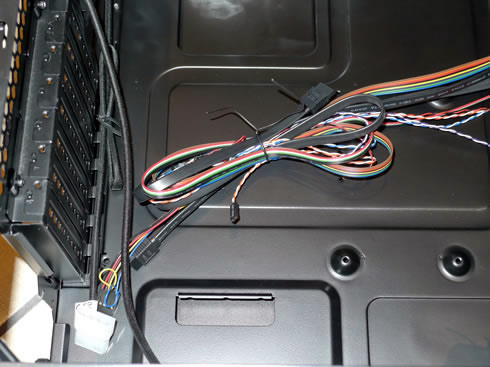
The PSU is mounted at the bottom of the case. The power supply bracket at the bottom allows the user to install the power supply upwards or downwards, which may help out in wire management:


