Asus Maximus Extreme
3. BIOS settings
Review Pages
2. The package
3. BIOS settings
4. Testing configuration
5. Benchmarks - EVEREST Ultimate Edition
6. Benchmarks - SiSoftware Sandra
7. Benchmarks - PCMark05, 3DMark 06
8. Benchmarks - Science Mark 2.0, Pov-Ray
9. Benchmarks - MAXON CINEBENCH
10. Benchmarks - SuperPI
11. Benchmarks - SYSmark 2007 Preview, WorldBench
12. Lost Planet: Extreme Condition
13. Overclocking
14. Asus AI Gear 3
15. Summary
The BIOS interface follows what Asus has been using for sometime now. In order to get the best results, we used the BIOS update software to upgrade to the latest 0904 beta version. The update procedure is pretty straight forward.
This BIOS interface is probably the best we've ever seen, compared to what other mainboad makers offer. It is separated in several tabs, each one having sub-menus with different options. The first tab includes information about the date, the SATA drives and the system.
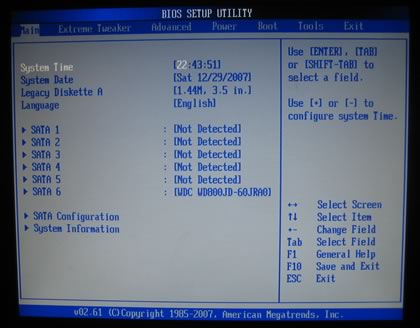
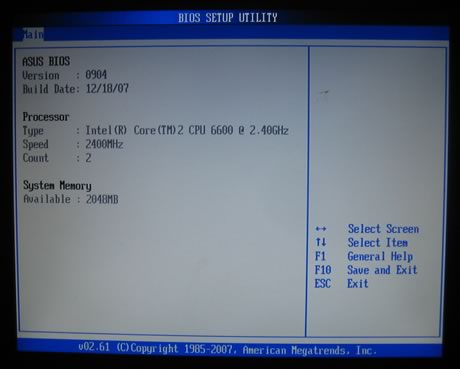
On the second tab named "AI Tweaker", users will find tons of features. The motherboard includes an auto overclocking system, called Ai Overclock Tuner, with three different settings:
- Manual (Allows you to individually set overclocking parameters)
- Auto (Loads the standard settings for the system)
- X.M.P (Loads the optimal settings for the system)
- CPU Level Up (Allows you to select a CPU level, and the related parameters will be adjusted automatically)
- Memory Level Up (Allows you to select a memory level, and the related parameters will be adjusted automatically)

The CPU Level Up allows easy overclocking with pre-defined settings, starting from E6700/X6800/E6850 and finally the "crazy" level.
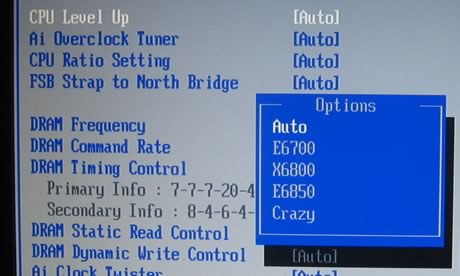
The FSB Strap to North Bridge settings can be left to the default value, or set to frequencies up to 400MHz, when used with the upcoming Intel processors.

There are many memory dividers to play with, from 1:1 to 1:2. The memory dividers are affected from the selected FSB, so in order to have the highest possible options, leave the FSB to auto. We can see that the BIOS recognizes the memory timings and displays them automatically.
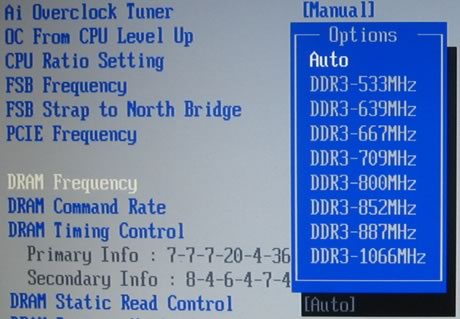
Let's set now the Ai Overclock Tuner in Manual mode.
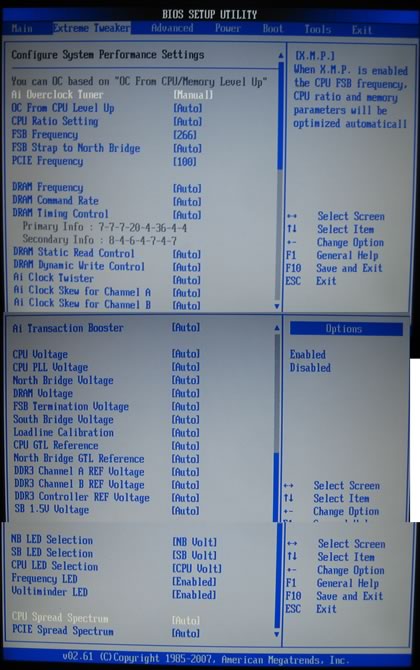
There are several modes for memory regulation in order to either enhance the system's or performance or choose more stable options. The voltage control is not the same with what we saw with the Asus P5E3 Deluxe, since now the menus follow the drop down form, allowing you to choose the available voltages rather than manually typing of value (with 0.02V interval). Here is a list with all the available voltages and frequencies:
- FSB from 200~800MHz with 1MHz step
- Frequency bus PCI-E from 100~150MHz with 1MHz step
- CPU Voltage: 1.10000V~2.40000V with 0.0025V interval
- CPU PLL Voltage: 1.50V~3.00V with 0.02V interval
- FSB Termination: 1.20V~2.00V with 0.02V interval
- DRAM Voltage: 1.50V~3.04V with 0.02V interval
- NB Voltage: 1.25V~2.05V with 0.02V interval
- SB Voltage: 1.05V~1.225V with 0.025V interval
- SB 1.5 Volt: 1.50V~2.05V with 0.05V interval
Compared with Asus P5E3 Deluxe, most voltages have been pumped up, - good news for serious overclockers. Passing to the Advanced tab, we can find more settings for SpeedStep, C1E support and of course the CPU multiplier:

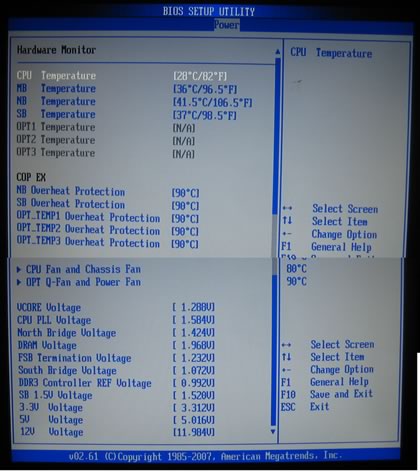
Under the Power tab, you can find the usual temperature readings, with NB and SB temperatures. The voltage reporting is also very informing and useful.
