Gelid Liquid 120 AIO Cooler
3. Installation process
Installing the CPU cooler requires several steps and while there is included a printed manual it took some time to get the thing started and understand what you should do. For our AMD AM4 (AMD Ryzen 5600X) processor, first, you have to first remove the included stock brackets and also the motherboard backplate. Gelid uses its own motherboard backplate for securing the cooler, which in our opinion does add time and hassle for the end user.
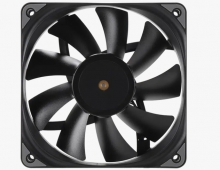
First, you have to attach the included 120mm at the radiator. Note that the included fan doesn't include any arrow to showcase the rotation and direction so keep the mirror effect at the bottom area (it should point to the CPU area).
Then you need to use the included motherboard backplate. You need to check the manual in order to insert the metal inserts at the AM4 socket and with some plastic spacers to secure them. It's not hard, just look at the motherboard. In order to keep this secure, the backplate includes a plastic square which you should peel and attach to the back of the motherboard.
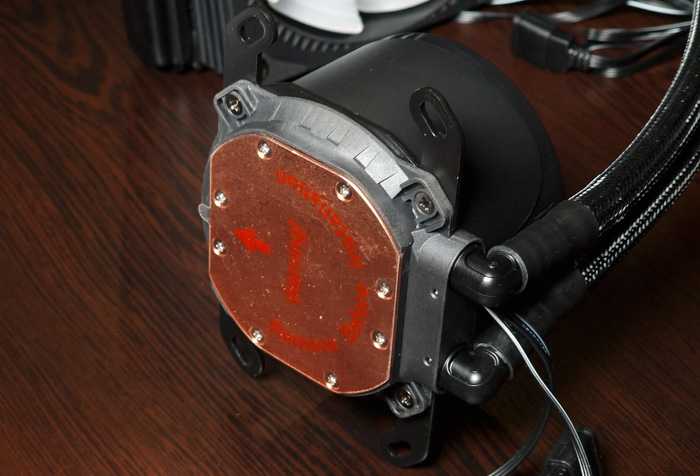
Then you need to use the pump fittings either for Intel/AMD and secure it with the included screws.
This is the long AM4 screw with a spring and also you need to attach a spacer
So after some time we finally installed our product on the motherboard. Note that this requires some rotation of the tubes at the pump, we feel that the included tubes should be slight longer for easier installation. In any case, the nearby VRMS is not affected.
We used the 4-pin PWM of the radiator FAN at the CPU fan header, while the 3-pin power for the pump was installed at the AIO Pump header. Both the fan and pump where connected for the ARGB effect and we used a free 3-pin ARGB header.
A lot of empty space around the CPU area.
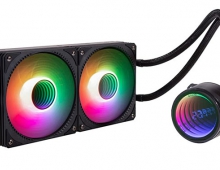
And here is what the final product will look like. Lof of RGB lighting and the mirror effect of the pump is very nice to view.


