G.skill Wigidash
3. Using the product
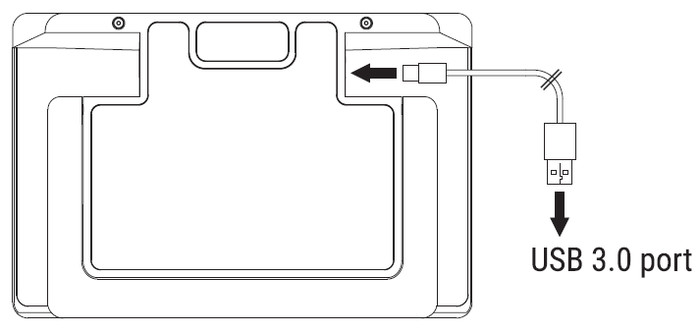
In order to use the device, you need to insert the cable to your device and at the other end a USB 3.0 port
After that step get the latest build of the WigiDash Manager software at the official page at https://www.gskill.com/download/1702985017/1702985071/WigiDash, Note that only Windows 10 (64-bit) and Windows 11 (64-bit) are being supported officially. The installation process is very easy:


At the initial screen, you can select a profile, either default or create a new one.

At the main software screen, you can view in the left area the widgets 5x4 lineup and in the right area the several options/widgets and rest functions.

In the left area, there are several options as you can see below

Under the device tab, you can see the firmware of the device and set several important functions, like the brightness and screen timeout. G.Skill mentioned that "...As the SW gets updated and as we continue to develop the WigiDash device, there may be updates to the device firmware. Currently, there is already a SW&FW version check put in place upon software startup. Update prompt for the firmware will be displayed if the versions are not the latest. Of course this update is not forced and can be canceled to run the currently installed version..."

At the global them tab, more settings are available

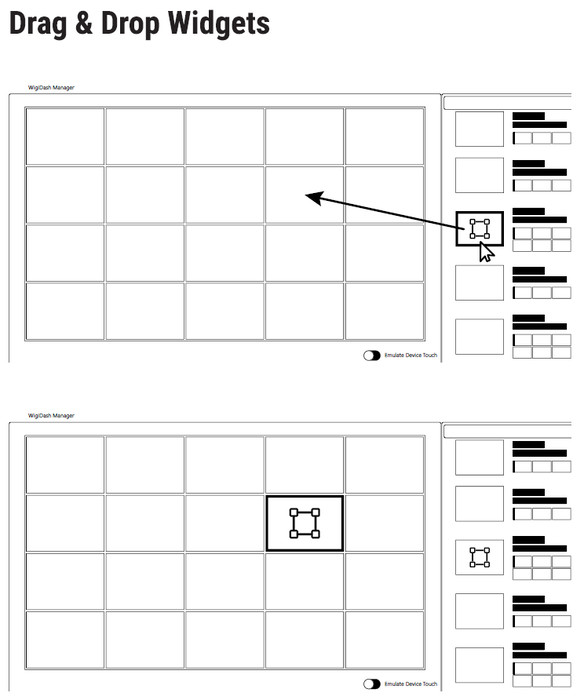
So how you can use the widgets function? Just drag and drop from the right widgets are what you need. You can move widgets around, and automatically changes will appear on the main Wigidash product. Each widget has several options you can set in order to customize it.
There is already pre-installed a "default" screen, with two empty spaces, we added a timer widget as you can see.

While the second default tab includes mostly sound controls

The Wigidash control software includes several different widgets, like AIDA64 (you need to have it installed and running in the background), Audio Visualizer, Clocks, Hotkeys, HWInfo monitor, and many more. Users can build their own widgets from the G.Skill SDK software.

As we said earlier, users can change/control what each widget will display. For example in the Weather Widget area, you can search your local town, so the software knows where you are based and displays the corresponding information.

Users can add more-unlimited-pages, for example, we added a new Test page, which is essentially a black canvas to play with and add what you need. You can navigate through panels with simple left/write swipes at the touch screen.

In that sense, you can add more pages, like Games/Music/Video controls or direct hotkeys for either functions/software/windows programs/etc, there is no limit here since the software is highly customizable.


As you can see there are several pre-builds functions to play around and experiment for each virtual button/widget you add.

For example, you can add tons of widgets on one screen from HWInfo software.

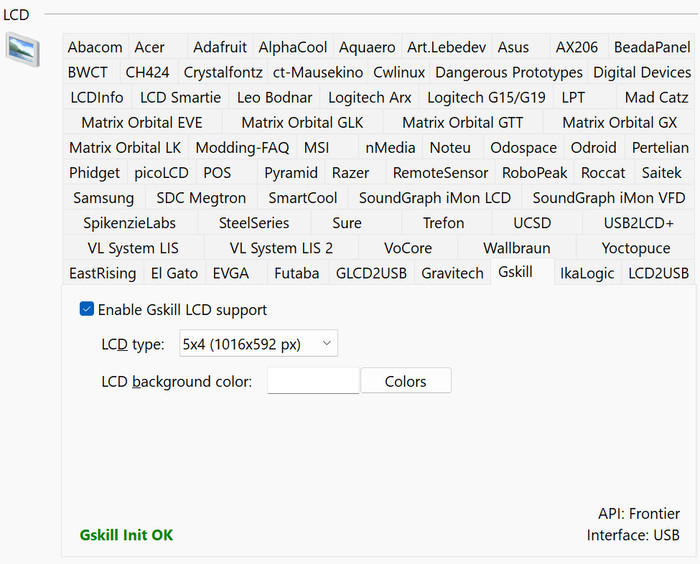
Getting to work with AIDA64, requires you to buy the software. In that case, head over to Preferences->LCD Output and select the G.Skill tab. Of course, you must have moved to a new page with the AIDA64 plug-in in order for the software to connect with the device.
After that point, you can start experimenting with various sensors
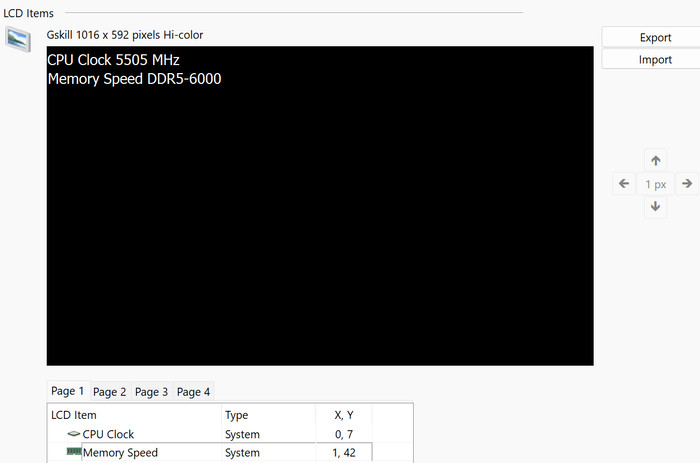
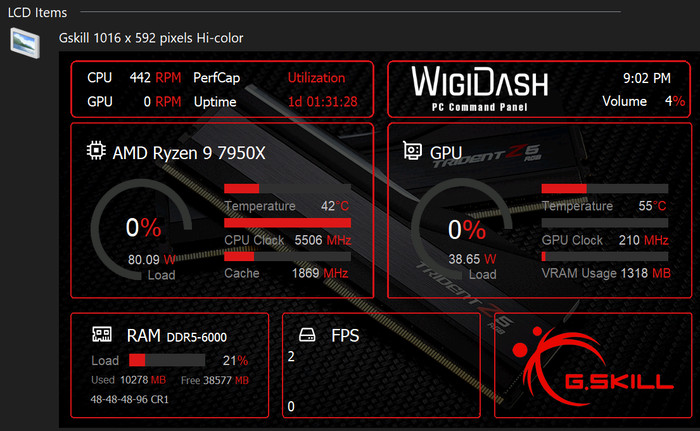
or try to find a pre-build LCD panel layout at the AIDA64 corresponding forum thread. We did find one specially designed for the G.Skill WigiDash and with some slight adjustments, we got the following screen, which looks nice.
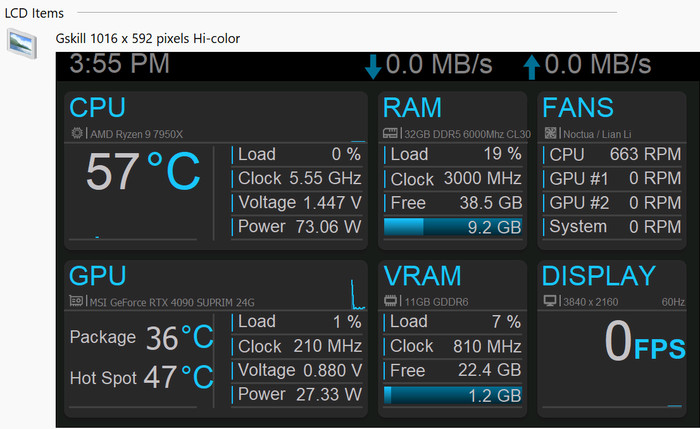
G.Skill now offers their own approach to the WigiDash with pre-made builds that can be found over the official website and will be frequntly updated with improvements.

