Noctua NH-D15 chromax.black CPU Cooler
3. Installation process
Review Pages
2. Retail Package
3. Installation process
4. Test Bed - Performance
5. Overclocking results
6. Conclusion
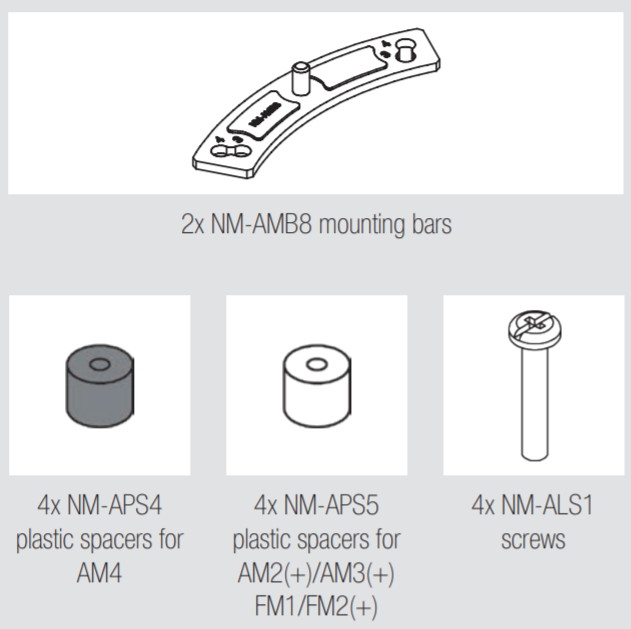
Installing the CPU cooler requires several steps. The retail box includes all the needed information in order to install the CPU cooler either with Intel or AMD platform. For our tests we used the AMD Ryzen 5600X, so we had to unpack the AMD labeled plastic sleeve. There are two mounting bars and four (4) plastic spacers with long screws to attach to the motherboard backplate.

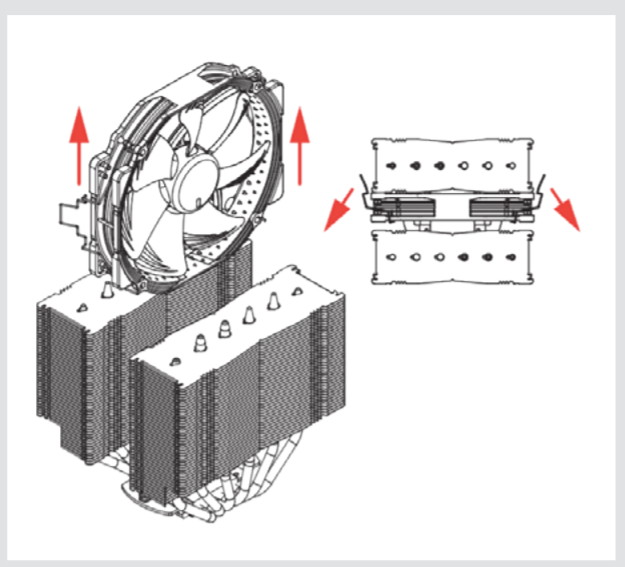
Afterwards you need to remove the central CPU fan and after placing the included thermal compound secure the CPU cooler to the already pre-installed base brackets.
Using the included screwdriver secure the fan, by turning 2-3 times the screwdriver to put even pressure to both sides.

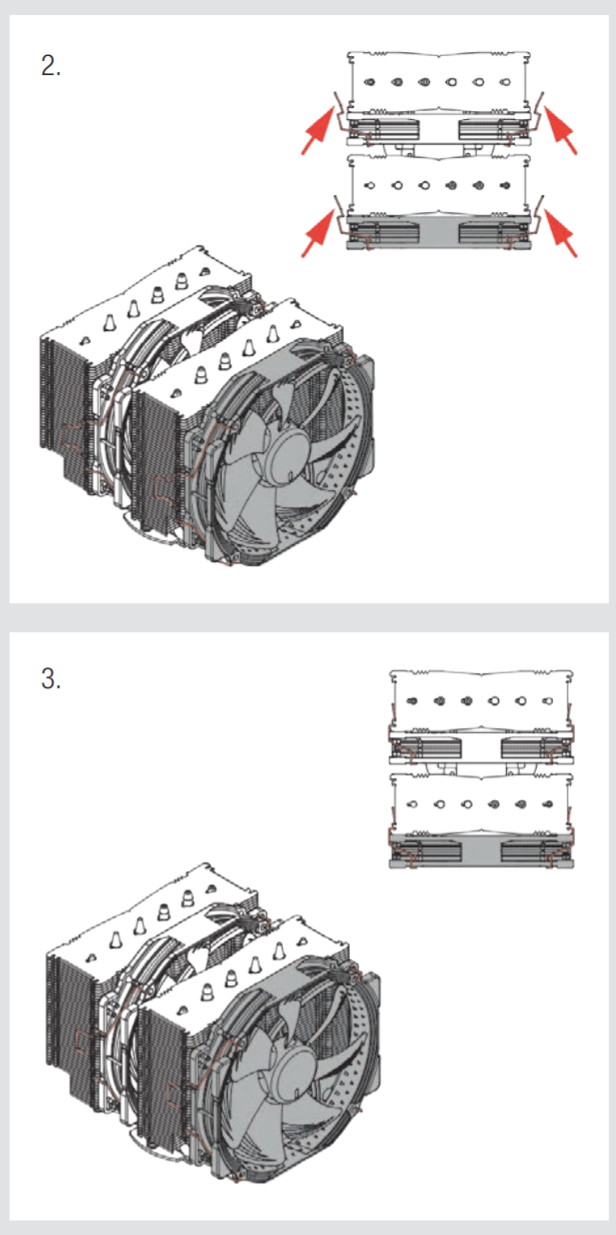
Placing again back the central and front CPU coolers.
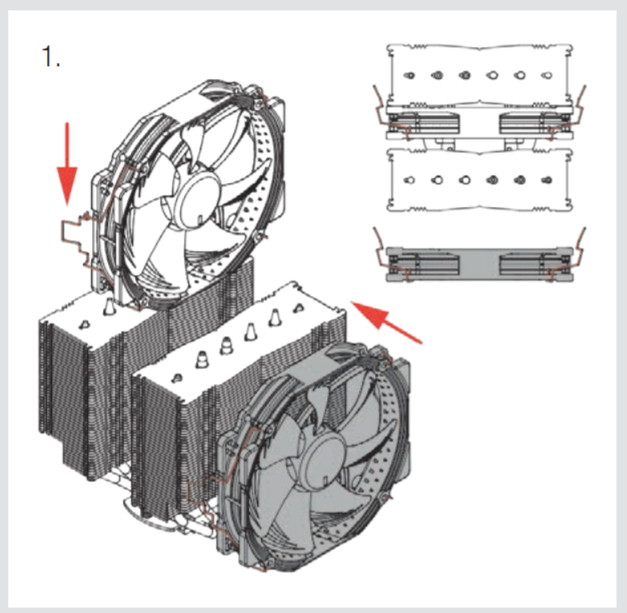
Both of the should have the SAME fan rotation direction (air blows towards outside the case). Connect the fan(s) to the motherboard’s CPU fan header(s). If necessary, use the supplied NA-YC1 y-cable to connect both fans to one fan header. Due to the fact that the front CPU cooler stands above memory banks...so you need around 20cm clearance from the motherboard. However you can use the front 140mm to the other side and place an 120mm in front, it all depends upon your motherboard setup and case...
Review Pages
2. Retail Package
3. Installation process
4. Test Bed - Performance
5. Overclocking results
6. Conclusion


