Noctua NL-LC1-36
3. Installation
Installation is one of the areas where Noctua's air-cooling pedigree really shows — the included manual (identical across the 240/360/420mm models, using the 360mm as its worked example) is unusually thorough for an AIO, and explains why each step matters rather than just showing pictures.
Step 0: Break the pump in before final assembly
Because air bubbles can accumulate inside the pump during shipping, Noctua recommends letting a new NL-LC1 run for 60 minutes before final installation, with the radiator laid flat on a table and the pump hanging down over the table's edge — this helps purge any trapped air before the cooler goes into the case.
Additionally, Noctua’s engineering documents reveal a hidden quirk regarding fixed-speed operation: Running the pump at a locked, fixed RPM for more than 3 hours can cause a minute build-up of microbubbles due to stagnant fluid dynamics, resulting in slightly higher noise levels over time. Noctua recommends utilizing >automatic, temperature-based PWM speed control rather than locking the pump at 100% . The constant fluctuation in system temperatures prompts natural changes in the pump's RPM, disrupting the fluid dynamics and preventing microbubbles from settling
Step 1: Pick a radiator position — and get the orientation right
Most tower cases allow the radiator to go in the top, front, or side of the case. The manual is explicit that this choice trades CPU temperature against GPU temperature:
- Top mount exhausts hot air directly out of the case, keeping the GPU cooler, but pulls in air that's already been warmed by other components — Noctua recommends pairing it with a front intake and rear exhaust fan.
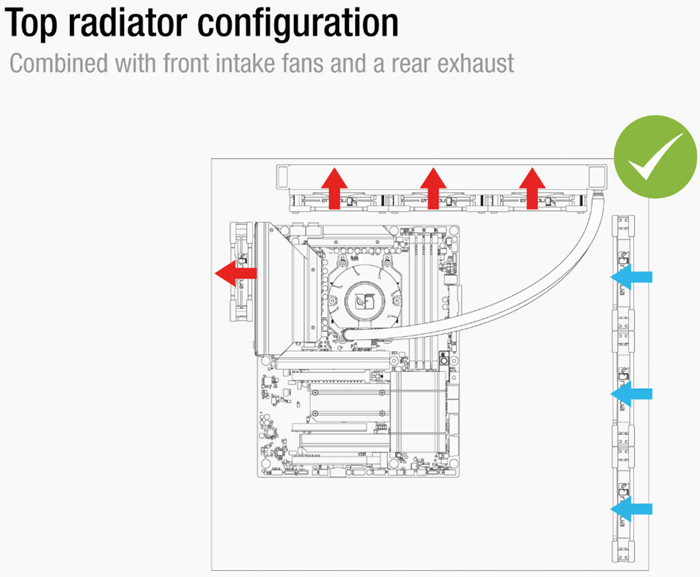
- Front or side mount feeds the radiator fresh air, giving the lowest CPU temperatures, but dumps that heat into the case, which can raise GPU temperature slightly. This should be paired with exhaust fans at the top and rear.
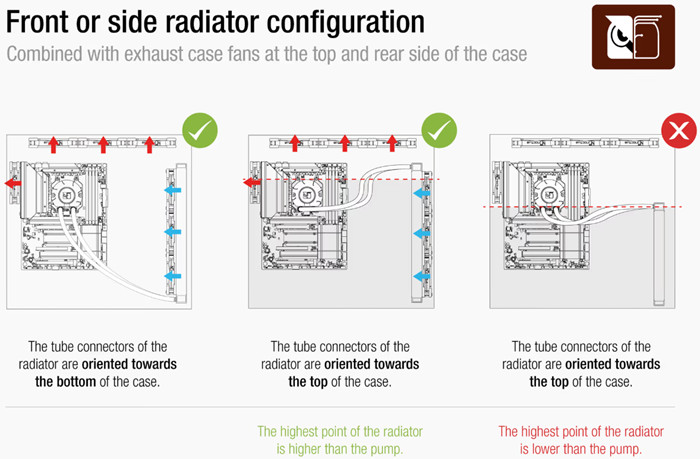
For front or side mounting specifically, tube orientation is a hard rule, not a preference: the manual states the radiator's tube connectors should ideally face the bottom of the case, but can face the top only if the highest point of the radiator stays above the pump. Get this backwards and air can become trapped in the pump, which the manual warns leads to more noise, worse performance, and a shorter lifespan.
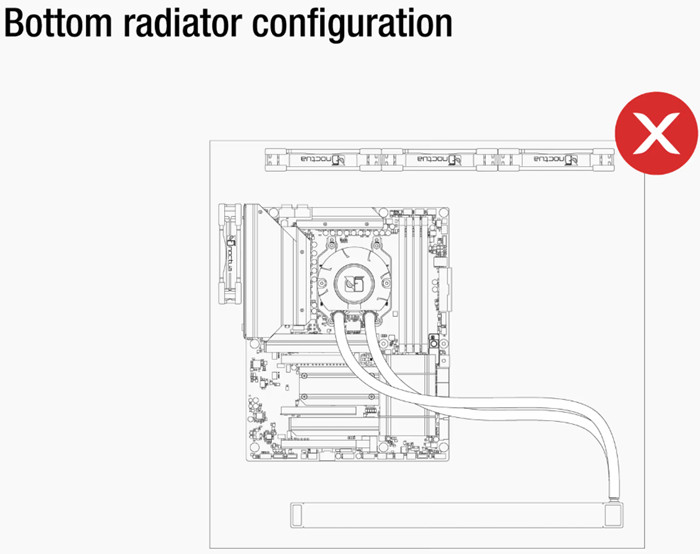
Bottom-mounted radiators are a hard no. The manual flags this explicitly: mounting the radiator at the bottom of the case would put it below the pump, risking the same air-trapping issue.
Across all orientations, Noctua recommends a push setup (fans pushing air through the radiator) over pull or push-pull for the best noise-to-performance balance — push-pull is explicitly discouraged unless you're chasing maximum raw cooling and don't mind the noise penalty.
Step 2: Fan and radiator mounting
Fans attach to the radiator with the anti-vibration gaskets facing the radiator and cables facing downward, using the supplied long screws — torque is capped at 0.3 Nm, and the manual is emphatic about not overtightening: screw until the fan stops and just resists, then stop. The radiator itself mounts to the case with the shorter screw set.
Fan placement isn't arbitrary: the three included fans are speed-matched in pairs labelled PPA (slower) and PPB (faster) to create the acoustic offset discussed above. On 360mm and 420mm models, the PPB fan must go in the centre position, with the two PPA fans on the outside. (On the 240mm model, placement doesn't matter since there are only two fans.)
Step 3: Socket-specific mounting
Mounting differs meaningfully between AMD and Intel:
- AMD (AM5/AM4): SecuFirm2+ installs directly onto the motherboard's existing stock backplate — you first remove the stock retention module, then screw Noctua's steel mounting bars on with grey plastic spacers underneath. AM5 and Ryzen 5000/3000-series AM4 CPUs should use the -7mm offset hole position for optimal hotspot contact; other AM4 CPUs, APUs, or any case where the offset bracket clears motherboard heatsinks poorly should use the standard (0) position. On AM5, a thermal paste guard (NA-TPG1) is also fitted over the CPU first, to stop excess paste squeezing into the heatspreader's cutouts.
- Intel (LGA1851/LGA1700): Noctua's backplate installs over the motherboard's stock backplate rather than replacing it — the stock backplate must stay in place. If the case has no rear cutout behind the socket, the motherboard has to come out to fit the backplate. Mounting bars are marked "WEST" and "EAST" and must go on the correspondingly marked sides of the socket, with the "CPU→" markings pointing at the CPU. The offset position (+3.7mm, with an added north+east shift) is recommended specifically for 24- and 20-core LGA1851 chips; every other LGA1851 and all LGA1700 CPUs should use the standard, non-offset position.
Step 4: Thermal paste, pump mounting, and final assembly
Apply the included NT-H2 paste in the standard five-dot pattern (four ~2mm dots near the corners, one 3–4mm dot in the centre), then seat the pump block, aligning its screws with the mounting bar threads. Turn the screws backward first until they catch the threads, then tighten in an alternating, cross-pattern sequence a half-turn at a time — torque capped at 0.6 Nm for this step. For best thermal results, Noctua recommends orienting the pump so its tube exits point south on the socket — testing showed this delivers roughly 1°C lower temperatures than an east-facing orientation on Intel, and can be worth over 5°C on some AMD configurations.
Finally, connect the pump to a motherboard header set to PWM control (not DC/voltage) if your board allows switching that in the BIOS, connect the three fans through the supplied splitter cable to a separate fan header (an NA-EC1 extension cable is included if reach is short), and snap the Noctua logo faceplate — or the optional NL-ACF1 auxiliary fan — onto the pump's magnetic top.
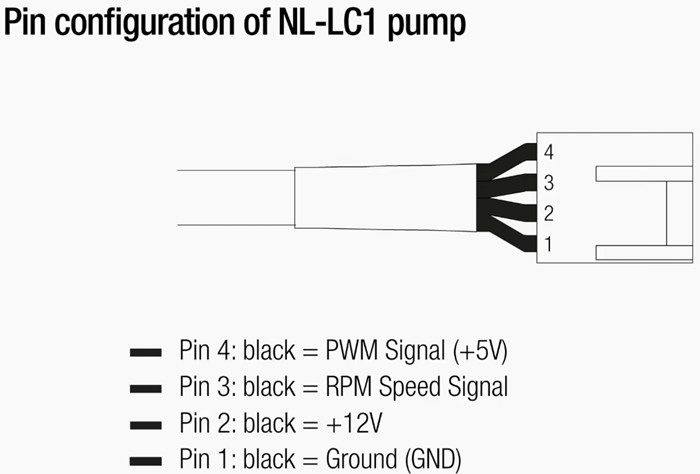
The pump uses a standard 4-pin layout: pin 1 ground, pin 2 +12V, pin 3 RPM speed signal, and pin 4 the PWM signal (+5V).
The physical process is straightforward with help from either the detailed manual or online Noctua YouTube installation video.
You have to use the included Torx T20 driver for the mounting hardware and keep in mind that the fans don't support daisy-chaining, and their cable runs are short, which can make cable routing slightly less tidy than on some competing coolers.
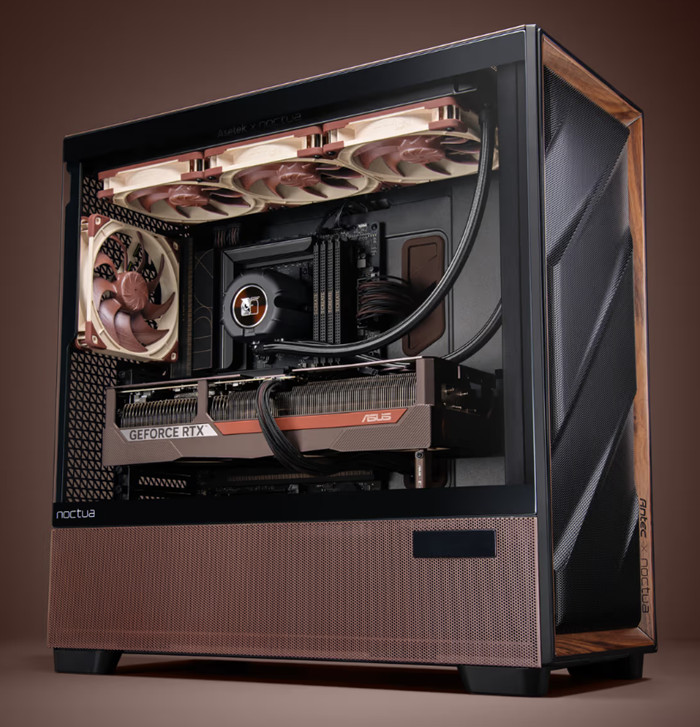
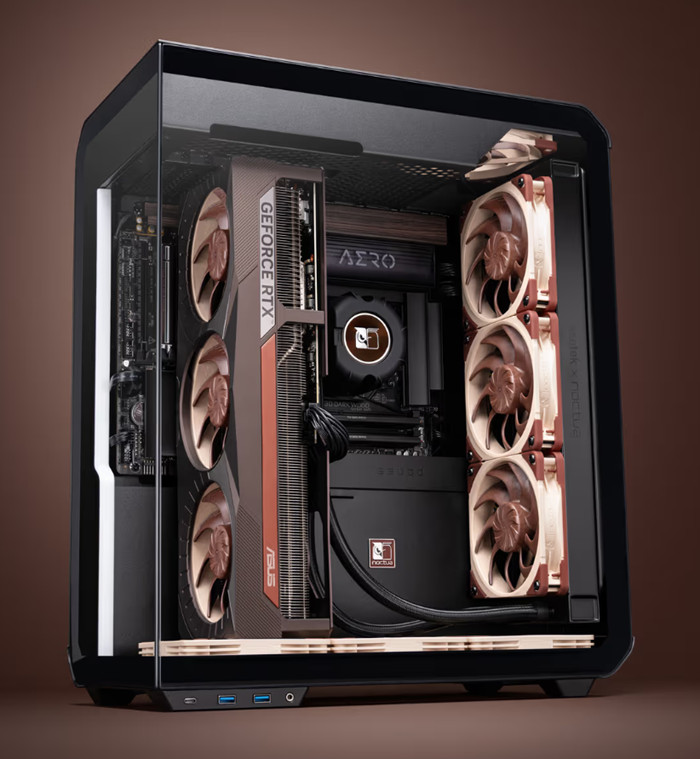
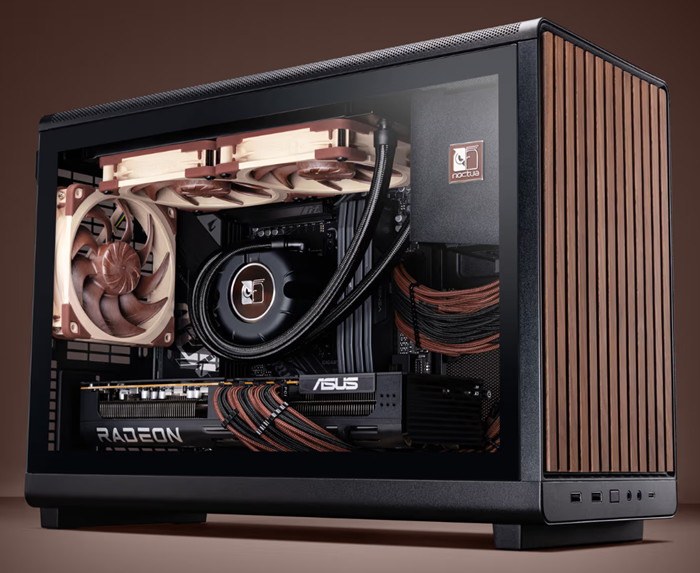
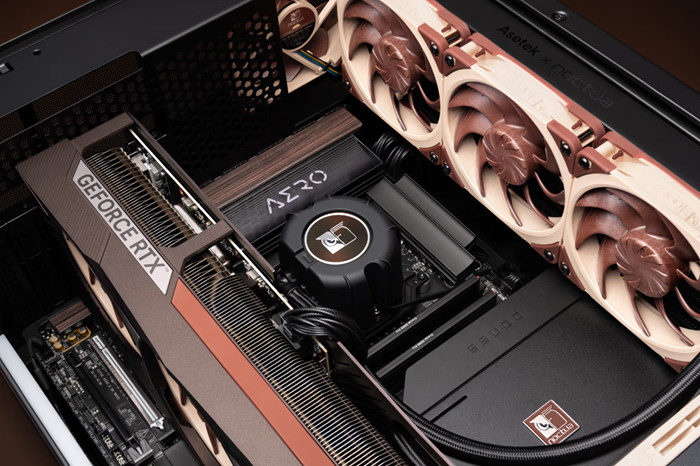
Below are some examples of product installation from the official PR material: