Sansun SN-C001 the BAT
4. Installation
The installation is rather simple, as with most of the PC cases out there, so we will only cover the important parts here. First thing first, we installed the Power Supply and Motherboard. The power supply was a Thermaltake ........ and the motherboard used was the ......
We encountered some difficulties in installing the motherboard ports backplate in the PC case and we had to improvise...
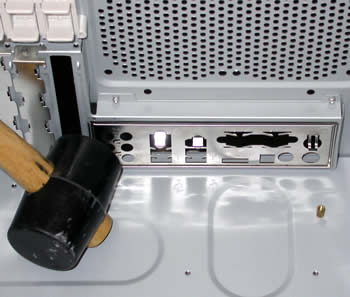 |
| Not a Bat-Hammer but it will do... |
Even though this was most probably a motherboard related issue, one must take care of the insertion of the backplate...
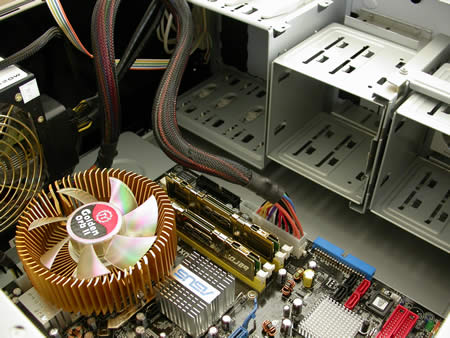 |
| The motherboard and power supply installed in the case... |
Next to be installed was the HDD. Note here that the HDD must be installed before the graphics card (or cards in the case of SLI) because of the lack of space (the slide-in HDD cage won't fit past any installed graphics cards. This can be considered as a flaw in the BAT case design. Note also, that with hard disks and other similar devices, screws must be used in order to secure the drives to the PC case and not clips, hooks, or similar ...
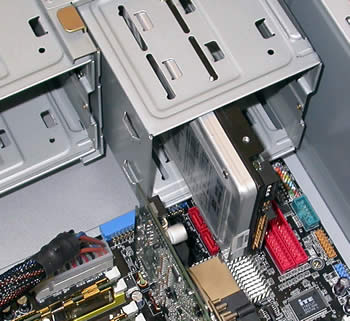 |
| The HDD slots and the sliding rail devices... |
As mentioned above, SLI card owners will find themselves in a bit of trouble if they try to unhook any HDD drives, or install them after installing the graphics cards. This is due to the HDD cage sliding out towards the motherboard rather than upwards, as seen in the screenshot below...
 |
| SLI card problem is one of the major flaws of the BAT case... |
Moving on to the graphics cards, the installation is quite easy, though some un-screwing must take place. As shown in the previous page, the plastic lock above the expansion slots must be removed with the three screws which reside on the exterior of the case, and then the expansion slots will become free. We then install the PCI devices (and AGP) and we put the lock back in place...
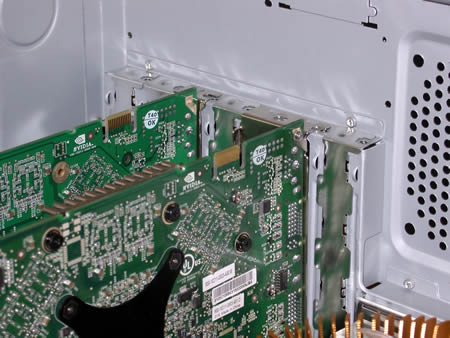 |
| The GPU cards installation, after removing the Plastic lock... |
Now we put the lock back on the PCI devices...
 |
| Three screws hold the plastic lock in place on the back of the case... |
Unfortunately, the procedure did not end as expected. The plastic lock did not lock into place thus holding down firmly the PCI card, as seen in the picture below. Note here that this problem occurred with the graphics cards but we believe that with other PCI devices, it would most probably not be a problem...
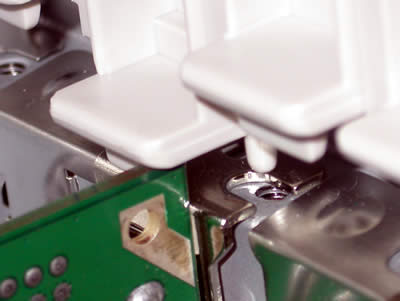 |
| This can be expected with PCI-E and AGP Graphics cards.... |
Another drawback was the HDD orientation, which is restricted by SLI graphics cards due to lack of space. With a little effort, the cards and drives will all fit in, even though you must take care with the IDE and power supply cables...
 |
| Limited space is another flaw of the BAT case (SLI users only) |
After installing the Power Supply, Motherboard, HDD and graphics cards, we moved on to the extra USB and the rest of the I/O slots...
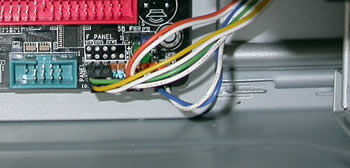 |
| Plugging in the necessary Power/Reset buttons as well as the USB - 1934 - and Mic/Headphones ports is the easiest part... |
 |
| Notice how the Power and Reset switches light up... |
Drive installation is quite easy and a tool-less procedure, and within a few minutes, both our drives were in place. Two plastic clips (one on each side of the device, two on each of the three 5.25" slots) which come with the BAT case...
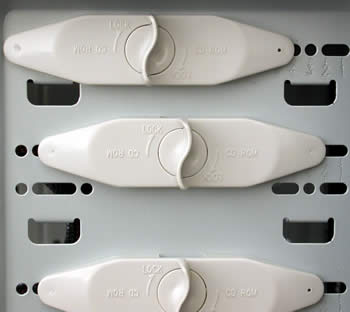 |
| The installation clips are a very useful addition to the BAT case... |
The drives were hooked on in less than a few minutes as mentioned above. Note that in order to put the clips on both sides, both side panels must be removed. But since the case offers the hand screwed solutions for side panel removal, the task was actually much easier.
 |
| The drive and Power supply installed.... |
Another point of interest during installation was the side fan, which as discussed in the previous page, helps increases the effectiveness of the CPU cooler. The side fan draws cool air over the CPU fan.
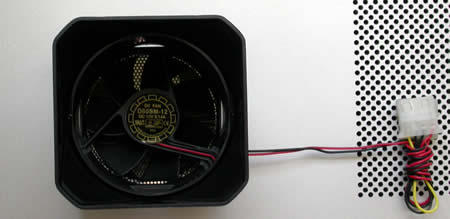 |
| We plugged the side fan and then we closed the side panel... |
The Side fan is designed to go right on top of the CPU cooler. For this review, we used the Golden Orb II from the Tt Golden Orb series which is quite big. Fortunately, there were no problems...
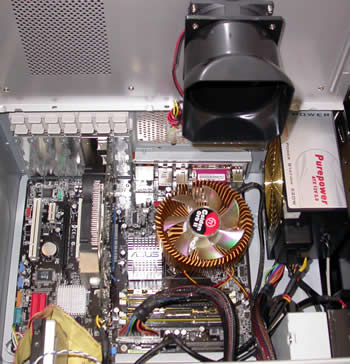 |
| The Side fan will hug the CPU cooler... |
The side fan will increase flow as expected, especially as the tube "hugs" the CPU cooler, literally...
 |
| Perfect fit... increased ventilation.. |
If you are about to install a larger CPU cooler than the Golden Orb II, you'll probably have to first remove the plastic tube over the fan, in order for the side panel to close.
Last but not least, we plugged in an extra 8mm fan at the rear of the BAT case. An akassa 12db was used and was installed in short time without any problems whatsoever...
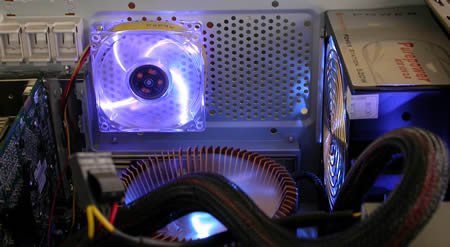 |
| The outcome is really impressive.... |
And so the case is complete and ready for use...
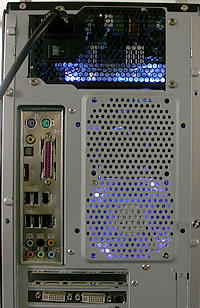 |
| Another view of the rear fan... |
As we've seen in this page, the BAT case is a pretty versatile case in terms of installation. Even though we encountered some problems with the HDD and SLI enabled motherboards, the BAT case still remains a good choice as a PC case.
 |
| Up 'n working... |
And now we move on to the conclusion...


