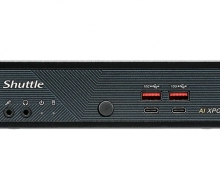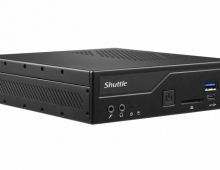
Shuttle XPC Slim DS67U Barebone
3. Installation, BIOS
Review Pages
The removal of the back covers reveals the motherboard interfaces. All you need to do is unscrew the two screws of the bottom cover and slide the cover forward and upwards.
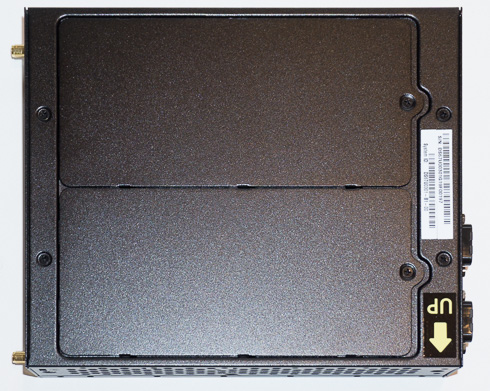
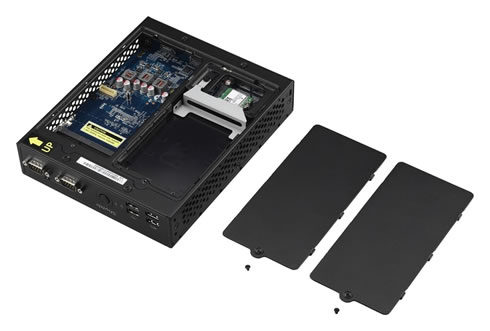
First you need to have 1.35V DDR3L memory modules. Be careful with that, since the box will not power on otherwise. Locate the SO-DIMM slot on the main board, align the notch of the memory module with the one of the memory slot, gently insert the module into the slot in a 45-degree angle and finally carefully push down the memory module until it snaps into the locking mechanism.
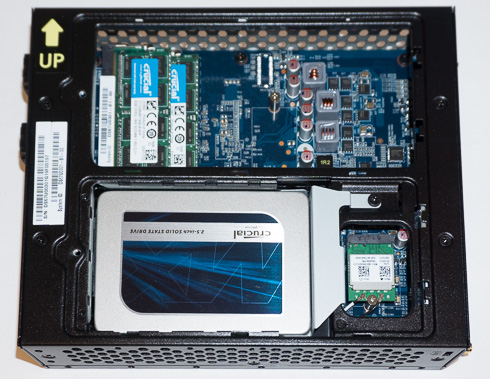
In order to get the HDD/SSD installed, first you have to unscrew the rack from chassis, place the HDD or SSD in the rack and secure it using the e two screws at the side. Lay the HDD or SSD into its drive bay and push it gently to the right until it clicks into place and refasten screws. Below you can see both the Crucial SO-DIMM and the SSD components installed:
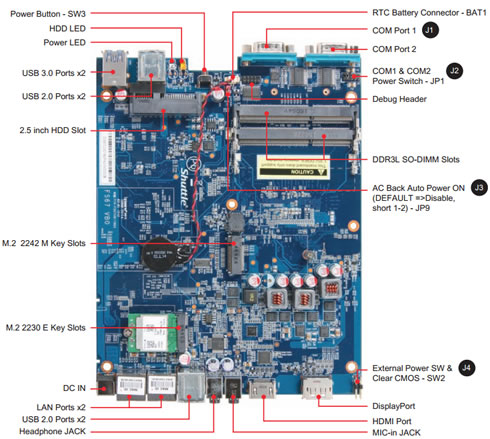
Below you see a picture of the bare motherboard. You can have both a 2.5" HDD/SSD and an M.2 2242M SSD installed at the same time, in order to get more storage capacity:
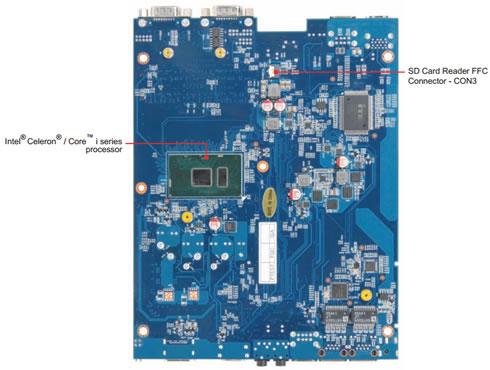
The Intel Celeron processor is visible at the back side of the main board:
Shuttle suggests that the barebone should be usually operated in a vertical position, using the supplied aluminum stands (DisplayPort output facing up). Another option is to mount it behind an appropriate monitor using the supplied VESA mount kit. From a thermal point of view, horizontal operation is permitted, although there are not any rubber pads to keep the barebone cool. At that position, the maximum operating temperature is 35°C.
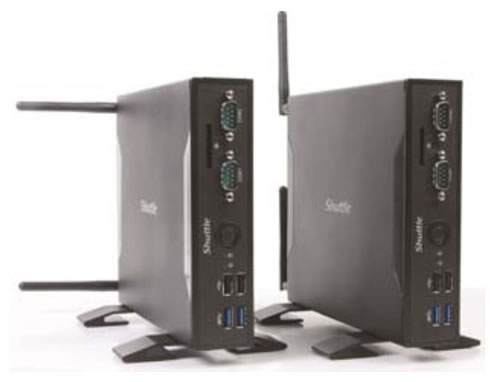
Finally, the included Wifi antennas can be moved as the following picture shows, either in a horizontal or a vertical position:
- Bios / Installing Windows
You are free to install almost any operating system. Shuttle offers drivers mainly for Windows 7/8/10 and of course you can also choose to install your favorite Linux distro (like Ubuntu). In our case, we chose the Windows 10 installation. After creating a Windows 10 USB, you have to enter the BIOS are (pressing del at boot screen) and set the USB as a boot device. The installation was completed within some minutes and most of the internal components were recognized without needing to install additional drivers.
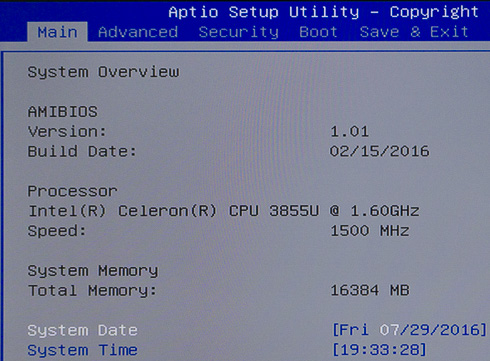
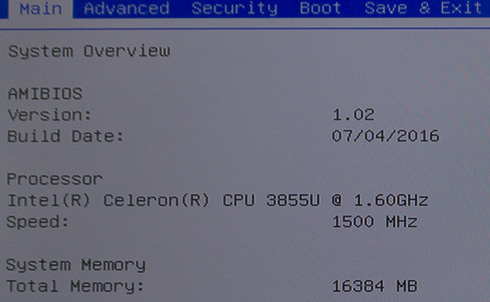
The DS67U Shuttle is still sticking with an Aptio Setup Utility interface, so no flashy UEFI effects here. The system is based upon AMI BIOS and its rather easy to navigate. The menus are available on the top area of the screen. The Main area shows details about the currently installed BIOS version, the installed processor and the amount of installed memory. Here you can also adjust the system's date and time.
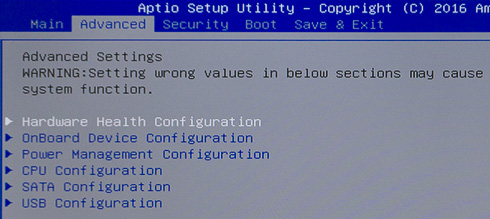
The Advanced area comes with the following sub-sections:
- Hardware Health Configuration
- OnBoard Device Configuration
- Power Management Configuration
- CPU Configuration
- SATA Configuration
- USB Configuration

- Hardware Health Configuration sub-menu does show the live CPU/System temperatures, but also the current voltage for the CPU package and DRAM.
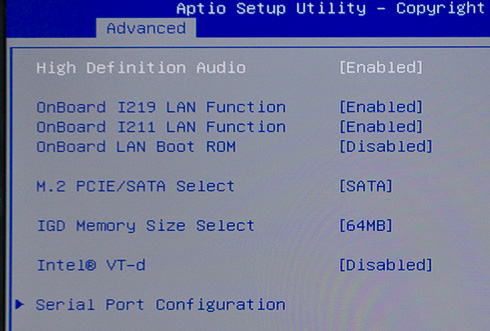
- Through the OnBoard Device Configuration, you can enable/disable certain motherboard interfaces, including the audio CODEC, LAN ports, choose a function for the M.2 slot, allocate a certain memory section for the IGP and more.
- The SATA Configuration area only displays the currently connected drives into the respective slots.
- The Security menu allows you to change current Supervisor/User passwords, set the Password Login Control area, but also enable/disable Flash Write Protection.

The system was updated to the latest v1.02 BIOS. You have to use a DOS USB flash drive in order to update it.
Review Pages