Spire QuieTude VI
2. Installation
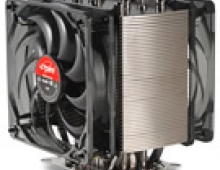
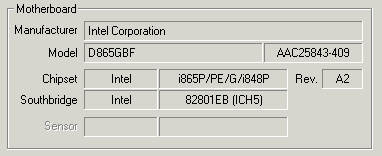
Installation of the SP495S11-U CPU cooler is quite easy and will not occupy more than a few minutes of your time. No retention module change has to be made, since the cooler fits right in by default, onto the current motherboard supporting clip. For installation and test of the SP495S11-U, we used the following system :
 |
as is reported by the CPU-Z utility... |
 |
We first dettached the stock CPU cooler from the motherboard and cleaned the processor surface from any thermal compound left by the previous installation...
 |
make sure the CPU is clean of any thermal compound... |
We then removed the protective plastic from the Spire cooler, exposing the white thermal grease at the bottom of the cooler.
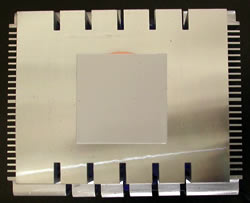 |
the white grease is not to be touched... |
Then we placed the Spire cooler onto the motherboard....
 |
the spire cooler will fit right in... |
and fastened the brackets.
 |
| Fit the fastening clip and then push down and lever back so it clips over protruding ear on the opposite side of the supporter. |
After placing the brackets on each side of the cooler, we attached the power cable to the power socket on the motherboard.
 |
Plugging the power cable.. |
With the installation of the cooler completed, we move on to see how the cooler performs under specific CPU loads. As mentioned before, the installation was easy and should cause no problems whatsoever.


