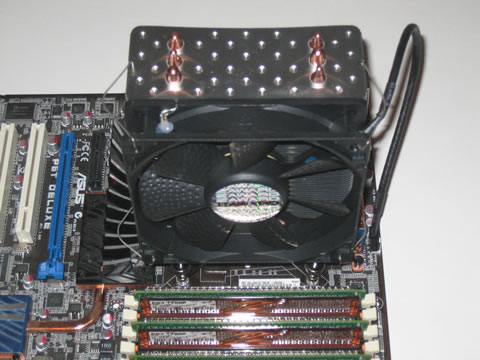
Zaward Vapor 120
2. A closer look
The Zaward Vapor 120 cpu cooler comes in cool retail package as you can see in the picture below. In order to get it , you will have to spend ~ $48, making it quite competitive for the category.
The cooler can be installed in Intel LGA1366, LGA1156, LGA775 & AMD AM2, AM2+ and AM3 sockets.



A hard plastic shell protects the package's contents keeping them in place. The package includes many different mounting screws/plates/nuts and standoffs. There is also a printed manual and some metallic brackets used for the installation of the 120mm fan. Make sure to read the instructions before attempting to install this cpu cooler:

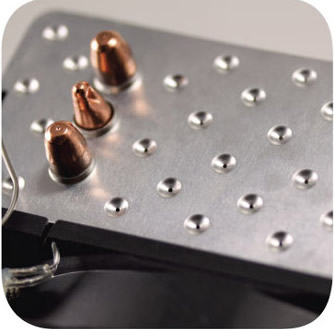
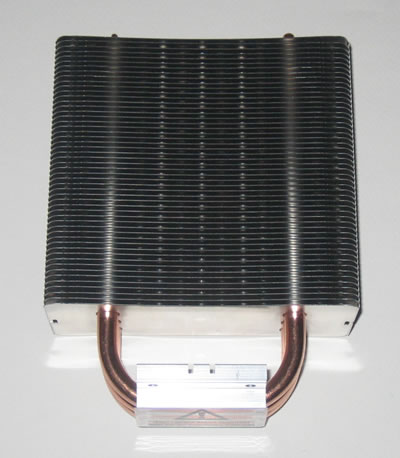
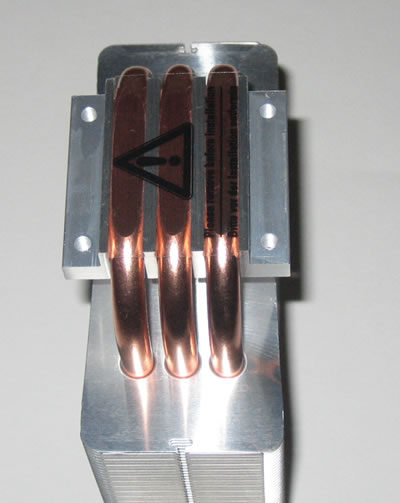
The cooler has a typical design with three U-shaped full copper heatpipes (8mm diameter) connecting the base with the aluminium fins. The dimpled aluminium fin design are causing what Zaward calls the "breathing effect." According to the company, this design offers an improved heating exchange efficiency by 30%, among the fins and the heat pipes.
The direct contact of the pipes with the CPU (H.D.T.) provides rapid heat transfer:
The installed 120mm fan supports the PWM function (300±200 rpm~2000±10%), allowing you to set the rotation speed of the fan through the PC BIOS. The fan has also blue LED lighting.

Installing this cpu cooler would take you some time due to the fact that there are so many parts in the package you need to recognize first and use them accordingly.
First you need to place the backplate using the four M3 mounting screws and then secure them with the bundled standoffs:
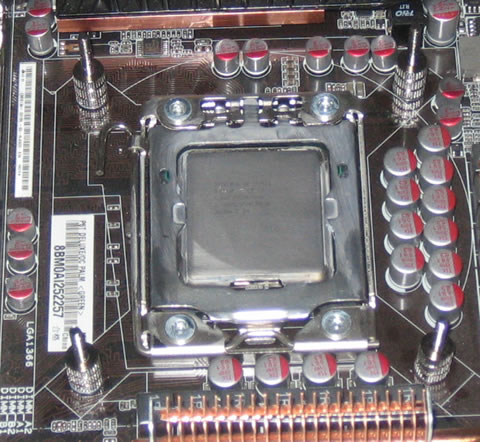
The next thing to do is to fasten the Intel mounting clips on the base using the four hex socket screws:

The final step is to use the collar nuts and diagonally fasten the cpu cooler on the motherboard:
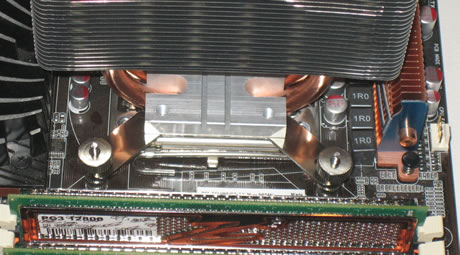
Installing the 120mm fan is easy using the bendable metallic brackets including in the package for this purpose. You can follow the same procedure in order to install a second fan:
