be quiet! Dark Base Pro 901
3. Details, installation
Review Pages
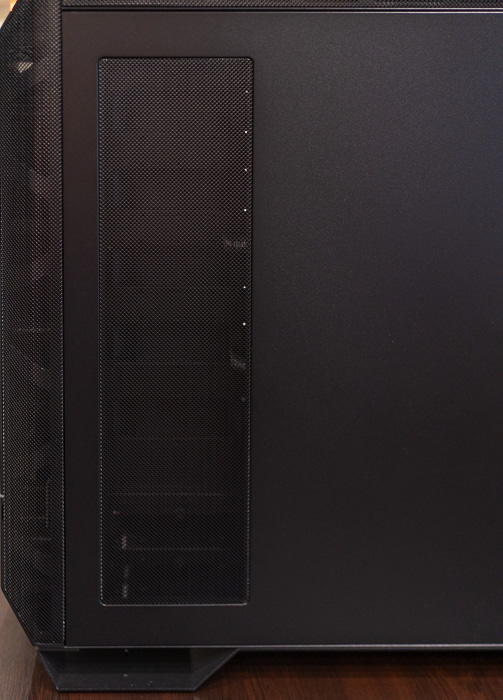
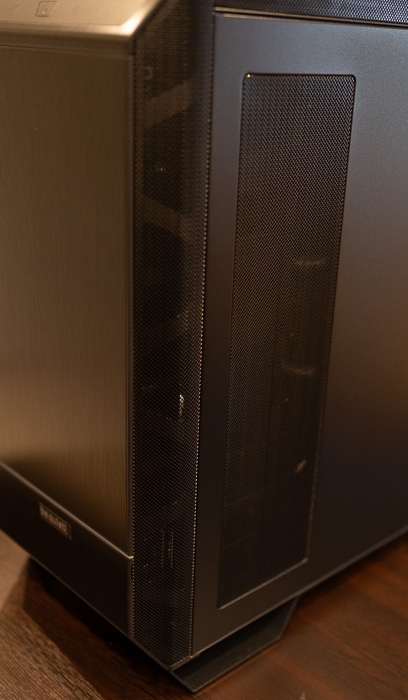
At the left panel, there is a big mesh hole, where your system can get fresh air, or simply install a 360 radiator.
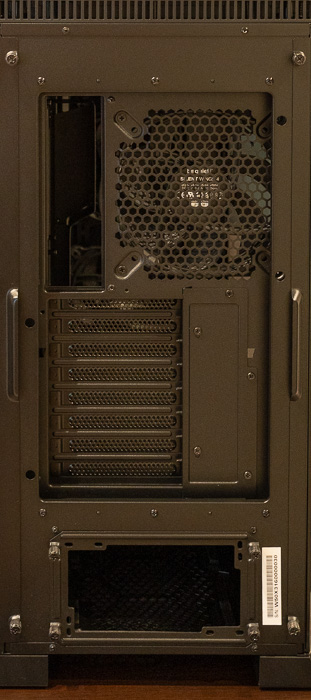
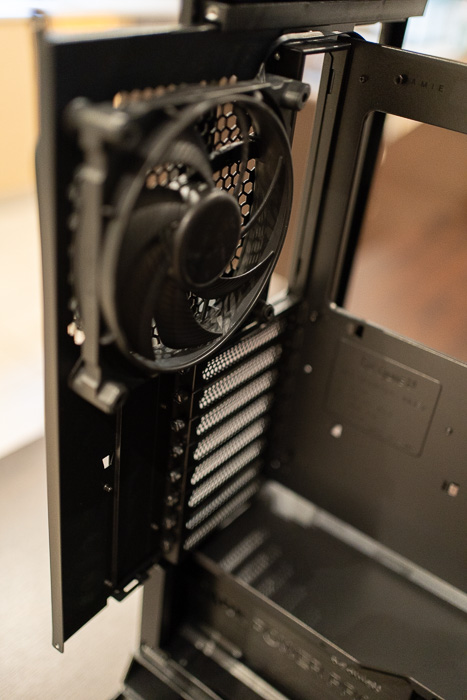
At the back, you will find installed a 140mm fan and the usual slots.
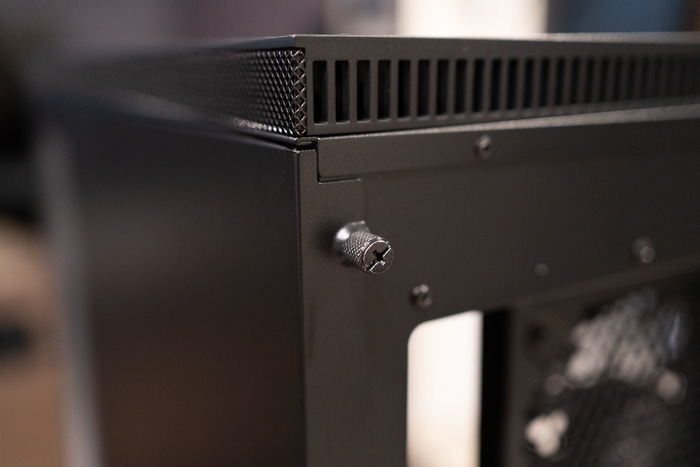
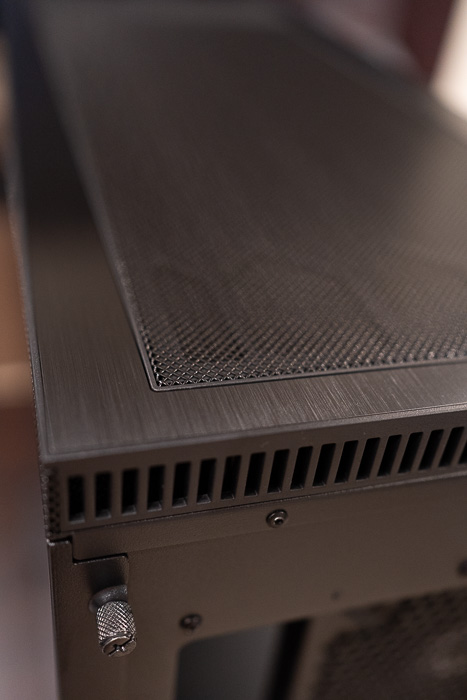
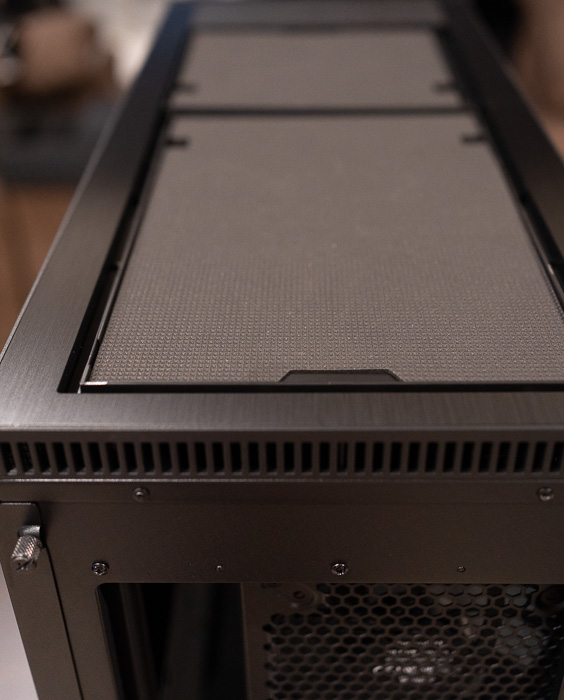
At the top area, you can see more airflow vends
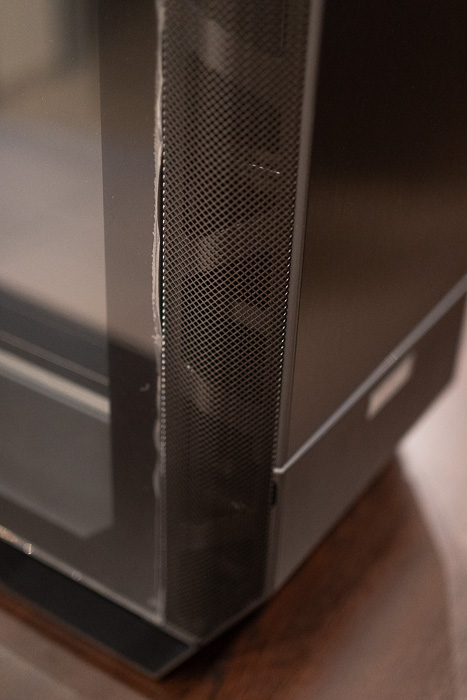
while the manufacturing finish is excellent.
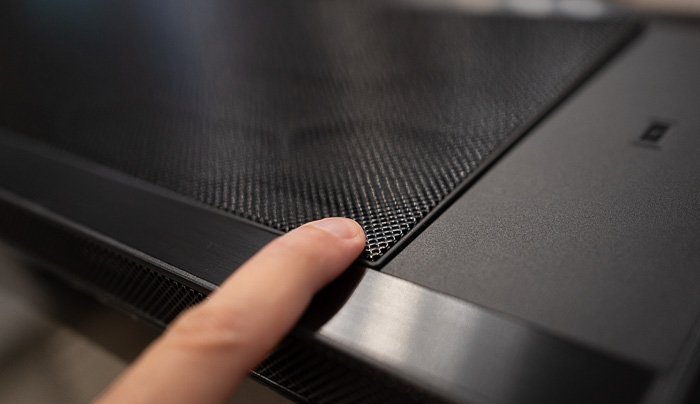
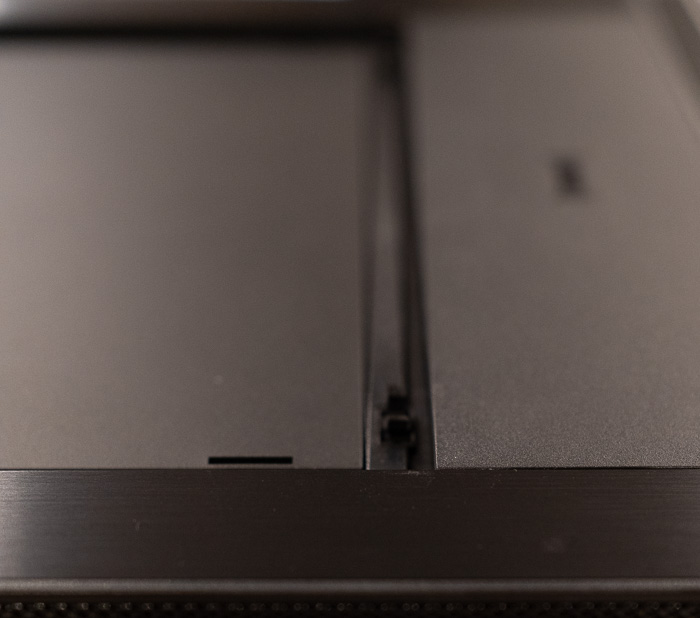
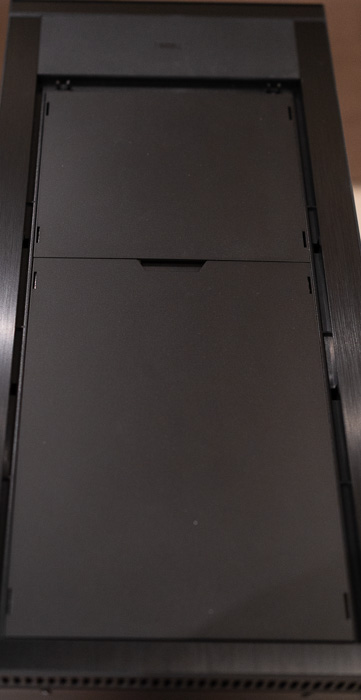
The top panel can be opened by pressing the panel and a clatch is being used. Probably we would like to see magnetic panels with such a high retail price.
Upon removal, you will find two sound-dampening panels.
which also can be removed easily, in case you need to get fans installed at the top or get more airflow.
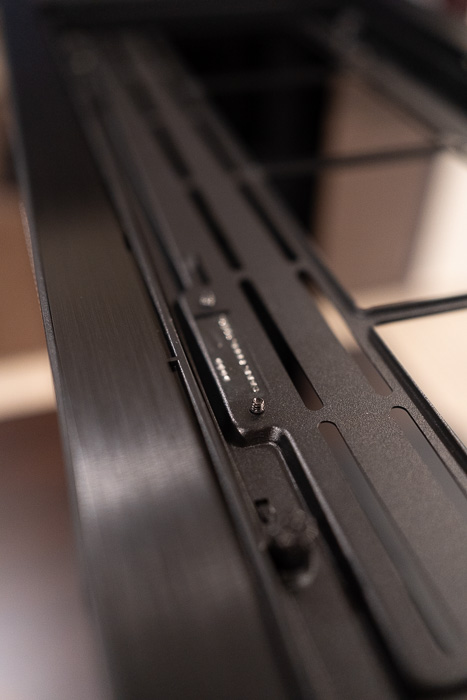
The top metal panel includes all the necessary holes to secure fans and big 360 radiators and also includes a mini-board for fans that can power them.
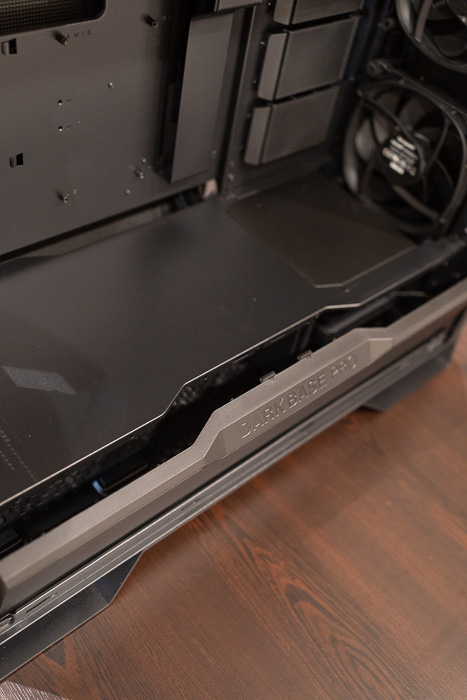
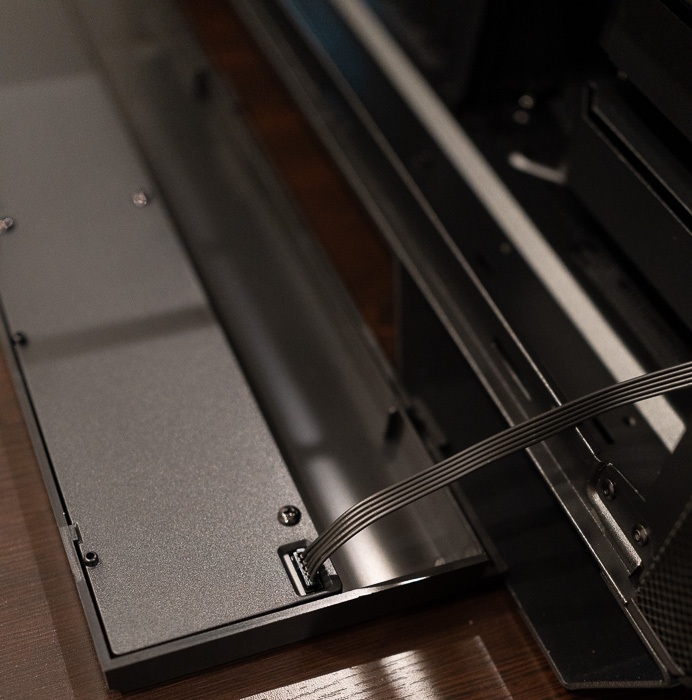
Inside the case, you can open the front plastic PSU shroud panel
This panel also includes more sound-dampening material and a cable for the side ARGB lighting.
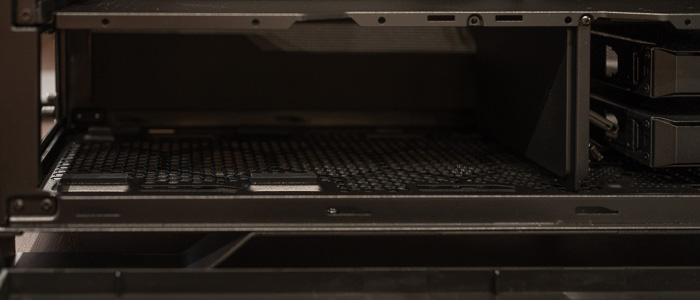
The PSU area is rather big with around 35cm of free space to install big Power supplies. be quiet! has looked at small details as well, you will find dampening material where the PSU is placed.
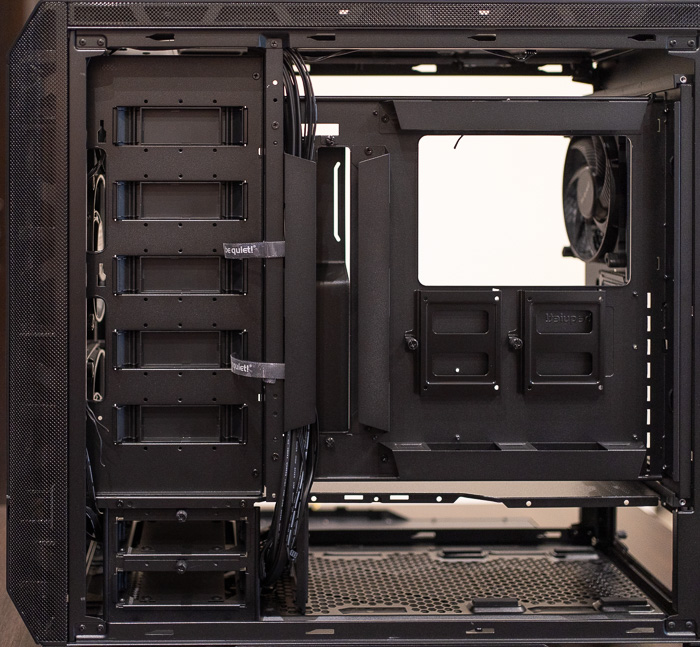
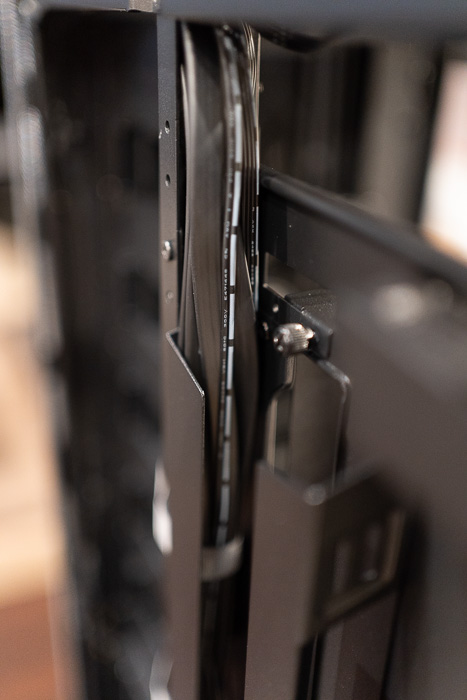
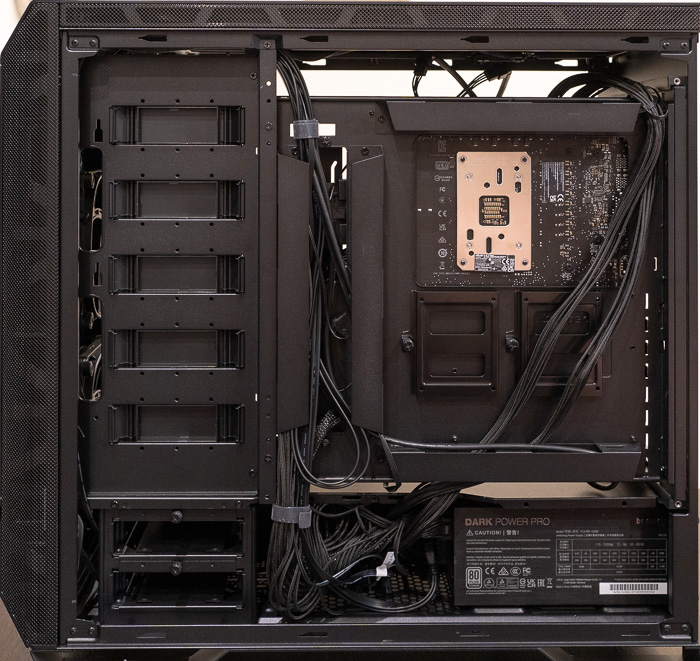
Let's now open the back side panel as well. Here you can see how much space there is at the back. At the bottom left, you can see two bay trays for 3.5" or 2.5" devices. Above that you can see 5 removable bays (you need to get the extra HDD cage 2 to fit more HDD drives. Four metal plates can be used for cable management and routed around the back. Of course, two more 2.5"HDDs can be installed on the motherboard tray.
Cable management is very easy in this case.
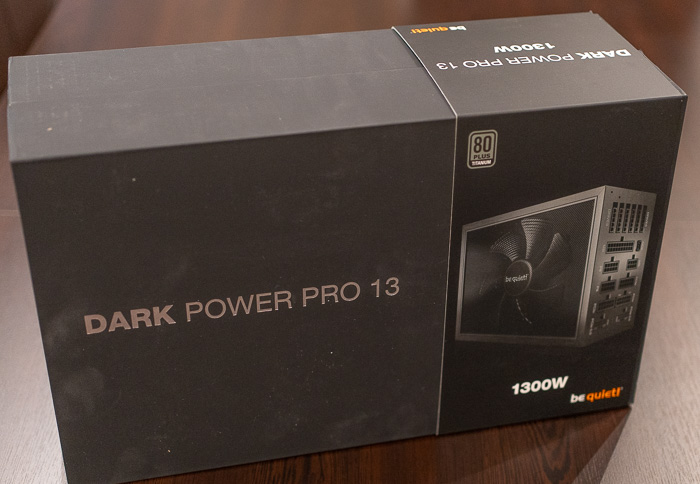
After unboxing the case you have to start building up your system. The PSU area is very big and easy to get installed. We got a top power supply to install, the be quiet! Dark Power Pro 13
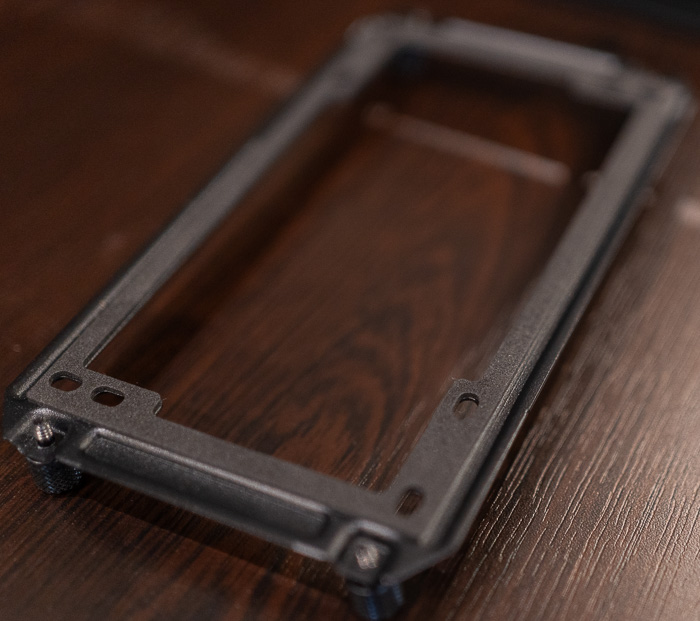
The included PSU bracket has also sound-dampening material around it and of course its metal. Remember to get all PSU cables installed before mounting the power supply.
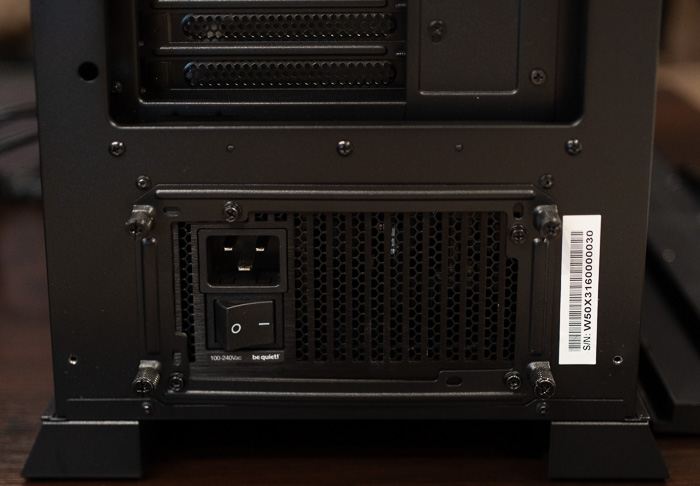
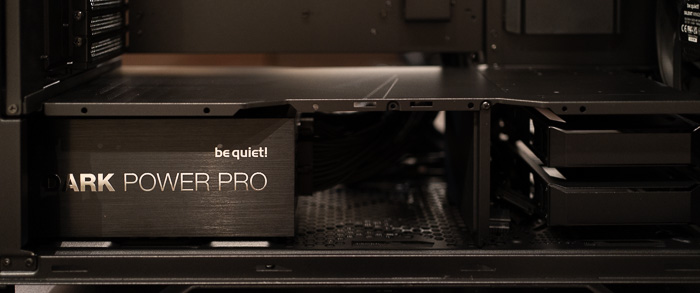
The first step is completed, the power supply is in its bay.
As you can see there is a lot of space for easy cable management. The fact that both front and back panels can be removed gives you easy access to the PSU area for adding more cables or simply making better cable management around the bottom area.
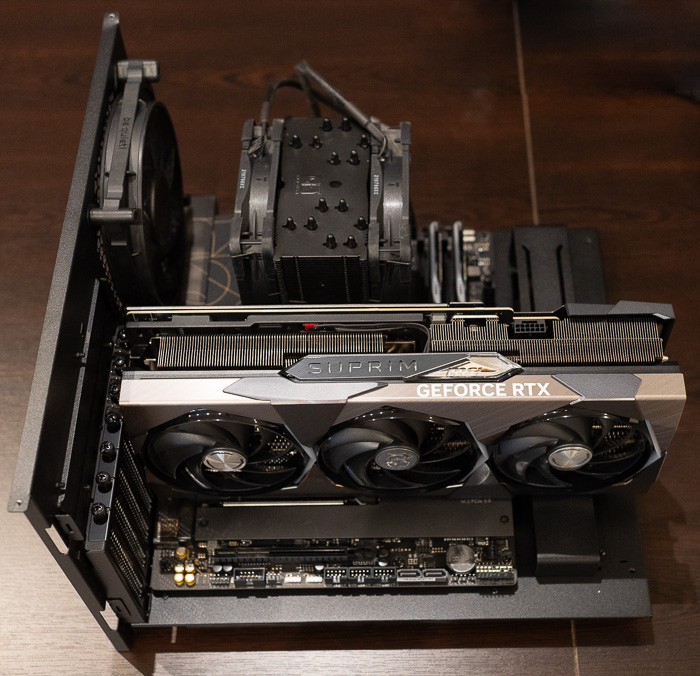
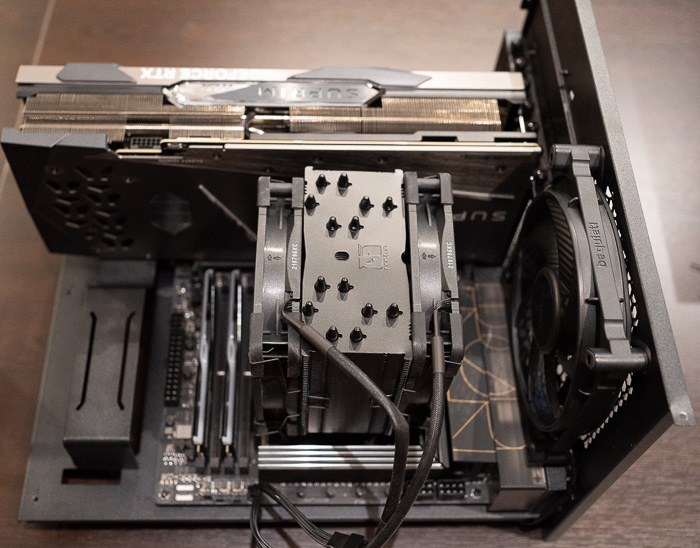
The next will be to remove the motherboard cage. Yes, you heard right, you can easily remove the whole internal motherboard cage which is secured with 4 screws (two at the front and two at the back). This is a very nice approach since you can install all internal components very easily on a flat table. Or simply you can use this as an open-air testbed.
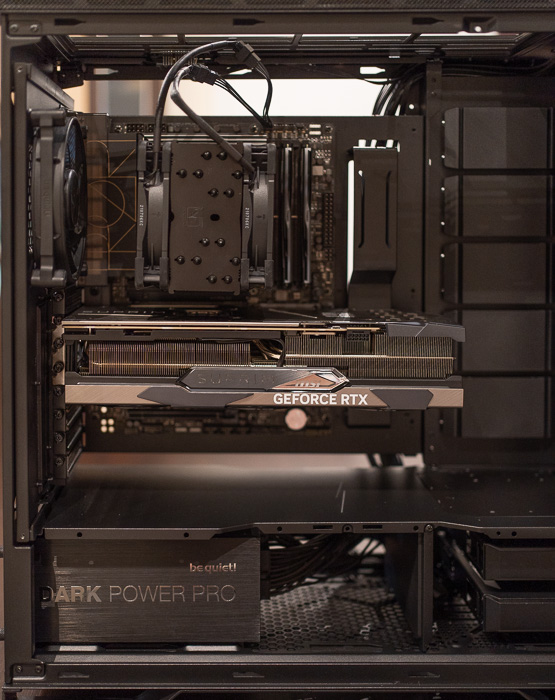
For our tests, we used the AMD 7950X CPU + Noctua NH-U12A Chromax.black (2x120mm fans), an Asus ProArt X670E-CREATOR WIFI Motherboard, and a large MSI 4090 Suprim X Graphics Card. The installation process is quick since there are pre-installed motherboard tips in this case. Of course, you can install larger or small motherboards (E-ATX / XL-ATX / ATX / M-ATX / Mini-ATX).
After you finish securing all internal components at the motherboard cage you have simply to re-insert it into the main case. The process is again easy, just slide and slightly push it. Of course, you have to secure it with the four screws.
The next step is to connect the power supply and case cables to the motherboard. at the back, there is a lot of space so you easily find your way to specific ports. Note that this case doesn't include reset switch, only power and power LED. Not a bad result with very light cable management.
Review Pages

