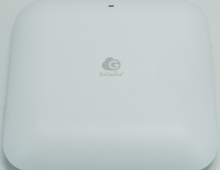
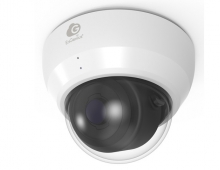
EnGenius ECW230 Access Point
4. EnGenius Cloud-To-Go App
Review Pages
After we finished our Engenius Cloud account, we then head over to the Google Play store and got the Cloud-To-Go free app.
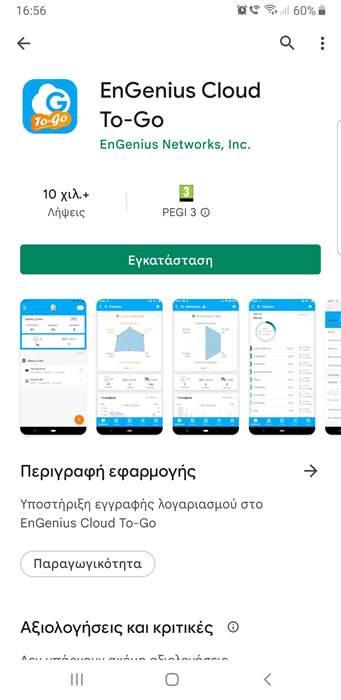
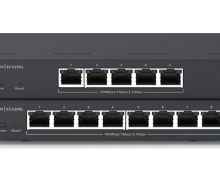
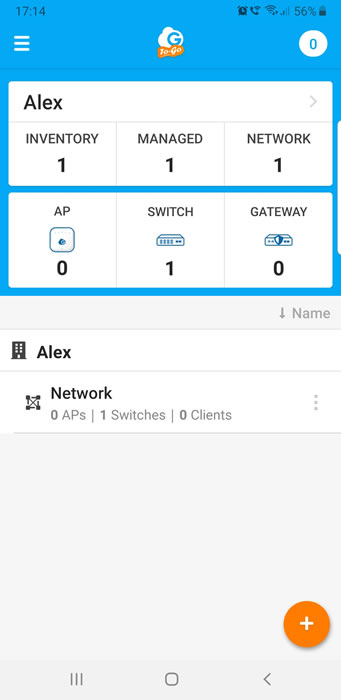
You need to use your already EnGenius Cloud account password/login in order to access the app features. Here you see a quick view of all installed devices that support the EnGenius Cloud platform. We proceed and installed our first EnGenius cloud device, the EnGenius ECS1008P 8 port Gigabit+2.5G Managed PoE Switch
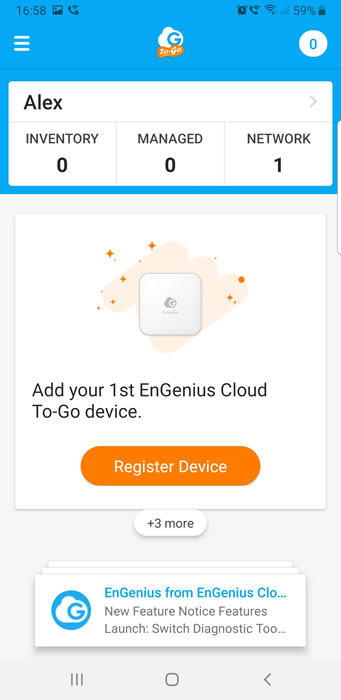
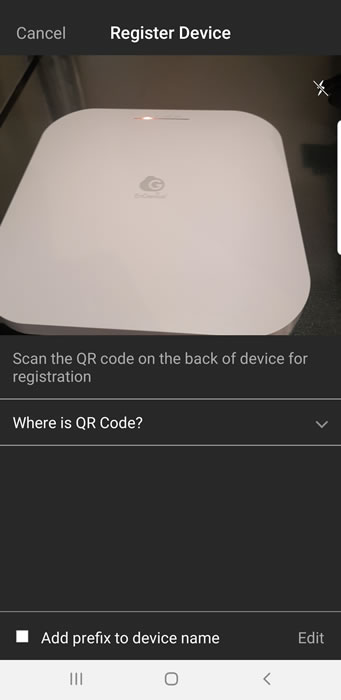
After pressing Register Device you should scan the QR code that is under the device to get things started.
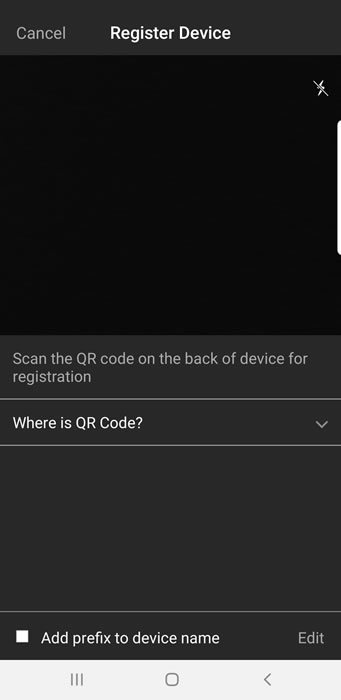
The device recognized immediately and after pressing register, the device will connect to the Internet and register itself at your Cloud network.
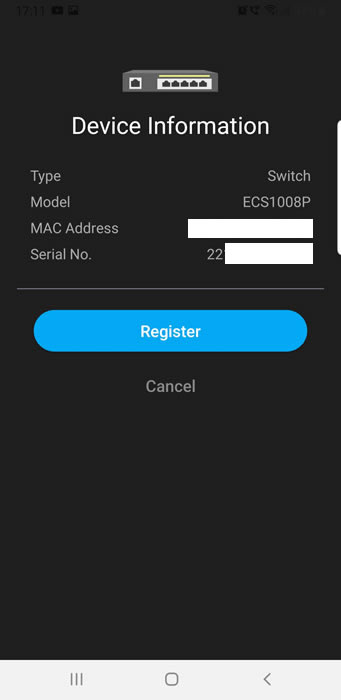
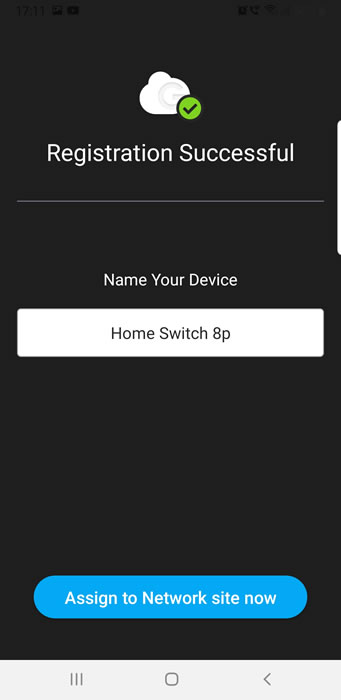
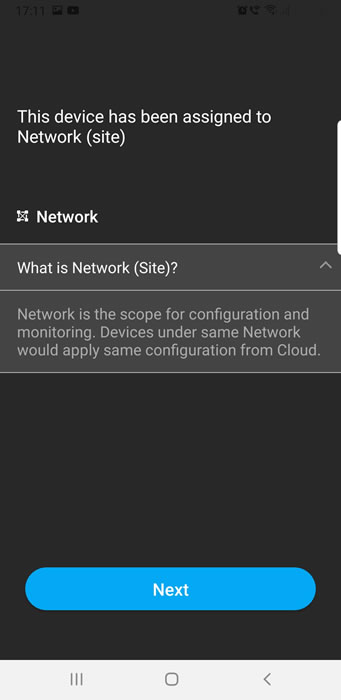
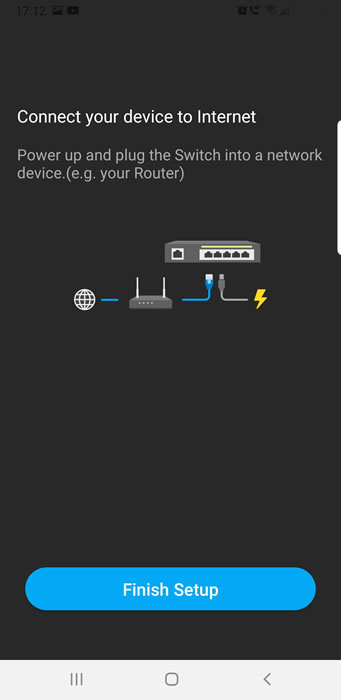
So we added our first EnGenius Cloud device at our personal network.
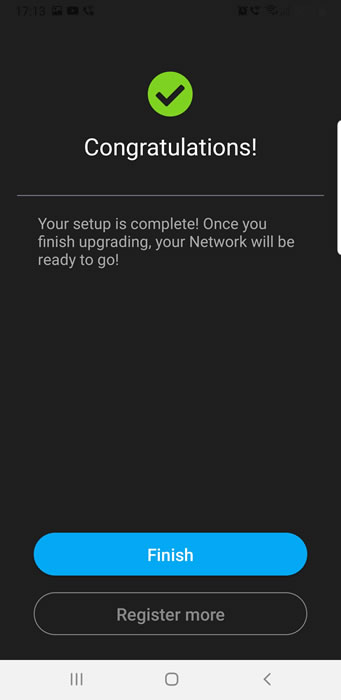
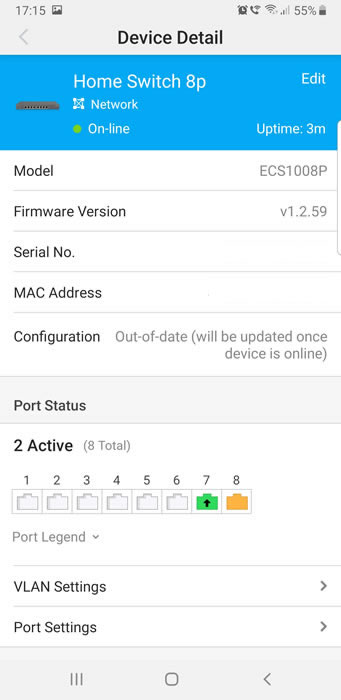
After few minutes the device will get the latest stable firmware, reboot and will be ready to get things started.

Let’s now proceed with our second EnGenius Cloud device to get installed, the ECW230AP. Again we will run the same wizard and scan the QR Code under the device.
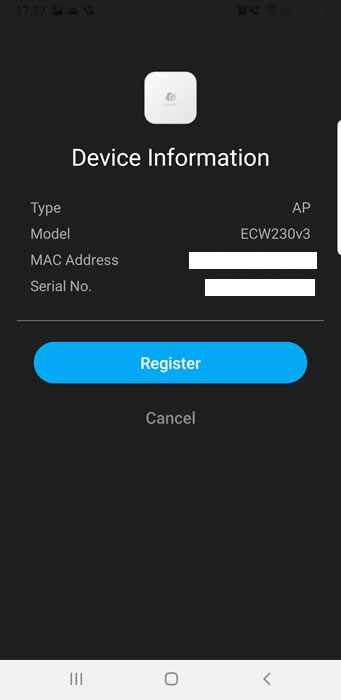

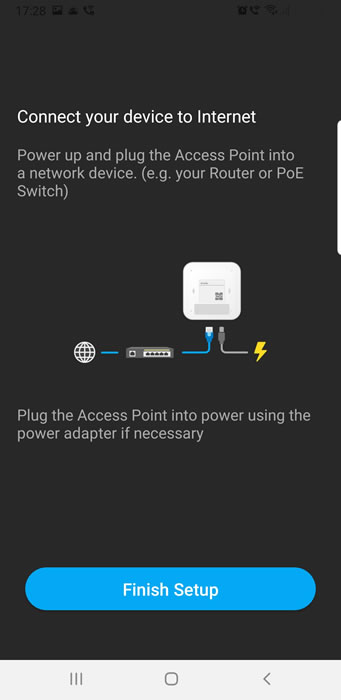
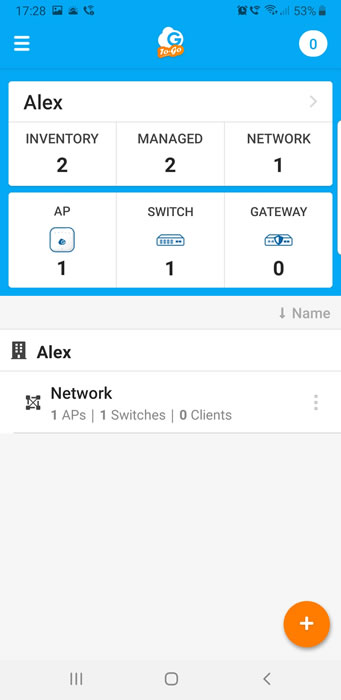
So we successfully added the two devices at our local network and we are ready to start our testing...However we did faced some issue with the AP connecting to the internet. So we contacted the EnGenius online support like a normal user would do and after several messages we were instructed to set manually the DNS servers of the ECW230AP to what Google offers. That requires from you to find through the local DHCP network, the local IP Address of the device and through Chrome/Firefox/etc. access it. The default p/l is admin/admin.
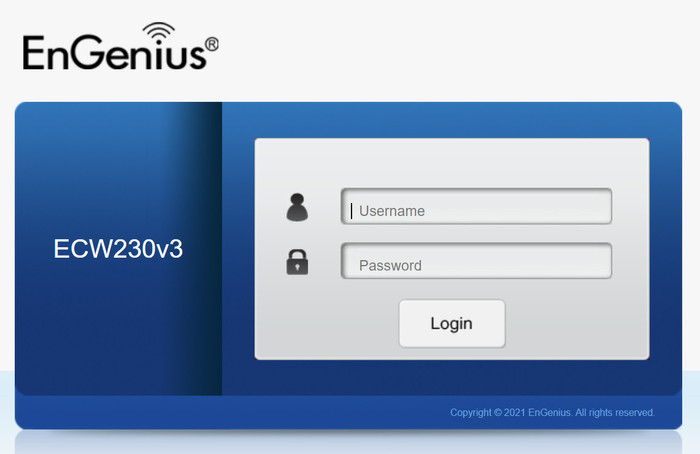
As you can notice, there is an error message that the device hasn't been able to automatically self-register to the EnGenius Cloud.
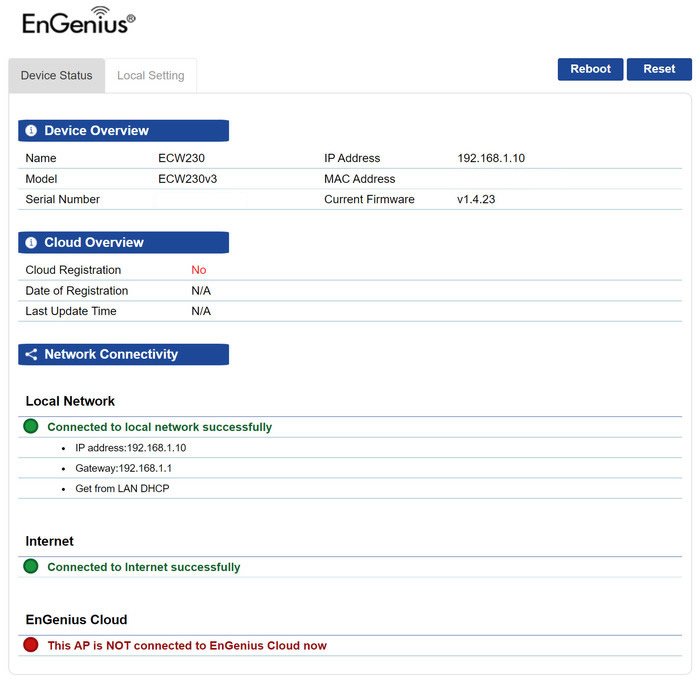
We manually set the DNS to what Google offers.
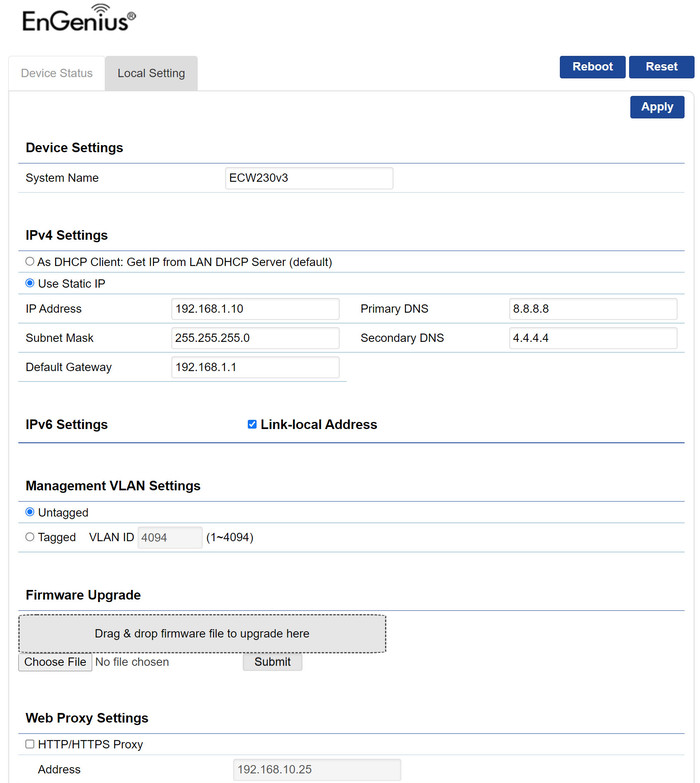
And after this step, we got our device fully working and also updated to the latest available firmware.

Review Pages

