Noctua NH-L9i review
2. A closer look
The Noctua NH-L9i retails online for about $48.00 , which is too much for a cpu cooler designed to replace the Intel's stock solutions bundled with its LGA1150, LGA1155 and LGA1156 CPUs.
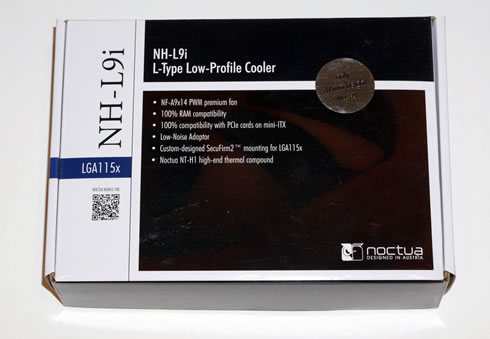
Below you see the retail package of the cooler, which looks familiar to all those who already own any of the company's cooling system:
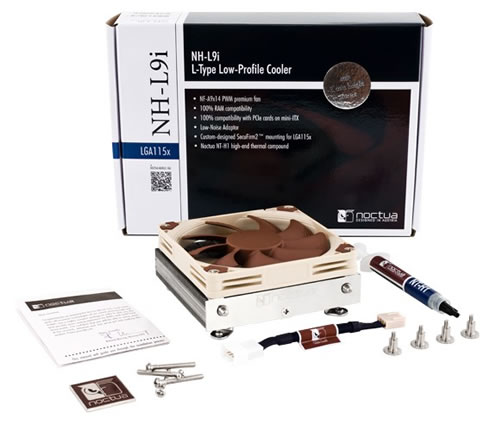
Bundled with the cooler we get the following:
- 1x NH-L9i cpu cooler
- 1x NF-A9x14 PWM premium fan
- 1x Low-Noise Adaptor (L.N.A.)
- 1x NT-H1 high-grade thermal compound
- 1x SecuFirm2™ Mounting Kit
- 1x Screws for 92x92x25mm fans
- 1x Noctua Metal Case-Badge
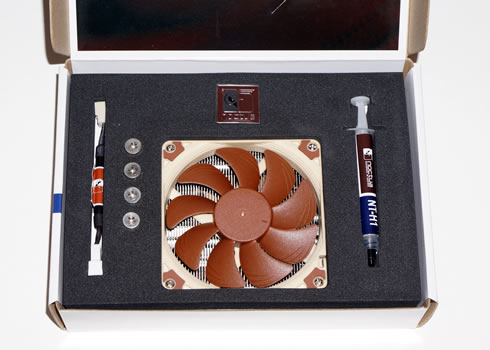
Internally, Noctua carefully packs up the components so they are held in place and easy to identify.
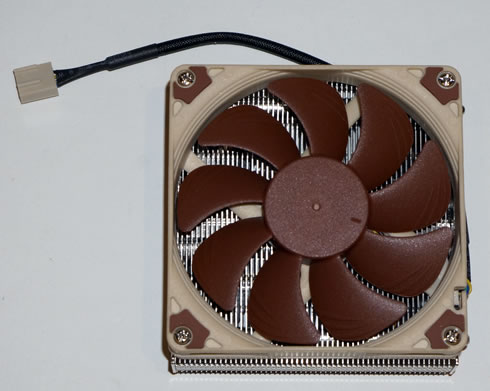
The Noctua NH-L9i comes with a 92mm fan preinstalled. Overall, the height of both the fan and the cooler body comes to 37mm tall, making it ideal for HTPC users. Still, in case your motherboard has any capacitors onboard, make sure to check Noctua's website for compatibility, although almost any currently sold motherboard is supported. The systems' weigh is also very low, down to 420gr.
Noctua rate the fan for 2500RPM (max) with airflow of 57.5m3/h and noise level of 23.6dBA. The fan uses Noctua's SSO2 bearing design and is rated for 150,000MTBF:
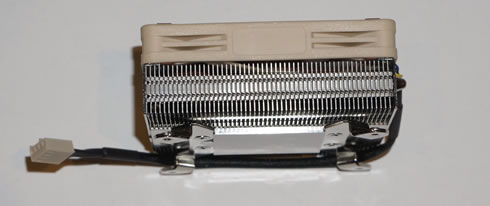
Looking at the heatsink from the side you'll see 55 small aluminum fins packed together with very small spacing. The joints between the aluminum fins are soldered for both a more secure connection and to improve the transfer of the thermal load between the base and fin array.
Attached to the base we have mounting brackets and between them and the fan is a block of aluminium fins.
Finally, the CPU block is a smooth nickel plated copper block.

Installing the cpu cooler is easy but still, you' d better have a look to the cooler's manual and follow the provided steps. Depending on your motherboard, you may be able to install the cooler without the board to be out on the bench.
The next step is to apply the NT-H1 thermal compound and hold the cooler in position against the CPU. Then put the back plate in place and start all four of the SecuFirm2 screws.
Once seated, plug the 4 pin power connector onto the CPU fan header on the motherboard.