Sansun SN-C001 the BAT
3. The inside
Taking a look at the interior of the BAT case after unpacking the case and loosening some screws. Notice that the case does not come with a power supply, hence one is needed. Now, lets point out the most important parts of the case.
The front panel holds on optional fan, that can be used to produce sufficient airflow to cool the HDD and FDD (depends on were the clips are screwed on).
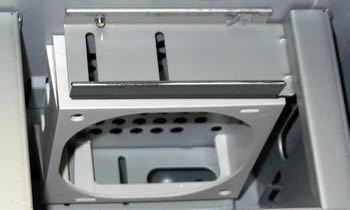 |
| The optional front fan clips ... |
The HDD and FDD cages, as the Sansun group describes them, are removable, based on a sliding mechanism, so installation of HDD-FDD drives is rendered tool-less.
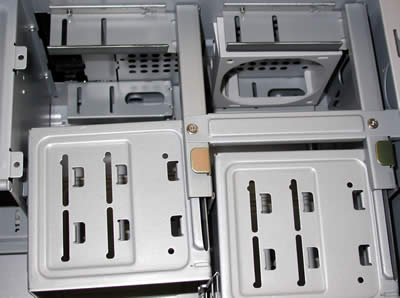 |
| The HDD and FDD cages can be easily removed with the least amount of effort... |
The expansion slots (used for PCI and such) are completely tool-less, thus, any future additions can be done easily and without any significant effort. Note that the plastic lock clips located above the expansion slots, are used to lock PCI devices for example, in place without the need for screws. Note also, that before any further installation, the plastic locks must be removed with some cards, especially large ones like 6800 and 7800, and then put back on.
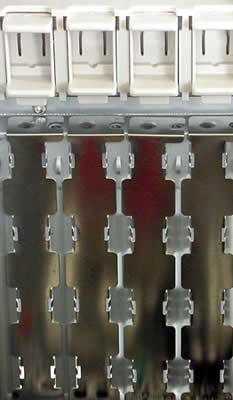 |
| Screwless slots for easy assembling |
Lets take a look at the I/O ports located on the top of the case...

From left to right, we have : 1394 (Firewire), two USB 2.0 compatible ports, a mic port and a headphones port, all of them easily accessible as they are located on the top of the case and not near the bottom front panel were most cases have them.
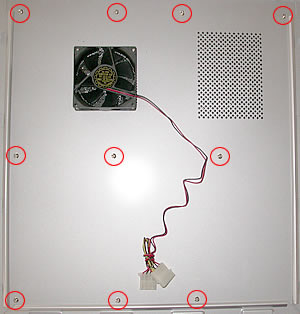
Taking a look at the fan included in the BAT case, the side fan is an 80mm standard fan with an additional plastic "pipe" which helps air ventilation. When the left side is sealed off, the "pipe" hovers over the CPU cooler. Interesting addition.

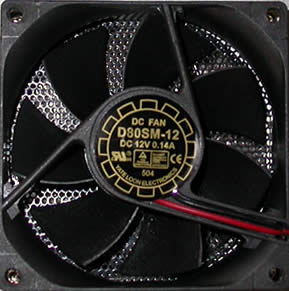
You can add your own fan in this position. Maybe one with coloured leds would provide a different approach :-)
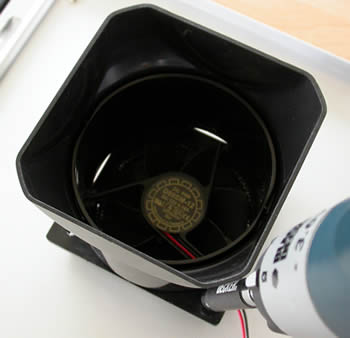
You'll have to remove the plastic pipe first, which is fairly easy, but afterwards there are nine more screws to take care of. The fan's screws are accessed from the outer side so you'll have to remove the plastic bat-cover from the side panel. A lot off work for nothing, better keep the stock fan :-)
Now that we've seen the most important parts of the BAT case, let us move on to the installation of the PC parts and complete this review with an overall conclusion...


