Shuttle DH110 review
3. Hardware and OS installation
Review Pages
2. Unboxing, DH110 details
3. Hardware and OS installation
4. CPU and memory benchmarks
5. GPU benchmarks
6. Audio and Video tests
7. Summary
The chassis' top cover is held in place by two screws, so opening it up is straightforward. Just remove the screws and slide the cover backwards and upwards.
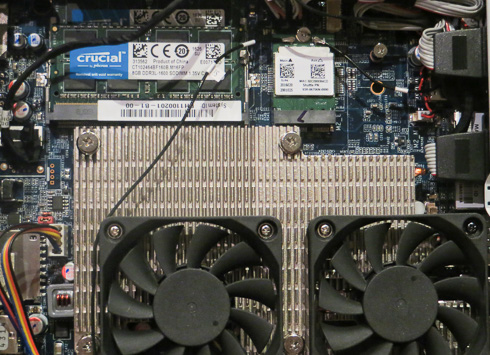
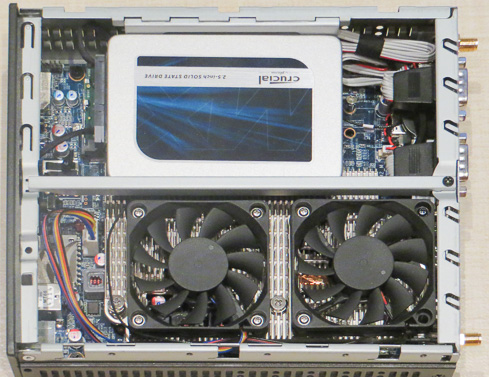
Below you see an internal view of the DH110. A massive heatsink covers the CPU socket area, and two 60mm fans provide the essential cooling. The next step is to unfasten the rack mount screw and remove the SSD bay:

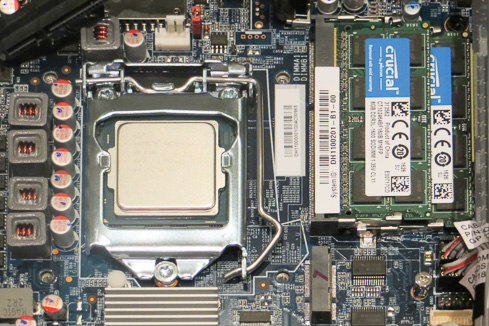
Two SO-DIMM DDR3L memory slots were unveiled below the SSD bay. Next to the two SO-DIMM slots are the two M.2 connectors. One is the connector intended for storage and to theother is the one intended for wireless network or Bluetooth modules.
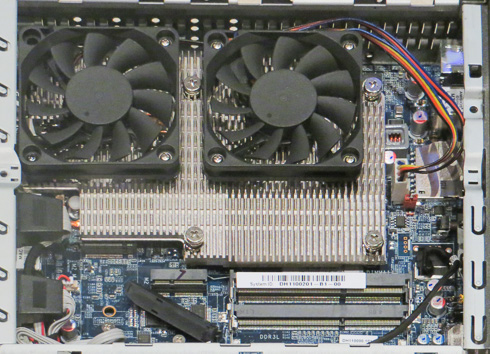
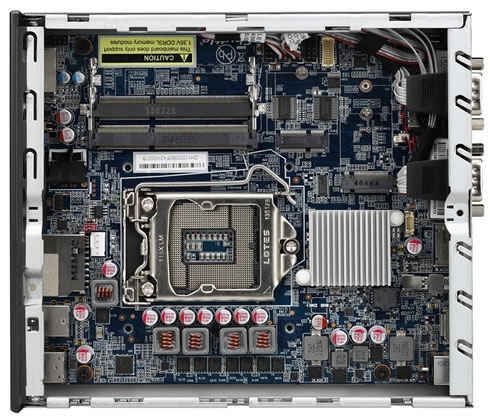
We removed the four ICE module attachment screws and unplugged the fan connector. Below you see the cpu cooler, which has a full copper base that firmly touch the processor in order to dissipate the provided heat. Provided that you install a <65watt TDP socket 1151 CPU and an SSD, you can be assured that the DH110 will be running 24/7.

With the CPU cooler removed, we have a view of the bare mainboard Its basic components are listed below:

Let's make this baby run.
First you need to get 1.35V DDR3L memory modules. Be careful to select the right memory, otherwise the device will not operate. Locate the SO-DIMM slots on the mainboard, align the notch of the memory module with the one of the memory slot, gently insert the module into the slot in a 45-degree angle and finally gently push down the memory module until it snaps into the locking mechanism:

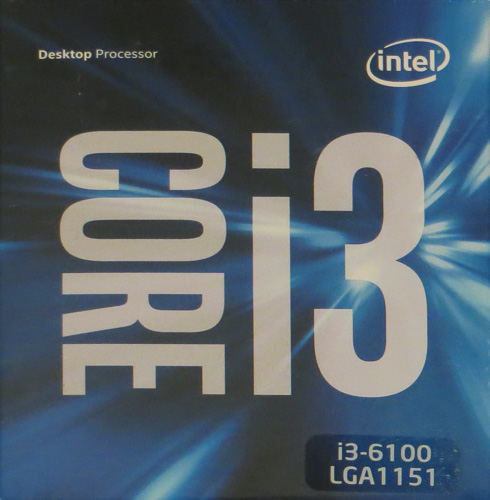
The DH110 is compatible with the sixth generation of Intel Core i7 / i5 / i3, Pentium and Celeron processors (Socket LGA 1151 H4). The maximum supported processor power consumption (TDP) is 65W. The selection of the CPU will also have an impact on the graphics performance of the DH110, since you cannot add a separate graphics card and you'll have to rely on the strengths of your processor's graphics engine.
For our tests we used an Intel Core i3-6100 LGA1151 processor. This dual-core CPU has been manufactured upon Intel's 14 nm process and is clocked at 3.70 GHz. It packs the HD Graphics 530 GPU and it is rated at TDP 51W:
Installation of the processor is easy. Just apply some thermal paste, carefully place the CPU on the socket and mount the cpu cooler.
For our tests we also installed the WLN-M M.2 Wifi accessory, which includes the WLAN module in a M.2-2230 format and offers IEEE 802.11ac/Bluetooth 4.0 connectivity. It may take you some extra time to get the two external antennas connected the right way.

The final step is to connect the SSD:
Shuttle suggests that the DΗ110 should be operated in vertical position, using the the supplied rubber pads under the chassis (DisplayPort output facing up). But the device can be also VESA-mounted behind an appropriate monitor using the included VESA mount kit. From a thermal point of view, horizontal operation is also permitted, although Shuttle does not provide rubber pads for the sides of the device. In an horizontal position, the device's maximum operating temperature is 35°C.
Bios / Installing OS
Shuttle is not providing an OS for the DΗ110, and offers drivers mainly for Windows 7/8/10. Of course, you may install your favorite Linux distro as well, such as Ubuntu.
We chose to install the Windows 10 OS. You should first create a Windows 10 installation USB flash drive, and enter the BIOS (pressing del at boot screen) in order to set the system boot from the USB drive. The installation was completed after several minutes and most of the internal components were recognized without needing to install additional drivers.
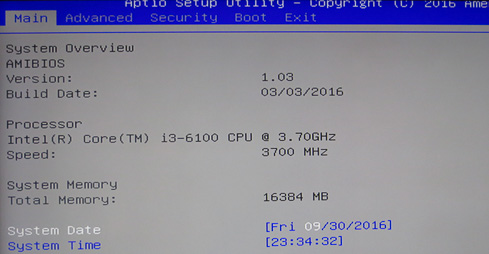
Shuttle is still sticking with an Aptio Setup Utility interface. The system is based upon AMI BIOS and its rather easy to navigate. The menus are available on the top area of the screen. The Main area shows details about the currently installed BIOS version, the installed processor and the amount of installed memory. Here you can also adjust the system's date and time.
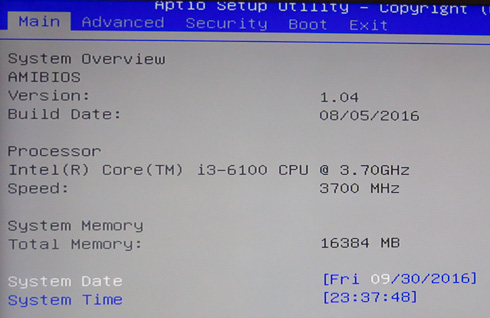
The system was updated to the latest v1.04 BIOS. You have to use a DOS USB stick to be able to update it.
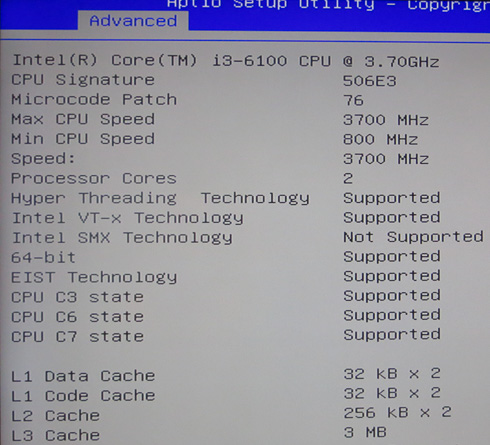
The Advanced area comes with the following sub-sections:
- Hardware Health Configuration
- OnBoard Device Configuration
- Power Management Configuration
- CPU Configuration
- SATA Configuration
- USB Configuration
Hardware Health Configuration sub-menu does show the live CPU/System temperatures, but also the current voltage for the CPU package and DRAM.
Through the OnBoard Device Configuration, you can enable/disable certain motherboard interfaces, including the audio CODEC, LAN ports, choose a function for the M.2 slot, allocate a certain memory section for the IGP and more.
The SATA Configuration area only displays the currently connected drives into the respective slots.
The Security menu allows you to change current Supervisor/User passwords, set the Password Login Control area, but also enable/disable Flash Write Protection.


Review Pages
2. Unboxing, DH110 details
3. Hardware and OS installation
4. CPU and memory benchmarks
5. GPU benchmarks
6. Audio and Video tests
7. Summary