Shuttle Omninas KS10 review
3. Setting up the NAS server
Review Pages
2. The device
3. Setting up the NAS server
4. Menus, settings
5. Final words
The device settings are made through a web browser on a computer, which is connected to the same local subnet. 12 languages are supported: English, German, French, Spanish, Italian, Dutch, Danish, Russian, Turkish, Chinese (simple+trad.) and Japanese.
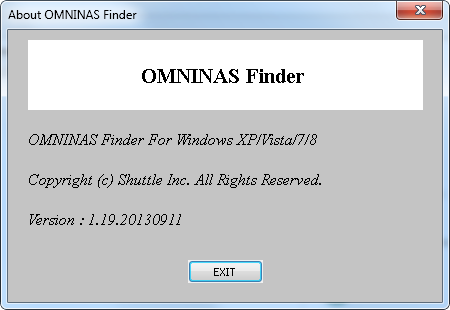
The OMNINAS Finder Software Tool is used to detect the OMNINAS system in the local network (within the same subnet). It can start the Web User Interface in your default browser and can map/unmap the connected internal and external storage devices to a drive letter of your PC.
You can also use an App to upload and share files from iOS and Android devices like iPhone, iPAD, Android phone and Android tablet.
Just lock for the appropriate "OMNINAS" app on one of these websites:
Android: https://play.google.com/store/apps/details?id=com.shuttle.omninas2
iOS: http://itunes.apple.com/nz/app/omninas/id543929833
The OMNINAS must be configured and set up before use. You can either connect the device to a switch/router, or directly to a PC/laptop
In any case, connect the power adapter to the device. We start by connecting the NAS to our network router .Shuttle is offering the Finder application in order to easily connect OMNINAS (Windows and Mac users only). The Finder utility is used to detect devices on the local network (same subnet) or to directly access your device through a web browser (IP address 169.254.100.200).

The software will soon recognize the KS10. From now on, you'll be able to directly access your device through a web browser (IE, Chrome or Firefox depending your OS). A similar utility for MACs is also available as well.
The OMNINAS Finder application starts and displays all the detected devices within your network subnet. Here you can also map network drives to your local network (installed at the KS10 NAS server) in order to be accessible for other users.

The OMNINAS Wizard is your guide to initializing and setting up your OMNINAS device. Afterwards, you should enter into the web menu of the KS10 server via a browser -- in our case we entered the IP address that was automatically assigned to the device by the connected router.

The setup process is rather straightforward and everything comes in a logical order Below you see the various settings you can make during the set up. Of course, any of these settings can be further adjusted later though the KS10 server menu.
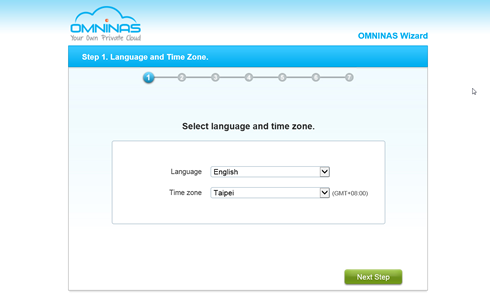
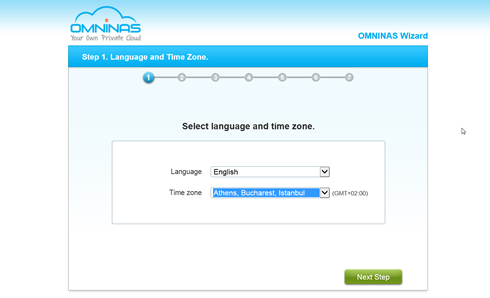
Select the language and time zone from the drop-down menus:
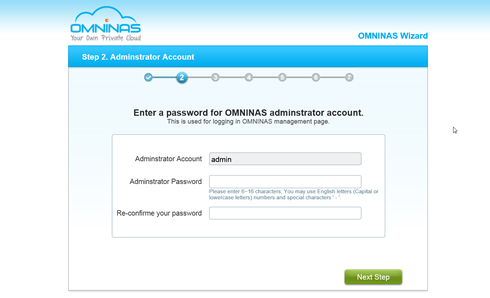
In the Administrator Account prompt, type in a password for the admin account:
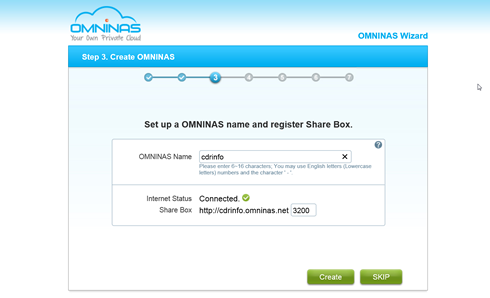
In the Create OMNINAS prompt, enter a name to designate your OMNINAS device. The
name must be 6 to 18 characters long.
Once your device is named, the Internet status field displays the status of your network
connection. If you are connected, your Share Box account registers successfully to the
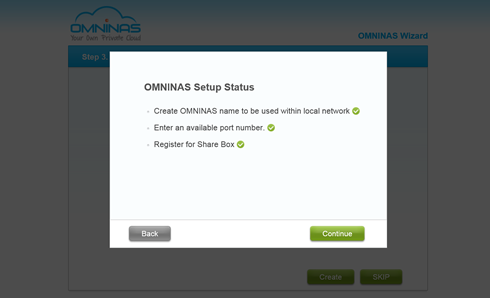
Share Box server. Enter the name to designate your OMNINAS and click Create.
The Share Media Files prompt follows:
You can turn on the Media Server and iTunes Server at this time to share your files:

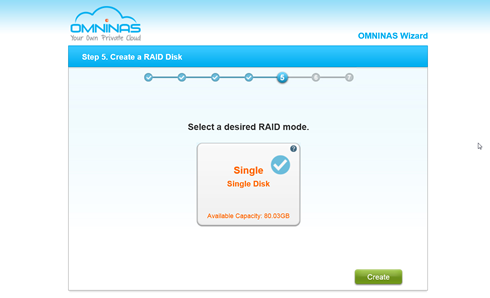
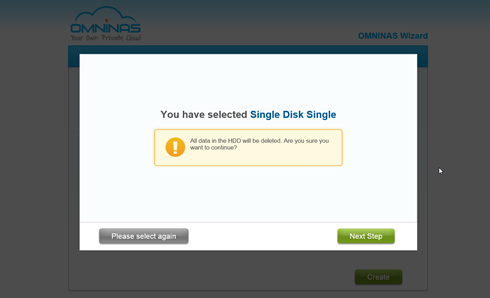
The RAID disk function opens:

The User Account setting displays. In the user account field, enter a new account name to add.In the User Password field, enter a password associated with the account name above:

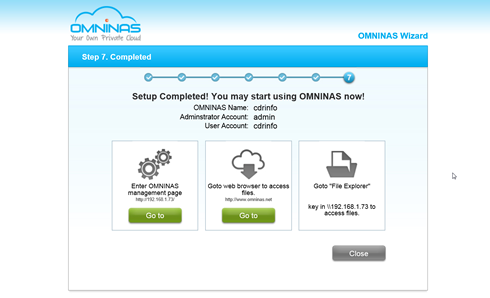
That's it! The setup of your OMNINAS device is complete. The OMNINAS name as configured is displayed as well as the name of the administrator and user accounts:
Review Pages
2. The device
3. Setting up the NAS server
4. Menus, settings
5. Final words


