Shuttle Omninas KS10 review
2. The device
Review Pages
The Shuttle KS10 retails for about €80 (excluding VAT 23%).
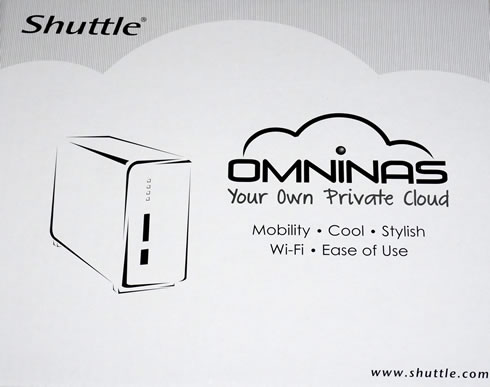
Below you see a picture of the KS10's retail box, which is rather simple and includes the Shuttle and OmniNas logos at the front informing you what this product is about.
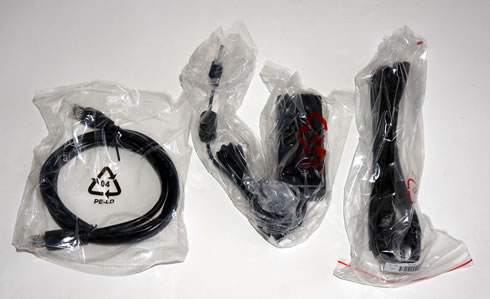
Everything is well packaged inside:
- The KS10 product
- 1x Power Adaptor (40W)
- 1x AC Power Cord
- 1x Ethernet Cable 1.50m
- 1x CD
- 1x Quick Setup Guide

The KS10 NAS server is small in size at 124mm (H) x 60mm (W) x 205mm (L) and its weight is 500gr weight.
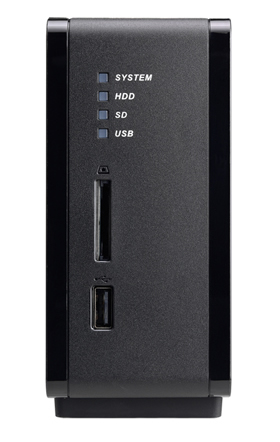
Below you see the front view of the device. There are four blue LEDS (Status LED, HDD,SD,USB), a card reader that supports the auto copy function and a USB 2.0 port.
The rear side includes a power button, USB2.0 port, an 1Gigabit ethernet jack, a reset button, a K-Lock security slot and the DC input.
All six LED indicators with the following behavior:
- System LED: dual color (operating mode/error: blue/red)
- HDD LED: dual color (access/error: blue/red)
- SD card reader LED: single color (access: blue)
- USB LED: single color (access/connect: blue)
- LAN speed LED (10/100 Mbps: green, 1000 Mbps: orange)
- LAN activity LED (access/link: blinking green)

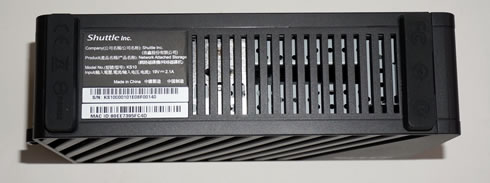
At the bottom side there are two large rubber pads to keep the device in place, and a sticker with information about the product. As you also see below, the passively-cooled device also features some essential ventilation slots:
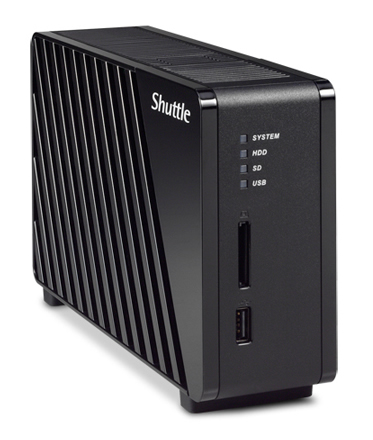
Overall the Shuttle KS10 looks good and solid, despite its all-over plastic cover:
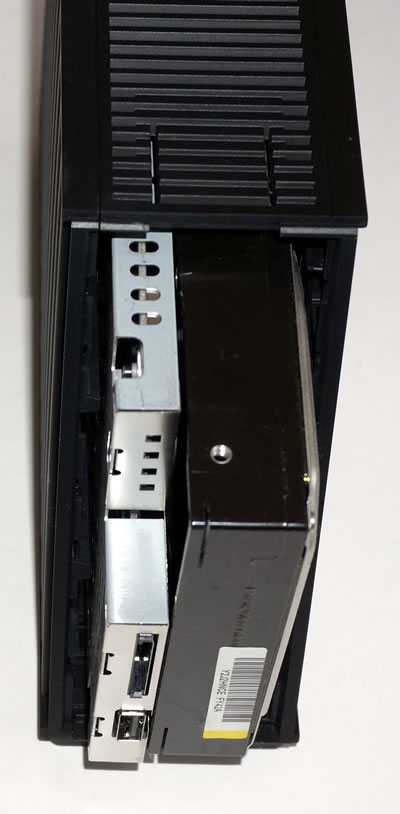
OK, let's use the device. The first thing to do is to install a hard drive in the OMNINAS before you can begin using your storage device. All you need to do is to press the release button at the top side of the device to open and remove the bay cover:

You should be now ready to install either 3.5" or a 2.5" HDD up to 4TB single drives. Insert the HDD into the bay with its connectors going in first.Once its's secured in place, put the bay cover back.

Review Pages


