Shuttle Omninas KS10 review
4. Menus, settings
Review Pages
After getting to the last point of the setup process you can get into the deeper menus via the web interface. These menus are accessible using a any browser (IE, Firefox, Chrome, etc..) either from a PC or a portable devices. If the OMNINAS is configured to use DHCP, the IP address is assigned by DHCP. Make sure the OMNINAS and the computer connected to it are under same subnet. If the OMNINAS is connected directly to a PC or Laptop, the default IP address will be used (169.254.100.200).
You need to enter your admin password to log on:
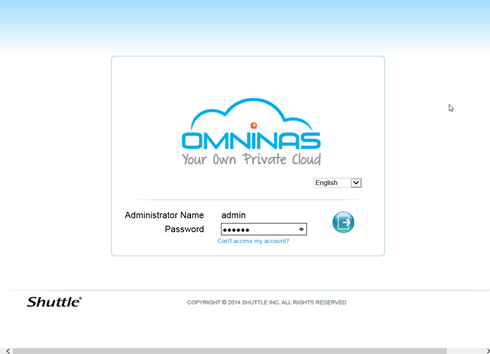
The OMNINAS Web Interface allows you to configure your personal settings through a web
browser. The Interface includes access to Settings, Storage, Share, USB, Backup, BT Download,
Share Box and Media Service. You can use the Interface to manage your devices from a local or
remote access in the same subnet group.
From there you can also restart or shutdown the device, change the language (up to 12 languages):
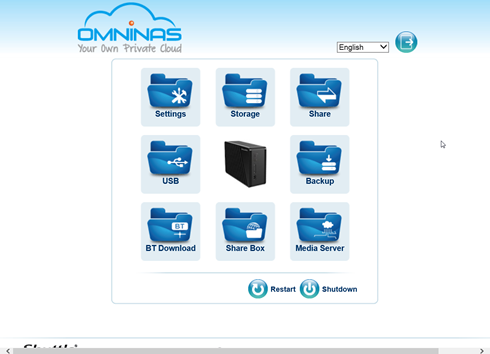
The Settings menu includes access to Wi-Fi, Network, Date & Time, General, About, Log, Factory Reset, Firmware Update, and FTP Server. You can use the Interface to configure your settings from a local or remote location in LAN:

The OMNINAS provides wireless connectivity as an Access Point (AP). By setting up the OMNINAS as an AP, your wireless devices (PC/notebook or smartphone) can connect to the OMNINAS.
Through the Wi-Fi settings, you can enter a Wi-Fi SSID, encryption method (WEP 64 bits, WEP 128 bits, WPA, WPA2 and WPA-mixed), a Wi-Fi password, the Wi-Fi band (B/G, G/N, B, G, or N) and the channel width.
In our case, new firmware update was found and we easily installed it, as you see below:


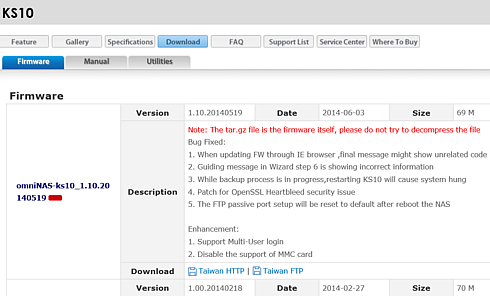
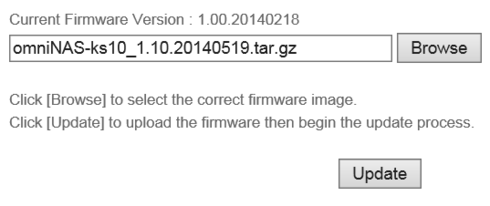
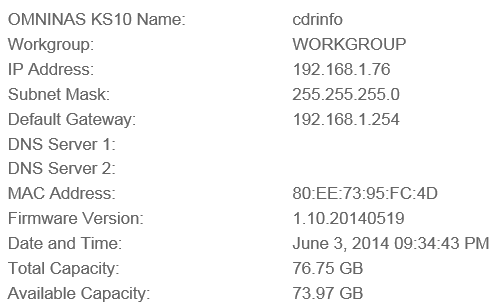
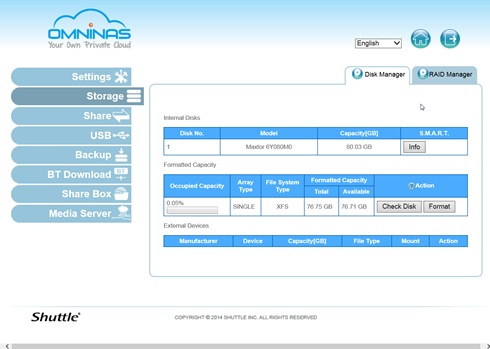
Moving on with the menus, the Storage menu displays disk information and status (active, failed, mirroring and mount or unmount
an external drive) for all internal or external (USB) drives.It displays the available disk capacity and you can scan, repair, and format (XFS file system) the system disks.You can also mount, unmount, and format (EXT2, EXT3, EXT4, XFS, FAT16, FAT32, and NTFS) external devices:
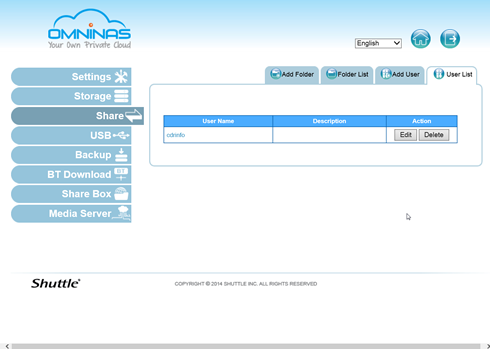
At the Share menu you can add public or private folders. You se a list of available folders, and you can edit and delete them. Here you can also
add user profiles:
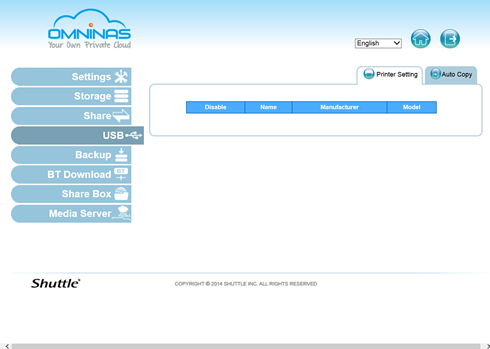
The USB menu displays status information for connected printer devices. You can also enable or disable auto copying function to an SD card or an external (USB) device.

The Backup menu includes the Backup Log , which displays a history list of executed backup events. You can create and schedule backup events from a selected source file to a target external or second OMNINAS device.
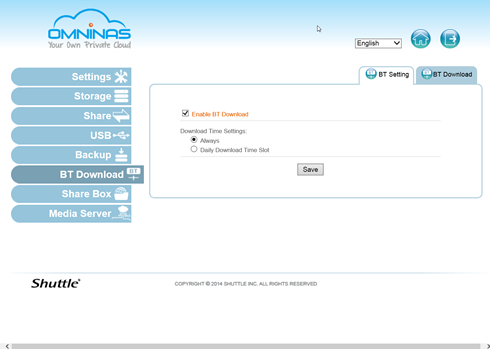
Through the BT Download menu , you can enable or disable the BT Download function. You are free to set general and specific downloading settings (always, scheduled), select files to upload, set preferences, download and upload rates, and manually control the download functions:
Through the Share Box menu settings you enable or disable remote sharing function through the omninas.net host servers:

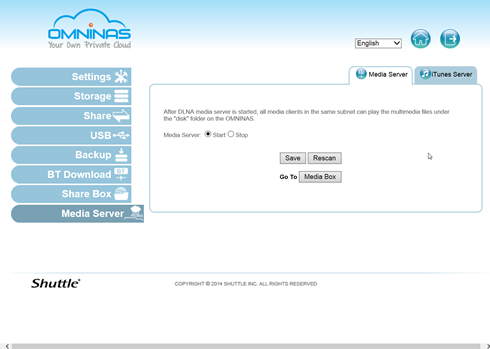
And finally, through the Media Server menu, you can enable or disable the media server and iTunes server functions; and enable or disable the iTunes Server. Enabling the function allows all iTunes
clients within the same subnet to access music files within the OMNINAS iTunes
folder.
Review Pages