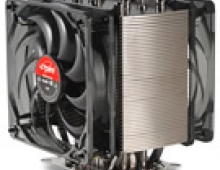
Spire Diamond Cool II
2. Installation
Installing the Diamond CoolII was easy, even though depending on the motherboard, some users may need to remove their stock backplate and install the bundled one. The procedure took 10mins, including the removal of the stock heatsink. The CPU used for this review was the AMD Athlon 64 3500+ on an ASUS A8N-SLI Deluxe motherboard.

Make sure you clean any of the thermal compound left on the CPU from the previous installation.
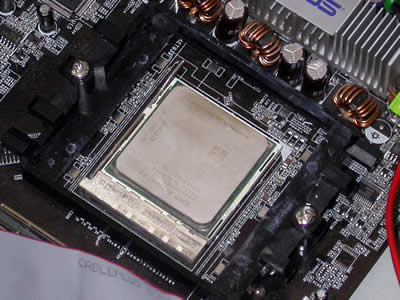 |
| make sure the CPU is clean of any thermal compound... |
This time, there's no thermal pad as with previous releases. Instead, there's a small tube of thermal compound included in the retail package. We carefully applied the paste on the clean surface of our CPU, making sure than it is spread evenly over the entire top surface of the CPU to provide the best cooling efficiency.
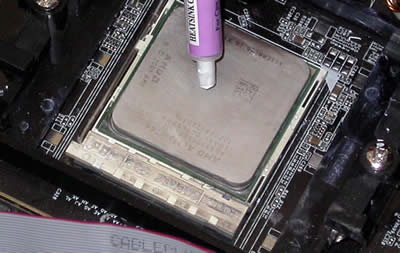 |
| The Spire Tube of thermal paste... |
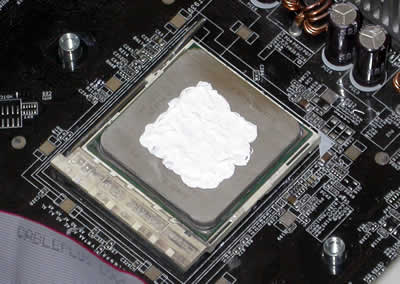 |
spread the paste evenly over the entire surface before mounting the Spire CoolII |
Next step is to install the cooler itself. We placed the cooler on the CPU (having removed the plastic brackets of course) and with a philips screwdriver, fastened the Cooler onto the motherboard.
 |
| a process easier done than said in this case. |
And for the last step, we attached the 3pin power cable to the appropriate power connector on the motherboard.
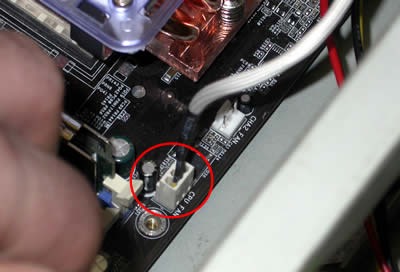 |
| Plugging the power cable. |
With the installation process out of the way, we move on to see how the CoolII performs compared with the stock AMD 3500+ CPU fansink. As already discussed, the installation was easy and should not occupy more than 10mins of your time...


