Spire MegaPodIII
3. Benchmarks
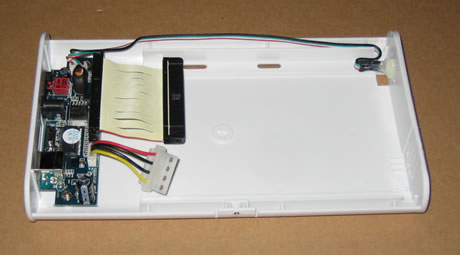
Let's now see the installation procedure. First, you have to remove the mounting screw located on the bottom and then pull the rear end out, as shown in the picture below. This will extract the mounting plate.
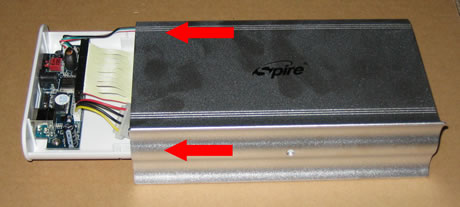
Nothing fancy here, just a plastic base, I/O circuitry board and the IDE and Power connectors.
For our purposes, we will use a 200GB Western Digital drive.
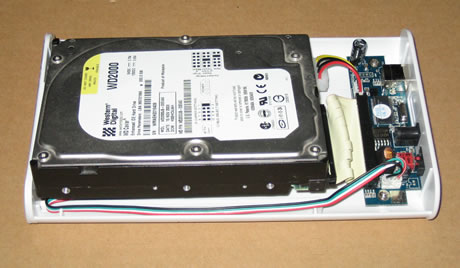
Take some care with the installation of the drive. It must sit correctly, otherwise you won't be able to insert it back into the main enclosure body.
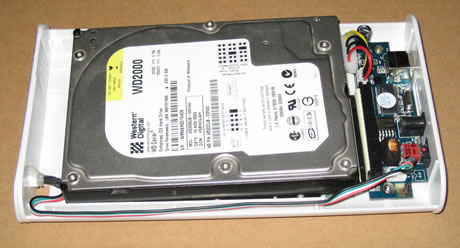
You use the supplied mounting screws to screw the HDD to the assembly. Use the mounting holes located on the side of the HDD for this. Once secure, you can slide it back into the enclosure.
- Tests
To test the enclosure's performance, we fired up HD Tach v3.0.1.0 and executed the full bench test. What we want to see here, is whether the enclosure adversely affects or hinders the HDD's performance.

The full bench test scans the entire capacity of the HDD and displays a graph of its average reading/writing performance:

The performance is very good and is very close to the performance of the drive when connected directly to the motherboard's IDE interface. We logged 80MB/sec reading speed at the starting point, which gradually dropped to 40MB/sec, resulting in an average speed of 66.7MB/sec. The Burst Speed is also very good as you can see. Lastly, the CPU % usage is very low, at only 4%.


