Swiftech Apex Ultra H20-220
4. Installation
Review Pages
In order to get everything installed, you need... time. Yes, this is not a starter kit that can be assembled. in several minutes. After un-packing all the contents, you need to see what each part's use is for and understand where you should use it. This means you are forced to read the entire printed manual.
In short though, you have to mount the MCR220 radiator somewhere around the case, inside or outside. Due to its length, placing the MCR220 inside is not recommended, unless you have a really big case. So, most likely you'll have to place it outside. For this reason, Swiftech has included the MCB120 RadBox that will help you mount the MCR220 radiator on the back, under the power supply. While in theory this could work, in our test case, the ThermalTake Soprano, couldn't accommodate this since the top 1/4" NPSM threaded hubs were at the power supply level, we couldn't drill a proper hole in the case.
So next idea was to place the MCR220 radiator on the side panel, but due to the weight, this was not feasible. The next best idea was to simply place the MCR220 radiator on the top of the case, with the "fear" of it falling off if someone bumped the case. This could also be the worst case scenario, since the water has to travel uphill, the maximum distance before entering the radiator to get cooled.
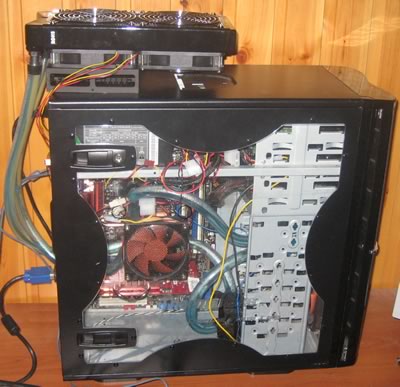
To pass the tubes through, you need to drill 7/8 sized holes just below or above the power supply. For this, you need a drill and a stable hand. With the included mounting screws, you secure the MCB-120 R2 Radbox plate so you can mount the MCR220 Radiator.

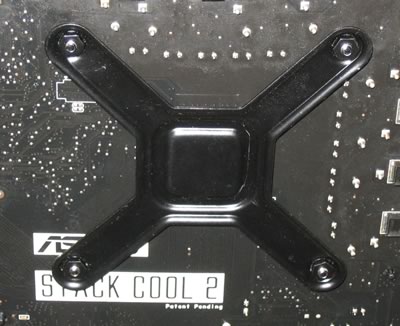
The next step is to mount the CPU water block. First, you need to attach the back plate and mount the CPU water block.
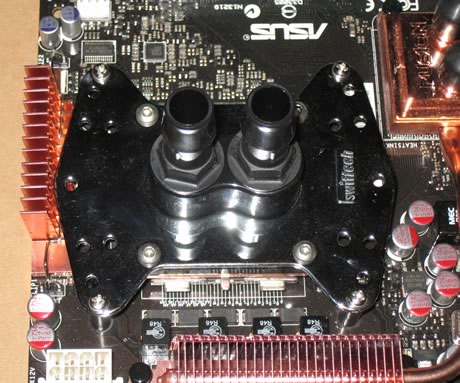
What you need to take care with, is the orientation. As Swiftech suggests, the inlet and outlet should be placed in vertical orientation and not horizontal.

Here is how your system would look, after finishing the installation process of the water block.

What we noticed, is that the angled shaping at the left-most outer area, attaches and slightly bends the motherboard copper heatpipes. While in our case, this wasn't a major problem, with other motherboards, this may be and issue.
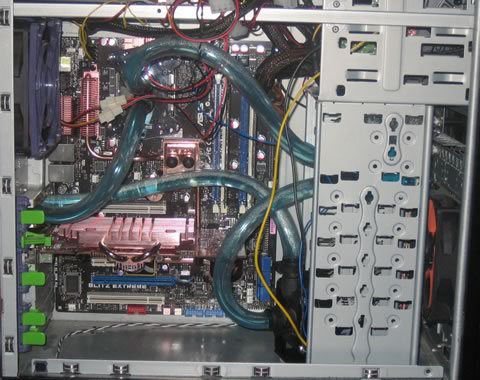
The next step is to secure the motherboard in the case and start connecting the various components. You need to measure the required lengths for the tubes you will use. You must put the tube clamps through the tubing before attaching the hose to the barbs. If you try to install the tube pieces to the barbs without any kind of lubrication, it's going to make things very difficult for you.
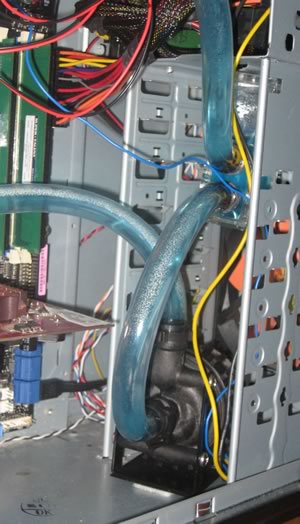
Move the clamps down the barb and with a good squeeze, everything is secured. Make sure all tubes are secured correctly, we don't want any kind of leakage occurring in our system. Fill up the water tank with the included UV react fluid and press the power button. You will need to continue filling the water tank until all tubes are filled with the appropriate amount of fluid. This will take only a few minutes, but leave the system running for some time to get any air bubbles out of the system, before closing the side panel. Everything should be running smoothly by now. Below is how the system should look.

Review Pages

