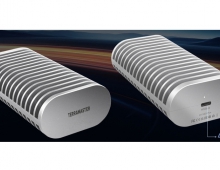
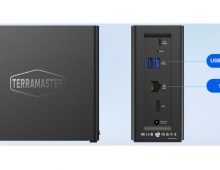
Terramaster F2-422 NAS Server
3. Getting familiar with the TOS operating system
Review Pages
2. Retail Package
3. Getting familiar with the TOS operating system
4. TOS System
5. Apps/Performance
6. Upgrade/Other operating systems
7. Bios
8. Conclusion
The Terramaster F2-422 NAS server can be upgraded from 4GB -> 8GB by adding a memory module. Terramaster lists as compatible only their own branded media, however many users have reported that any DR3L 1333Hz 1.35V or DDR3L 1600Hz CL11 1.35V can be used without any problems. In fact some users have added 8GB memory module and it was recognized without any issues. The reported user information was taken from the Terramaster official forum. We take no responsibility about the accuracy of this information, please ask Terramaster about it.
In order to access the internals of the NAS server, you need to unscrew four (4) screws at the back with the included screwdriver. After that you will pull towards you the fan case and detach the power fan cable from the main motherboard. Then you pull the entire case out of the box.

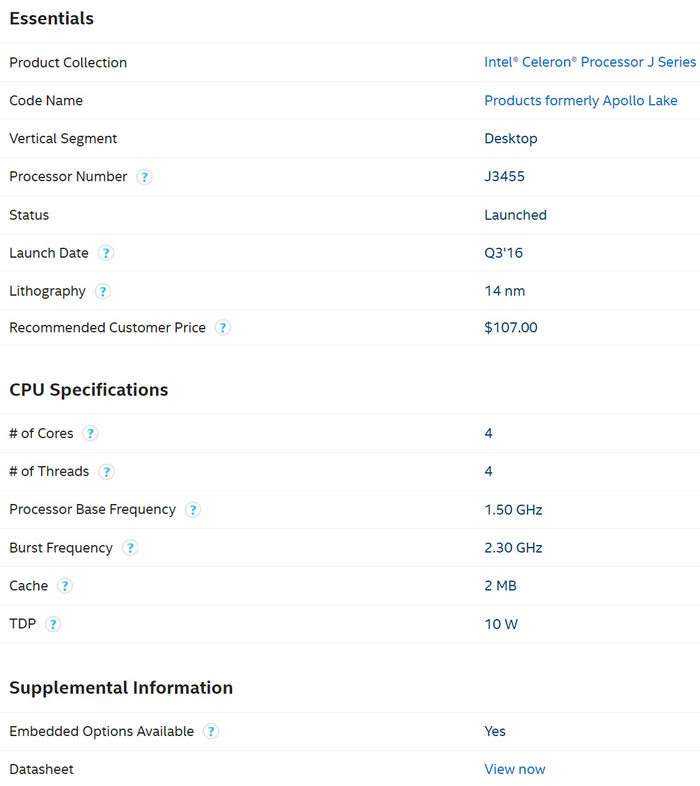
The F2-422 series motherboard is based upon Intel® Celeron® J3455 processor that was released at Q3'16 and has 4 cores and 4 threads. Its base frequency is 1.50GHz and can boost up to 2.3GHz with 2MB cache and 10W TDP. The maximum memory is 8GB and supports both DDR3L/LPDDR3 and LPDDR4. Finally it has Intel HD Graphics 500 with shared DDR3L memory.

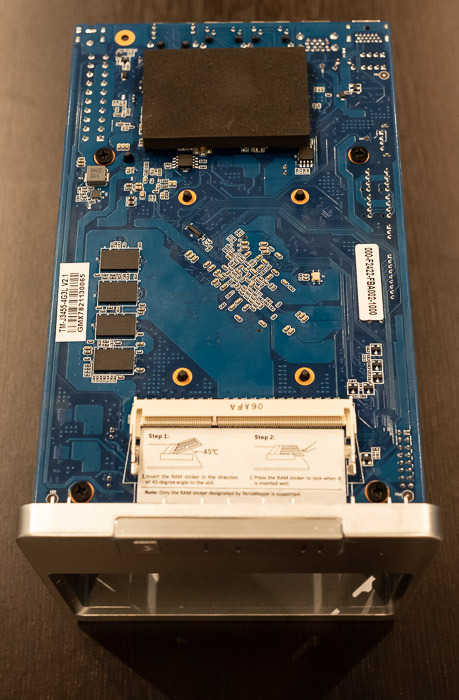
At the side, there is the empty DDR3 slot, Terramaster officially supports only their own DDR3L memory kits so be careful.

Looking at the other side we can see the distance from the main case that the two HDDs will be placed.

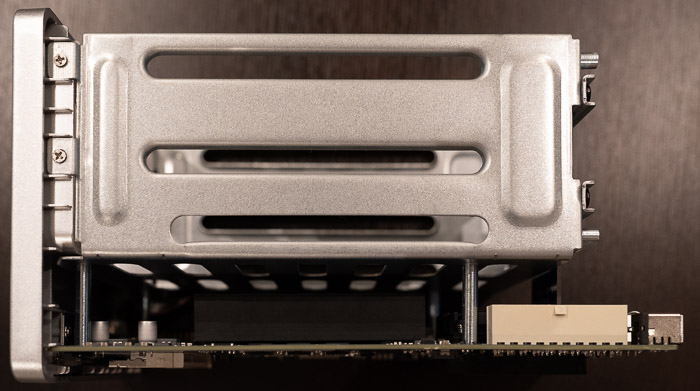
The board looks it has v2.1 revision
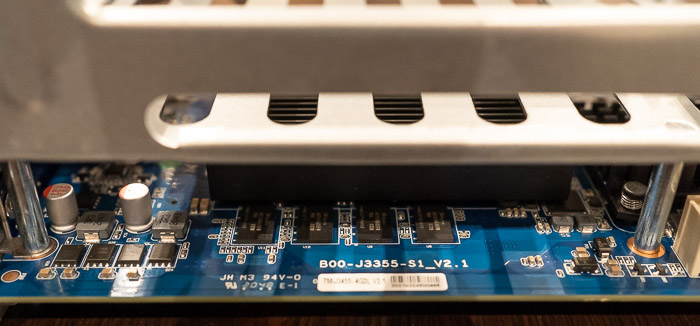
And users can find up to four (4) fan headers and an onboard USB with an already placed USB module.
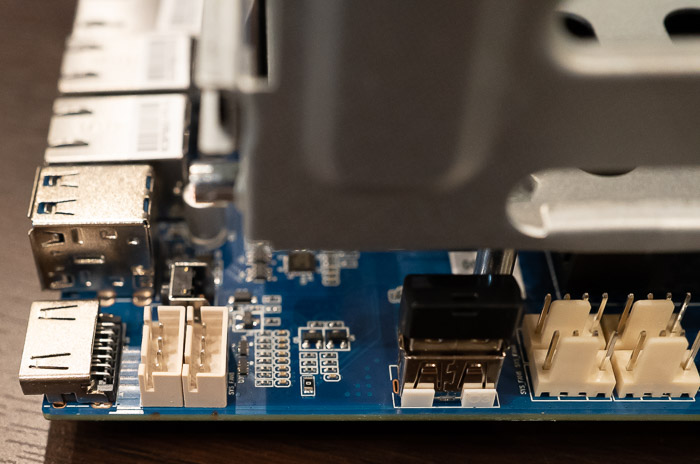
The USB stick module can be removed and probably be replaced with another one that has different operating system (like OpenNAS or Windows?)

In order to install HDDs, you need to unlock the slots, be gentle to lift up the plastic level and slide out the needed slots.

You need to install the 2.5"/3.5" SSD/HDD to the internal trays and then insert back to the NAS server. As a final step plug-in power and LAN cable.
- Powering up
After pressing the front button, the device might take some time to power up. Terramaster suggests to download their TNAS PC application either for MAC/Windows or Mobile device in order to setup the device. For our tests, we used a Windows based machine and the installation for the TNAS software is simple.

After loading the TNAS PC software, press refresh and it will look at the local network for TNAS servers. From there you can press the LOGIN and the initialization process will start:

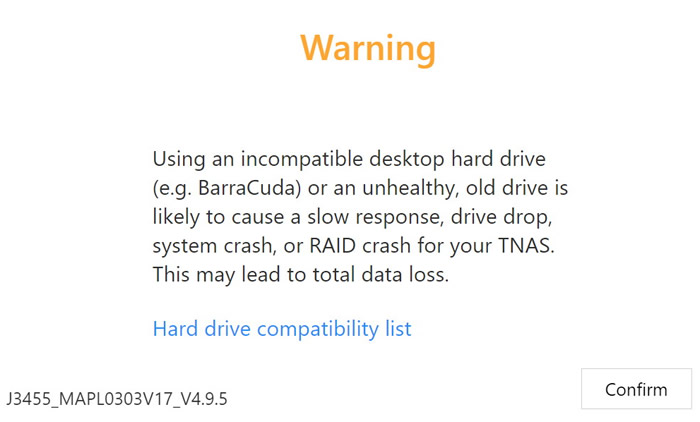
After confirming, the device will download from the Internet the latest TOS build

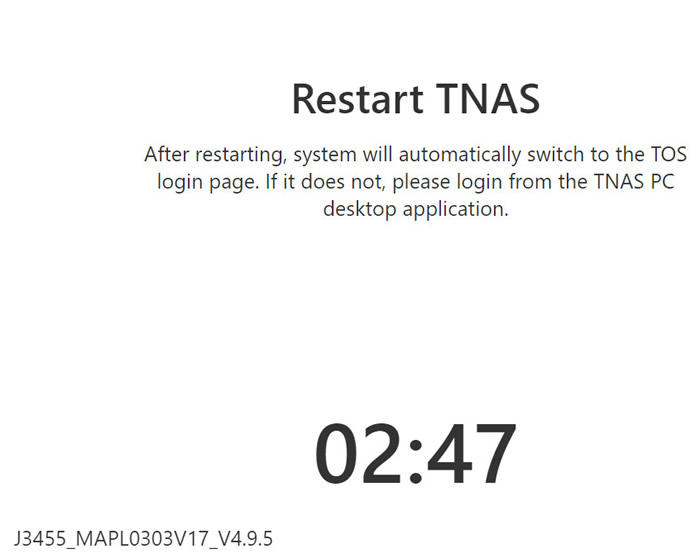
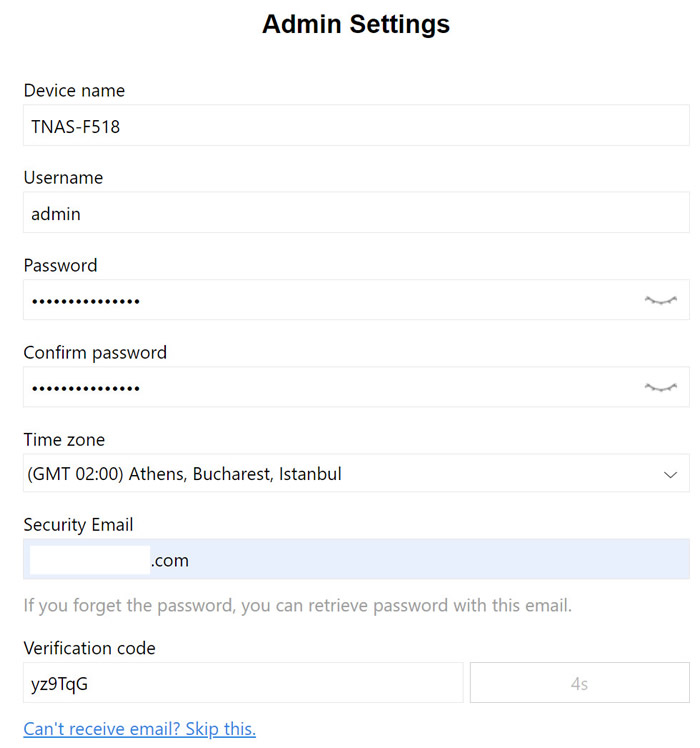
After restarting the serve, you have to set admin username/password
Then you have to select installed HDDs and select which type of data you prefer, RAID1/5/6/10 or without any data protection (only JBOD/RAID0/RAID1 are being supported with the F2-422 since it has only two HDD slots).

Then a volume will be creased, either in BTRFS or EXT4 file system

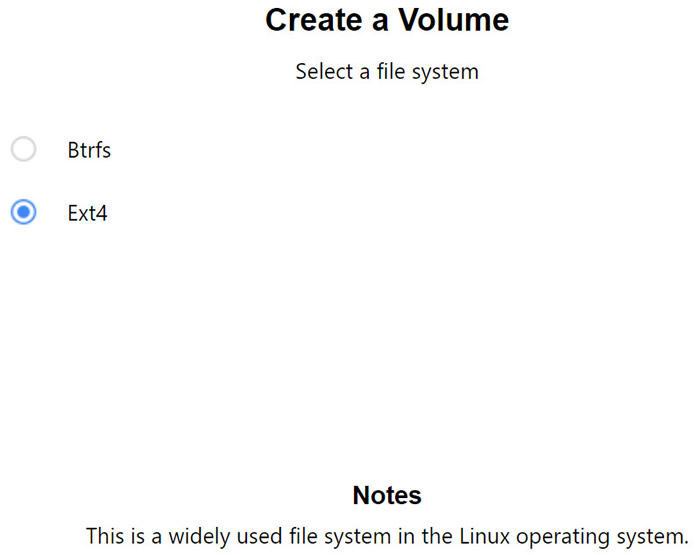
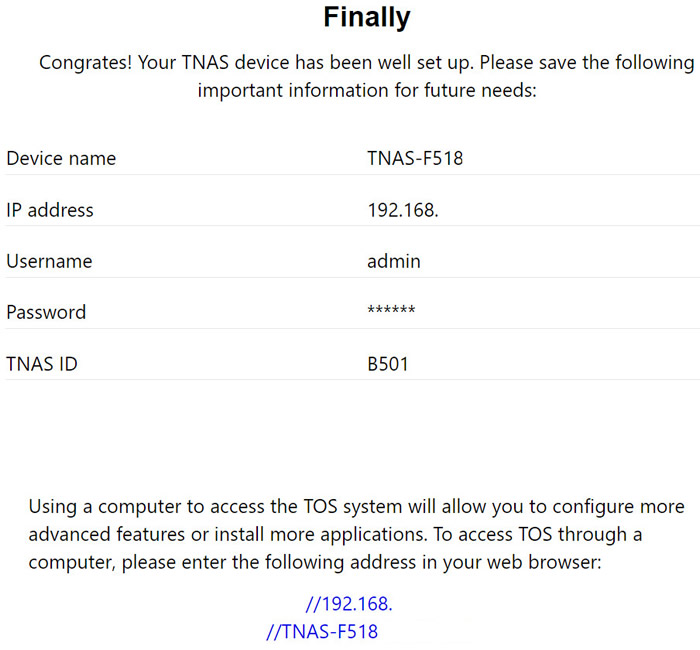
After the creation of the file system, you are ready to use your device:
Review Pages
2. Retail Package
3. Getting familiar with the TOS operating system
4. TOS System
5. Apps/Performance
6. Upgrade/Other operating systems
7. Bios
8. Conclusion


