Asus Xonar D2
3. Installation
The Asus Xonar D2 takes up one empty PCI slot. After installing and booting Windows, you will be prompted to install the drivers. Press cancel and use the Asus installer instead:

The driver installation procedure is simple, just keep pressing "Next >"

After rebooting, you are now ready to use your Asus Xonar D2 sound card. The control panel is simple but provides users with all the information and features:

Pressing the "Menu ^" button, you can configure various settings, like sample rate/channels,

mixer level settings for playback and recording,

environmental effects,

karaoke,

and FlexBass, which can boost the bass according to your setup.

The About Tab gives more info about the driver version


After we finished our tests, Asus provided an updated driver that fixed some of our initial problems with the sound quality.

- ASIO mode
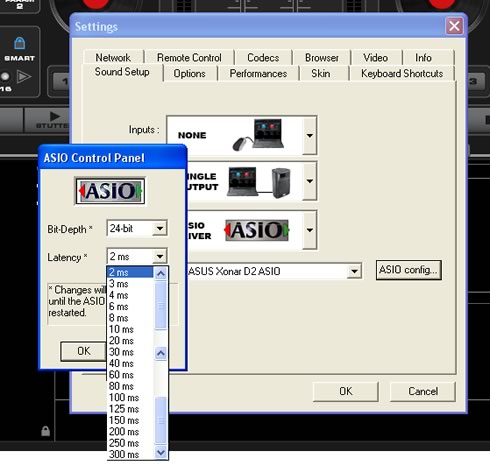
The Asus Xonar D2 supports ASIO mode, at least with Windows XP and the driver pack that comes bulked with the retail package. For our tests, we used the latest version of Virtual DJ which worked without any problems:

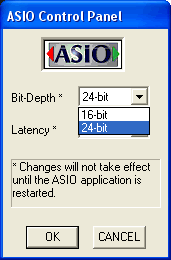
The ASIO bit-depth can be set to either 16 or 24-bit.

While Latency can go from 2ms~300ms. Obviously, 2ms is the lowest and best setting.


