be quiet! Shadow Base 800
3. Installation
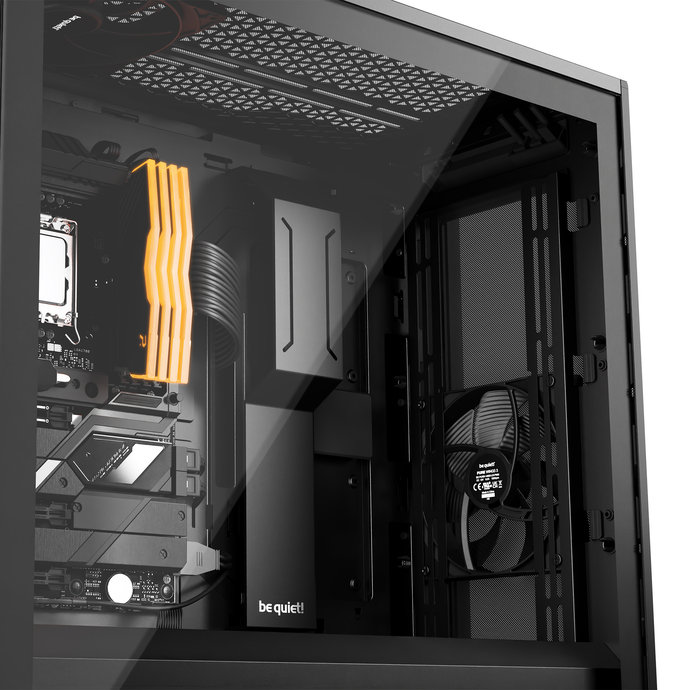
As happens with most be quiet! cases, there is a lot of room to work with and installation should be straight forward. The PSU area is easy to access and easy to insert/install your PSU. Keep in mind that using a modular PSU will help you remove unwanted cables, the less the better. As we mentioned, using the bottom HDD cage will limit the PSU to 260mm, which is plenty even for big wattages. The included PSU bracket has also sound-dampening material around it and of course it is metal. Remember to get all PSU cables installed before mounting the power supply.
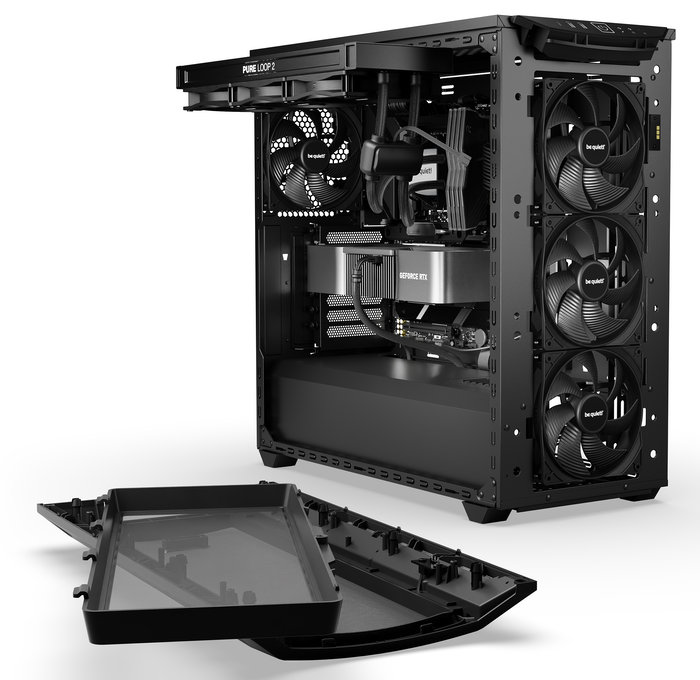
Next, you should install the motherboard and it was a perfect fit to get it hooked at the motherboard's pre-installed sockets, no problems here.

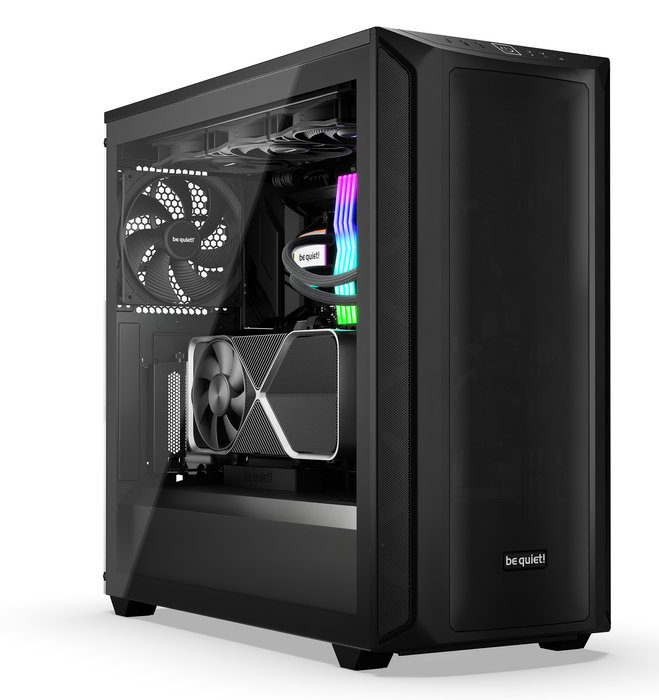
Then you need to remove the center bracket to pass through the 24-pin motherboard cable and other headers for the front panel. After that, you can use 2.5"HDDs if you want either in front or at the back of the panel. The installation of the Nvidia 4090 VGA card was easy since there was a lot of room in this case. We tried to tie up the back cables and with a little effort we closed both the front and back panels and we were set to go. This won't take much longer than 30-40 mins if you set up a brand-new system. Note that 5.25" ODD drives are not supported. It's advised to install all 3x 140mm fans at the front to have perfect airflow. At the top, you can install up to 420mm fan, and of course, be quiet! Pure Loop 2 is a great choice. If you prefer air cooling, there is space up to 180mm heightened CPU coolers that will cover even the most demanding users.
Here are some shots after having completed the system, a lot of space and great cable management. Note that with the Shadow Base 800 model, there is no LED at all in front or side areas.
