ONES - Simple AudioCD guide
2. Recording Using the Wizard
Review Pages
ONES_AudioCD - Simple AudioCD guide - Page 2
Recording Using the Wizard
This method is recommended for the first time or novice user.
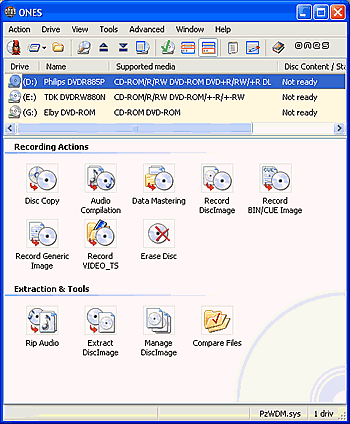
The screenshot above is what you'll see when you initially run the software.
 The
simplest way to record a disc is through the use of the software wizard. From
the main menu bar, choose the Action option, (the first option from the left),
and select the Wizard icon from the drop down menu.
Alternatively, select the icon located exactly below the the Action menu option, or press the keyboard shortcut Ctrl+W.
After selecting the wizard, the following screen appears:

Here, you have to define exactly what you would like to burn. In our example, we selected the second option to create an AudioCD compilation. We then pressed the Next button which brings up the next screen, shown below:
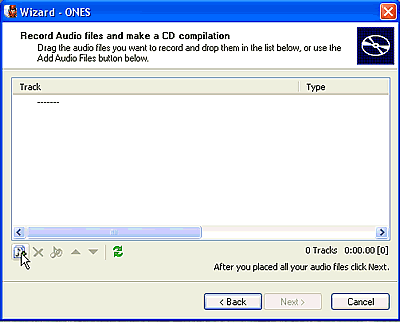
Select the the add audio icon located on the bottom left, (see mouse pointer above), to add the music files you want to burn. Selecting the icon brings up the following screen in which you have to locate your files.

As soon as you locate the appropriate folder that contains your music files, you'll have to choose which files you want to burn. After completing this task, press on the Add button.
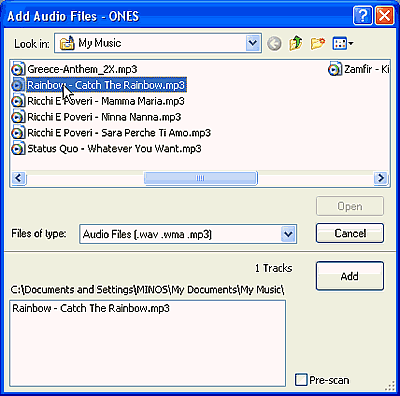

Your music complilation is now ready. Notice that all of your tracks will be converted to .wav files. If you wanted to burn a media with only compressed audio files such as MP3, then you should burn the MP3 files as data.
Now simply press the Next button.
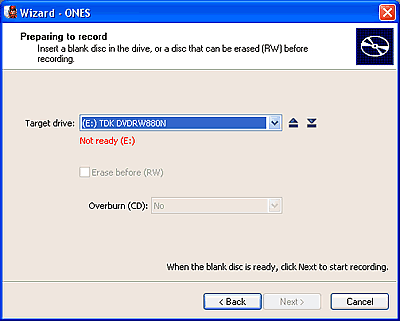
If you haven't already inserted a disc in the drive, you'll see the above "Not Ready" message (in red), located just under the target drive's name. Once a disc is inserted, you should see something like the following. If the indication message changes, as below, but is still red, then your disc is full.
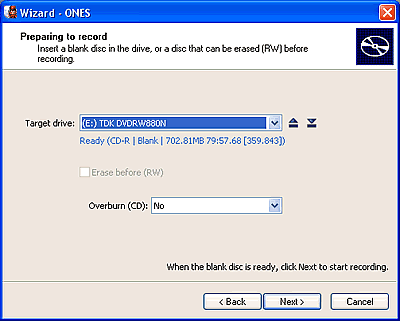
If for any reason you would like to change the drive you are about to use, then open the "target drive" drop down selection and choose the correct drive.

Before pressing the Next button, you can also choose whether to overburn your CD or not, knowing of course that your burner is capable of such an action. Otherwise ignore this and use the default setting ( No).
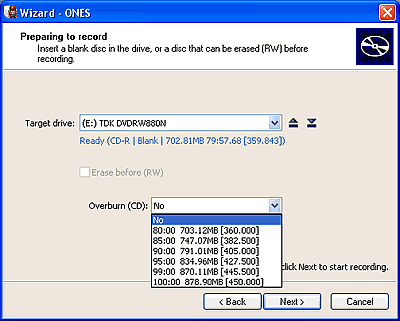
Make sure that you have configured all the appropriate settings, since after pressing the Next button and once the writing process begins, there's no way to go back...


Review Pages


