TerraMaster D5-300C Review
3. Operation
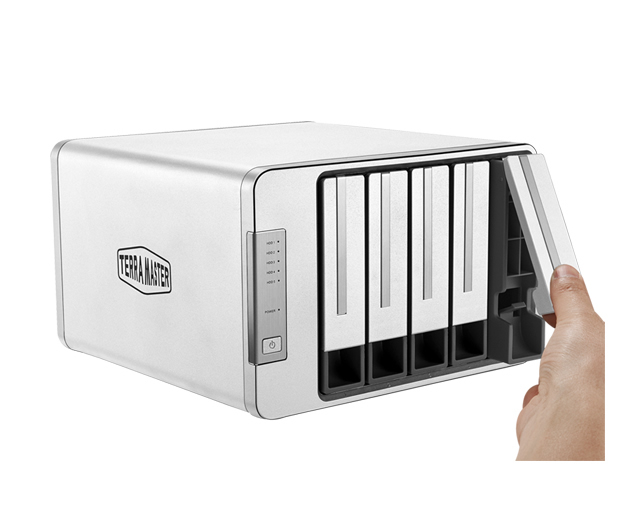
In order to install HDDs, you need to unlock the slots, be gentle to lift up the plastic level and slide out the needed slots.
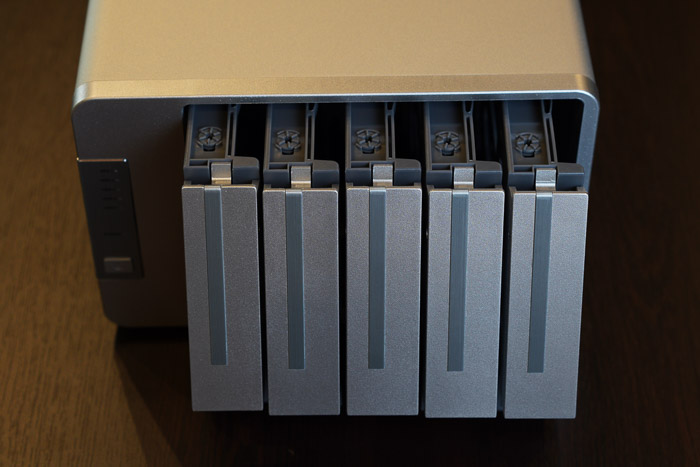
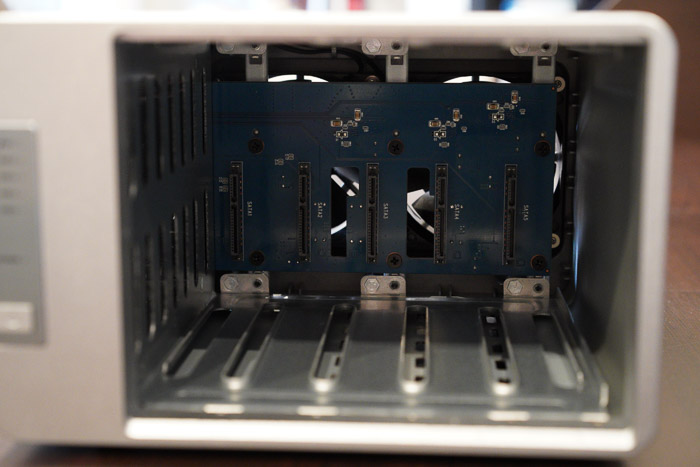
The device has 5 drive bays. HDD 1 and HDD 2 are RAID capable, while HDD 3, HDD 4, and HDD 5 are independent disks. You only need to set up a RAID array for HDD 1 and HDD 2. For HDD 3, HDD 4, and HDD 5, these do not require a RAID array.
We can see the five SATA ports that can be used from either 2.5" or 3.5" HDD drive.
The HDD slots have the needed information on where to place the HDD either in 3.5" or 2.5" format. The used material is hard plastic for all of them. The installation procedure again in reverse, you need to slide the tray inside and put down gently the front level. After that step, users have to connect the device with the included USB Type C to USB cable to either a PC/MAC system and press the front power button.
- Powering up
The device after connected to a PC system will immediately appear in the Device Manager as "TerraMaster".
Single Operation HDD (HDD1 up to HDD5)
The default factory mode for your device is SINGLE mode. In SINGLE mode, every hard drive displays a different drive and works independently. If you install a hard drive with data and want to use SINGLE mode, you can simply start using your device without changing any settings (provided that its properly formatted).
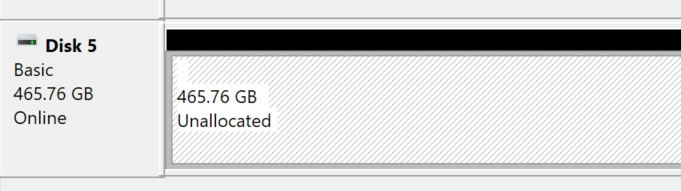
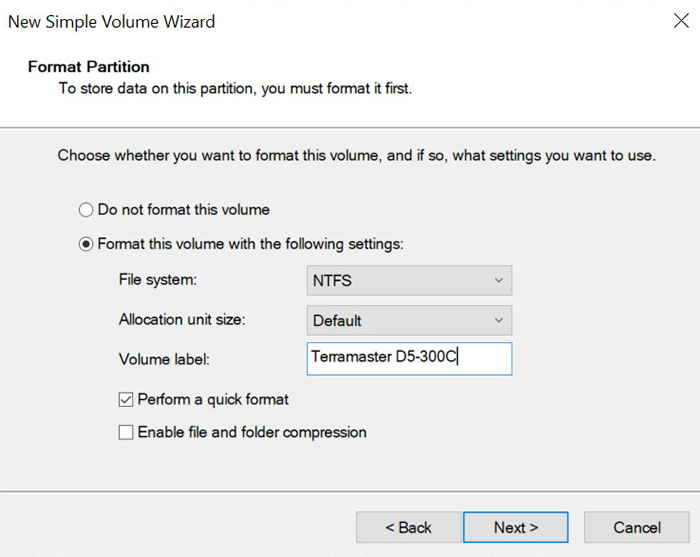
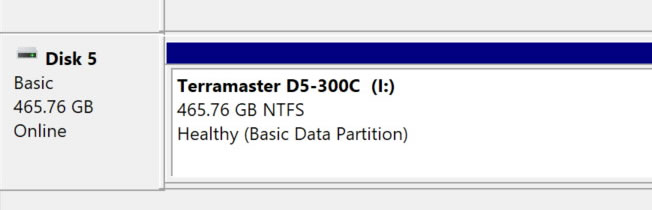
If you are installing a new hard drive, as we did, you have to format the HDD and initialize it. In our tests we used a Crucial MX500 500GB inserted in the HDD1 slot. The HDD will appear in the Device HDD manager and from there you can format the HDD.
Let now perform some basic tests. There is a performance penalty after connecting the SSD to the external box (due to USB protocol):

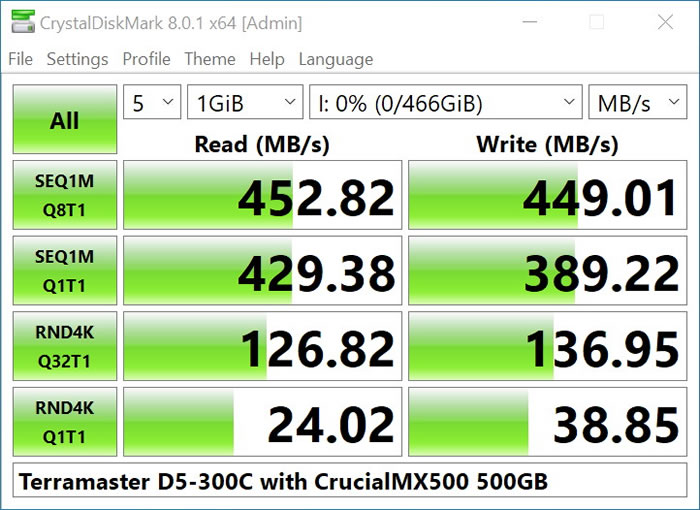
As we can see there is some difference in all performance results. Terramaster claims up to 410Mb/sec reading/writing, we got better performance. Perhaps if the used chipset/interface was TypeC 3.2Gen 2X2 we could have even higher performance compared with the internal SATA port.
Even all the HDD1 up to HDD5 are claimed to be hot swappable (meaning you can eject the drive while the system is in operation), Terramaster suggests the opposite:
- Do not remove your hard drive while it is being accessed;
- This device does not support hot swap. Therefore, before you replace a hard drive, please safely eject the device from your computer every time.
- Before you turn off your device or disconnect it from your computer, be sure to remove it and eject it safely. Otherwise, there is a risk of data loss;
- When you turn off your computer, hibernate your computer, eject the USB device, or remove the USB connection, the device will automatically enter hibernation; When you access the hard disk or connect the USB device again, the device will cancel hibernation.
RAID O/1 Operation
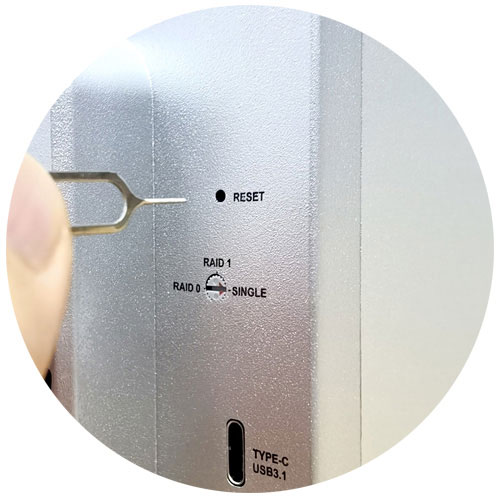
In order to use the device with such working mode you have to first to use at least two (2) identical HDD/SSDs to the HDD1/HDD2 slots. Afterwards you have to select the working mode at the back panel at the RAID switch (rotate to switch RAID mode)
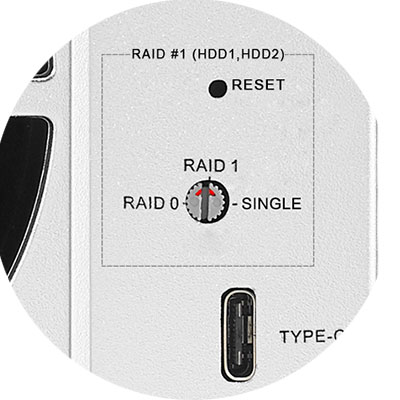
AND you have to press the Reset button (Press and hold for 5 seconds to let the newly-set RAID mode take effect) with the included pin tool (the HDD indicators turn to red from green). Note when you press and hold the reset button for 5 seconds, the data on your hard drives will be deleted. Therefore, please proceed with caution; After about 1 second, the HDD indicators will turn to green from red, indicating that the newly-set array has taken effect
Note that you ONLY can use the HDD1/HHD2 for RAID purposes, while the rest slots (HDD3/HDD4/HDD5) will be used only (and appear to the system) as Single drives.
After have connected the device, go to the HDD Device Management and again initialize the HDD and automatically the Terramaster D5-300C will operate either in RAID1 or RAID 0 mode. Lastly, the device supports hot spare disk feature. Once you have created a RAID, all the independent drives will be treated as hot spare disks. Once your RAID has a hard drive failure, the independent drive will be added to the RAID as a spare disk, and all data on your independent drive will be lost. Do not store data in the independent drive.
Some tips from Terramaster for all users:
- My computer won’t recognize the hard drive, and no drive letter appears?
- If the hard disk indicator is green, go to Windows Disk Management to initialize the hard drives, or use the MAC disk utility to erase the external device;
- If the hard drive indicator is off, please confirm whether the hard drive is installed properly. Remove and insert the hard disk to try again.
- If the hard drive indicator is orange, the hard drive may be faulty. Please replace your hard drive.
- The speed is very slow, and sometimes it even gets interrupted?
- Use the original USB cable or replace your USB cable and try again;
- Check if the source is slow.
- Check whether you are using a USB 3.0 / USB 3.1 high-speed interface. Change a computer's USB port and try again;
- My device randomly disconnects from my computer. What can I do?
- Change a computer's USB port and try again;
- Use the original USB cable or replace your USB cable and try again;
- Make sure the connection is not being influenced by a USB hub or docking station;
- Reinstall the official USB interface driver provided by the computer manufacturer;
- Replace the hard drive and try again;
- Failed to create a RAID?
- After the RAID is created, if the hard drives cannot be initialized in Windows Disk Management, or the external device cannot be erased in Mac Disk Utility, the RAID has not been created successfully. The following steps should thus be taken:
- Rotate the switch’s pointer to SINGLE mode;
- Press and hold the reset button for about 5 seconds (until the HDD indicators turn to red from green);
- After about 1 second, the HDD indicators will turn to green from red. Rotate the switch’s pointer to your desired RAID mode;
- Press and hold the reset button for about 5 seconds (until the HDD indicators turn to red from green);
- After about 2 seconds, the HDD will indicators turn to green from red. RAID creation is complete.