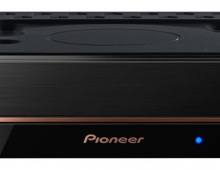
Pioneer DVR-320-s DVD Recorder
3. Control Menu
Review Pages
2. Packaging & Interior Look
3. Control Menu
4. The Tuner menu
5. The Video In/Out Menu
6. The Audio Out menu
7. The Language menu
8. The Recording menu
9. The Playback menu
10. Reading Tests
11. Compressed Audio Performance
12. Making a recording
13. Recording Options
14. Advanced Features - Page 1
15. Advanced Features - Page 2
16. Editing and Finalizing a DVD-Video Disc
17. Writing Quality Tests
18. Error Correction Tests
19. Conclusion
Control Menu
By turning on the player, we don't see any kind of welcome screen, but instead the DVR-320 waits for a command from the remote control. By pressing the "HOME MENU" button on the remote, we are presented with the main menu of the DVR-320, where we can do many different tasks like configuring the unit, set up the recording timer, use the Photoviewer to view photos stored on a CD/DVD, perform adjustments on the video and audio quality etc.
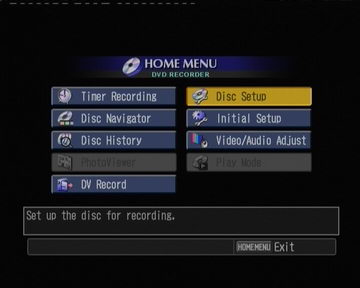
Let's see the Initial Setup menu in detail.
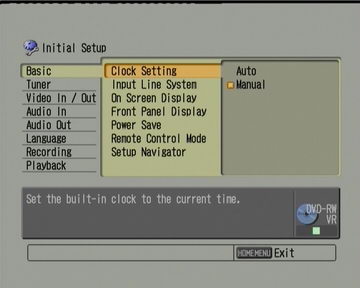
The Basic menu
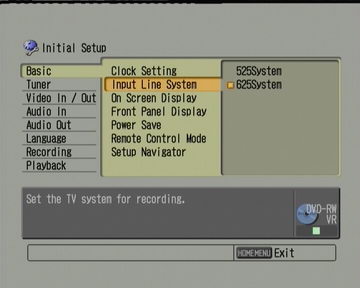

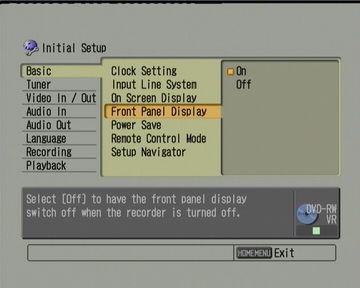
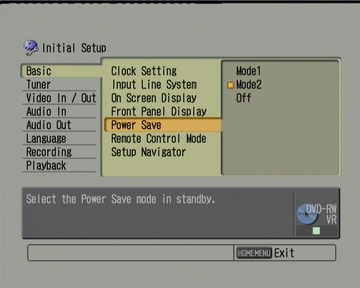

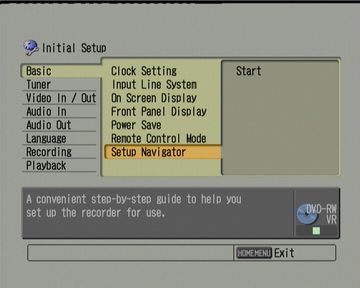
We continue with the Tuner menu
Review Pages
2. Packaging & Interior Look
3. Control Menu
4. The Tuner menu
5. The Video In/Out Menu
6. The Audio Out menu
7. The Language menu
8. The Recording menu
9. The Playback menu
10. Reading Tests
11. Compressed Audio Performance
12. Making a recording
13. Recording Options
14. Advanced Features - Page 1
15. Advanced Features - Page 2
16. Editing and Finalizing a DVD-Video Disc
17. Writing Quality Tests
18. Error Correction Tests
19. Conclusion

