Shuttle SH55J2 review
3. Internal
Opening the case is very easy since just three thumbscrews are keeping the external aluminum case in position. Of course, a philips screwdriver is essential in order to install the rest of the components. The SH55J2 is offering enough free space inside, since the device is a little bit larger in size compared other Shuttle boxes we have tested in past.
There are two more screws left to access the internal by removing the drive bay:
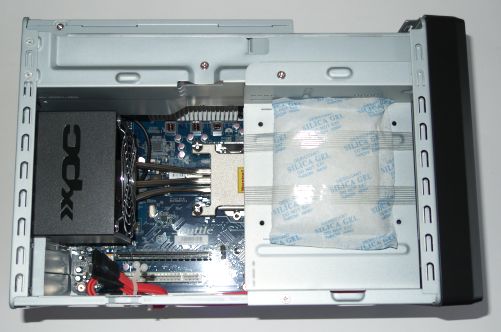
Moving south, we can see that the SATA cables are pre-installed. There are also two SATA 2 3GB/sec ports available in case you need them:

The installed power supply is rated at 300 Watt rated and carries the 80Plus bronze certification (efficiency). Two +12V rails with 16A are available. These are enough to power up three optical devices and a mid-range graphics card:

Below you can see the internal of the device with the drive bay removed:


The motherboard has four memory banks where you can install 4 GB per DIMM, resulting to a total size of 16 GB of memory - more than enough for most users. The system supports DDR 800-1066 and 1333 memory speeds with an optional DDR3-1600 under overclocking mode, according to the specifications:

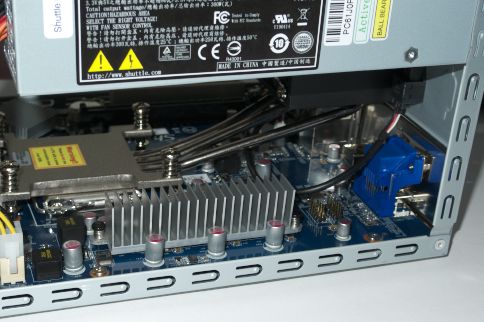

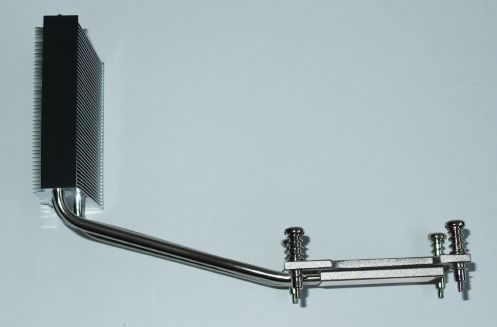
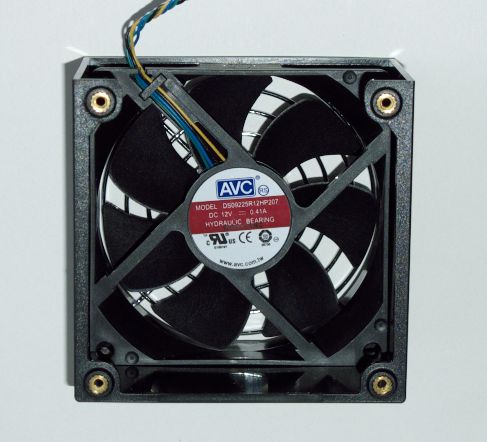
Four screws are keeping the installed thermal system in place. The thermal system is what we have seen in the past from Shuttle. A a copper base and three aluminum heatpipes transfer the produced heat to the rear side of the device, where a 92mm fan is responsible for cooling things down. The specific thermal system should be efficient enough for most users. Due to the design of the case, there are not many other aftermarket CPU coolers we could think of using after all.
Shuttle has included anti-vibration silicon at the fins to reduce the overall noise, and we must admit that it works pretty well.

Below you see a clear view of the rear side of the motherboard, with the cpu cooler removed:


