Shuttle SH55J2 review
4. Installing the components
Review Pages
2. Opening the package
3. Internal
4. Installing the components
5. BIOS setings
6. Overclocking
7. Final words
So what we need to have the system up and running? Probably just three components, a cpu, memory and a hard disk drive. For our tests, we used an Intel Core i3-530 processor and 2x2GB DDR3 memory by G-Skill:
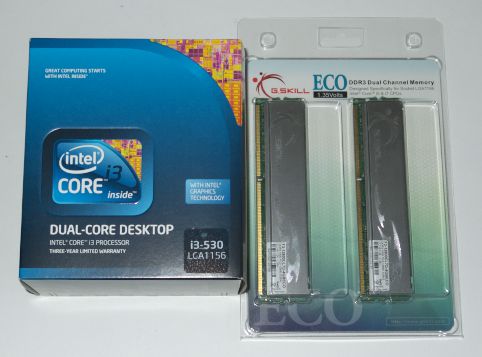
The CPU should be handled with care and carefully put in place. There is only one direction you can install the CPU so you cannot make any mistake here:

Apply some thermal paste (included) and secure the Shuttle CPU cooler. It is advised to follow the X rule here to have the best results, meaning screwing diagonally:

Installing the memory modules is also easy since they are properly colored:
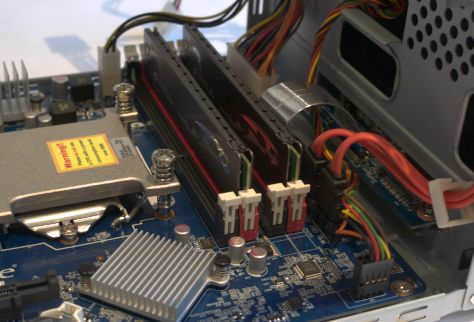
Before getting into the storage area, you need to arrange the SATA cables in order to easily reach the devices:

Installing a HDD and an optical device should be also very easy. The case is offering enough and properly placed holes for the installation screws you may need. The next step is to plug the SATA and power cables to the installed devices:

There is a lot of free space left between the SATA and ODD drives:
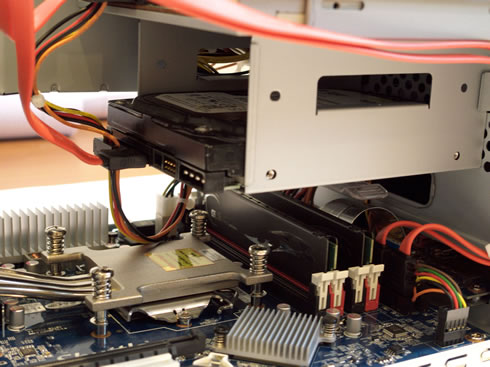
Here is a top view of the device:

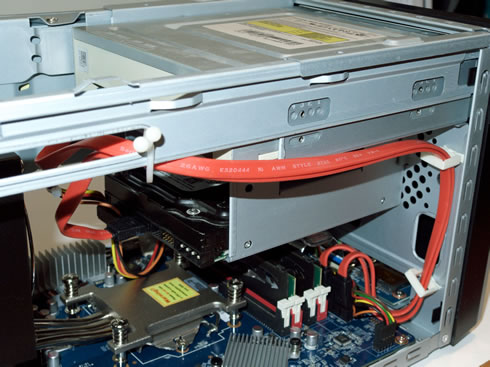
As you can see in the picture below the SATA cables are already fastened on the case with plastic bands so you may find it hard to make them reach the installed SATA device. So you may need to cut the plastic band and possibly fasten the SATA cables on the case again in a more convenient position:

Finally our system is ready to use:
Review Pages
2. Opening the package
3. Internal
4. Installing the components
5. BIOS setings
6. Overclocking
7. Final words


