TerraMaster D5-300C Review
2. Retail Package
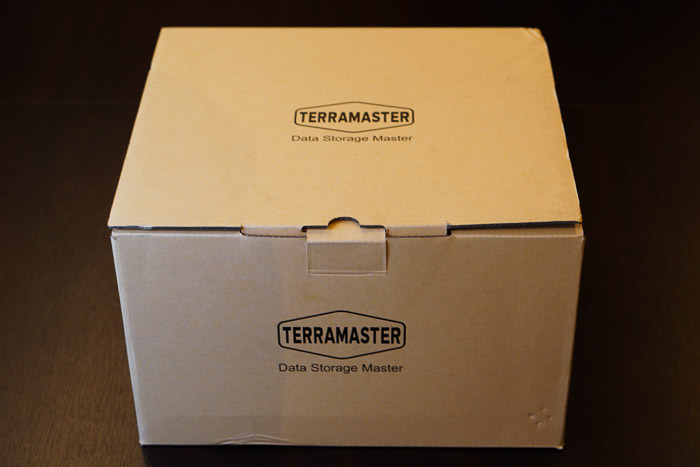
The Terramaster D5-300c comes in a large box with a minimal design and the needed specs printed at a side sticker. The version we tested costs around 199 Euro as found over Amazon.com / Amazon.de / Newegg. The box is big and rather heavy:
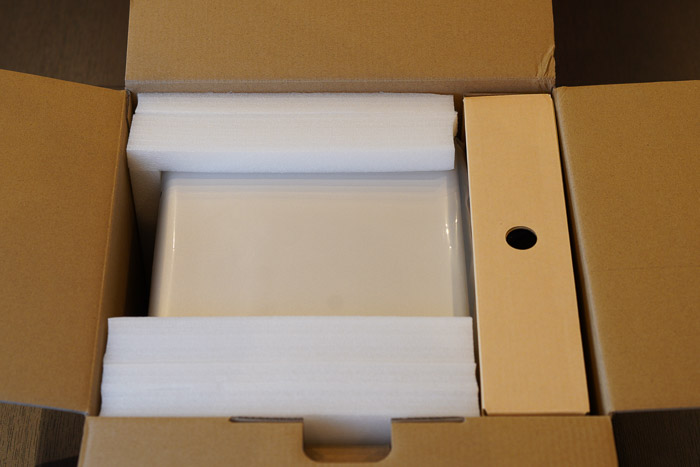
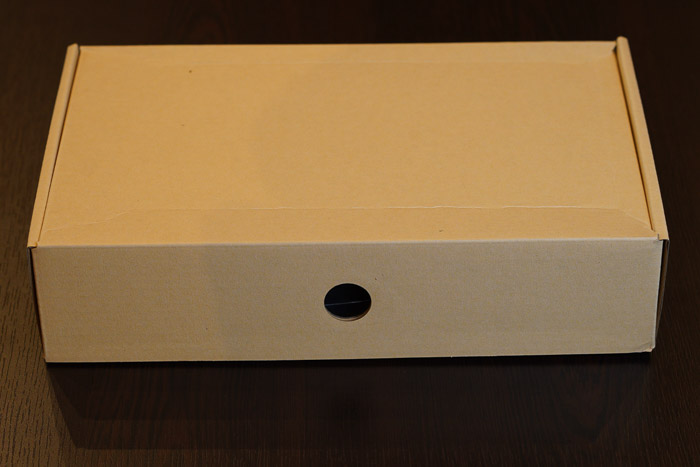
At the side users will find product information and part number. The chassis is well protected and placed next to another cardboard box that includes the rest of the accessories. Opening the box, we will find the package contents:
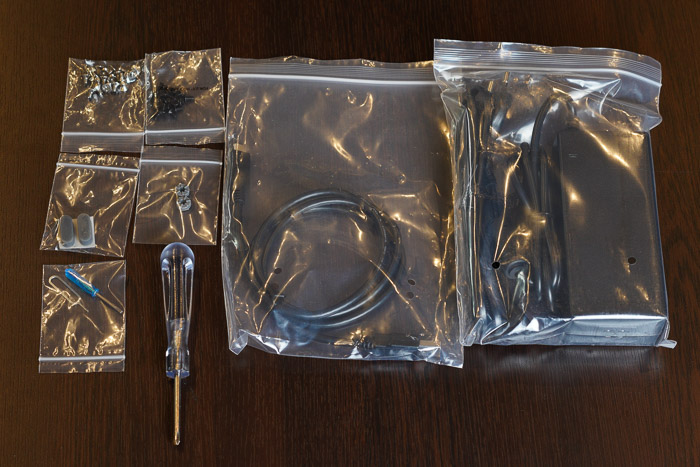
Unpacking the contents, users will find
- TDAS device x 1
- Power adapter x 1 (12.0V- 7.5 90Watt output specification)
- Power cord x 1
- USB Type-C cable x 1
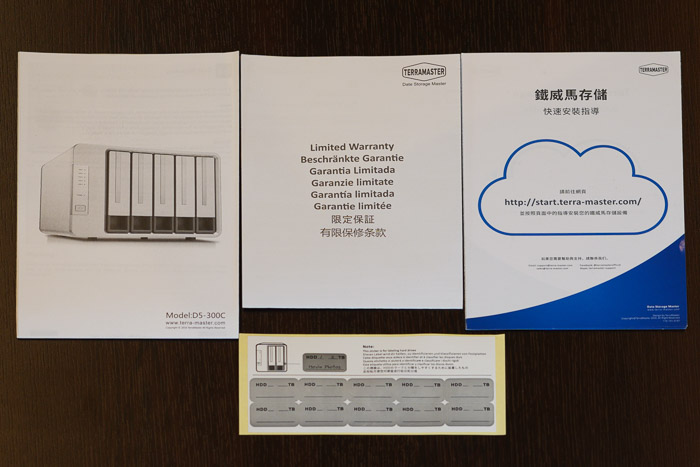
- Quick guide x 1
- Limited warranty notice x 1
- A handful of screws x 3
- Screwdriver x2 + pin tool
- extra rubber pads x2
In case you register your product with Terra-Master you get additional 6-month warranty (2 years + 6months).

In order to get the NAS server running of course you need either 3.5" or 2.5" HDD/SSD drives. Terramaster lists several drives certified to work, users should visit this page to get more information. In short, Terramaster lists Seagate, Samsung, Sandisk and WD Red SSD drives, while for normal HDD, suggests Seagate Barracuda Pro, Exos, Skyhawk, Ironwolf/Ironwolf Pro and WD Red/Red Pro, Purple, Gold, Surveillance and Toshiba NAS N300 series. Of course other HDD may work, but make sure the used drive is built for NAS use, else your data may be in danger.
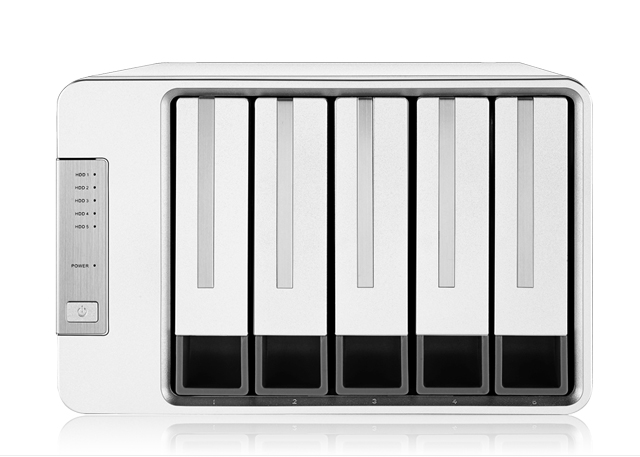
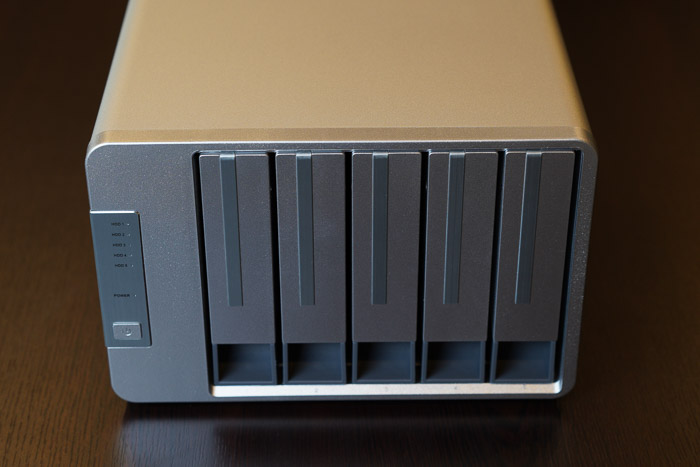
The product has big dimensions (227 x 225 x 136 mm) and weights around 2.10kg without any drives installed. The material used is aluminum and gives a good overall aesthetics and feel to the product.
At the front users will find five (5) slots for inserting HDDs. At the left area there is the power button and several led indicating how many drives have been installed and the operation of the system.
| Hard drive indicator | Red: Faulty |
| Hard drive indicator | Orange: Restoring data |
| Hard drive indicator | Blinking green: Reading or writing |
| Hard drive indicator | Off: No hard drive (or in sleep mode) |
| Power indicator | On: Powered on |
| Power indicator | Off: Powered off |
| Power button | Short press to power on |
| Power button | Press and hold for 3 seconds to power off |
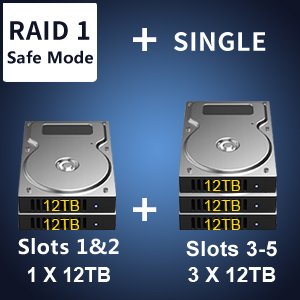
At the side there is the Terramaster logo and a sticker how to use the RAID 0 / 1 of the device.

More information is shown below
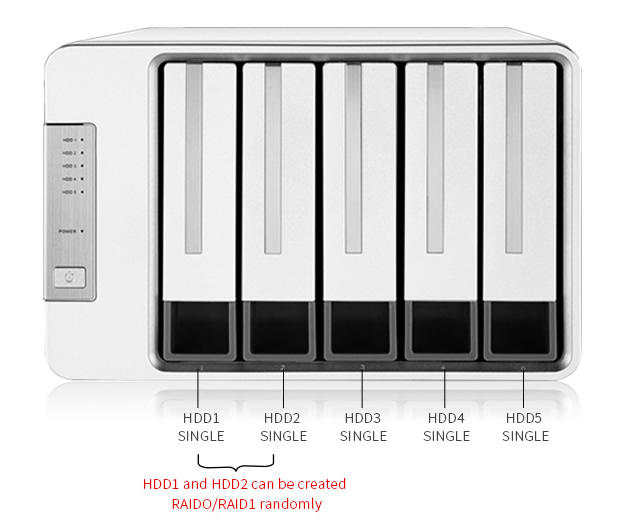
The HDD1 and HDD2 slots can be used for either single or RAID 1 (mirror) or RAID0 (speed) and the rest three HDDs (HDD3, HDD4, HDD5) can only be used as Single drives.

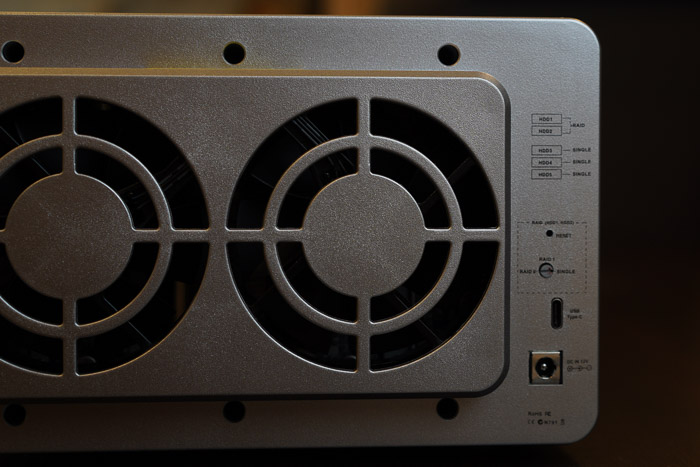
At the back, we will find two 80 mm x 80 mm x25mm fans, along with one TypeC 3.2 Gen 1X1 ports and the power jack.

Before start using the drive, we recommend to read the online guide from Terra-Master that explains the install process and the general operation of the unit.