Terramaster F2-422 NAS Server
6. Upgrade/Other operating systems
Review Pages
2. Retail Package
3. Getting familiar with the TOS operating system
4. TOS System
5. Apps/Performance
6. Upgrade/Other operating systems
7. Bios
8. Conclusion
Since the Terramaster F2-422 is based upon Intel platform for sure it can be upgraded and perhaps even installing a different Operating system for users to experiment. In our case we decided to do both. First, we upgraded the onboard memory. Since we had read reports of "normal" DDR3 memory being compatible we took our chances and we installed an Crucial 8GB DDR3L 1600Hz CL11 1.35V memory module with part number CT102464BF160B.
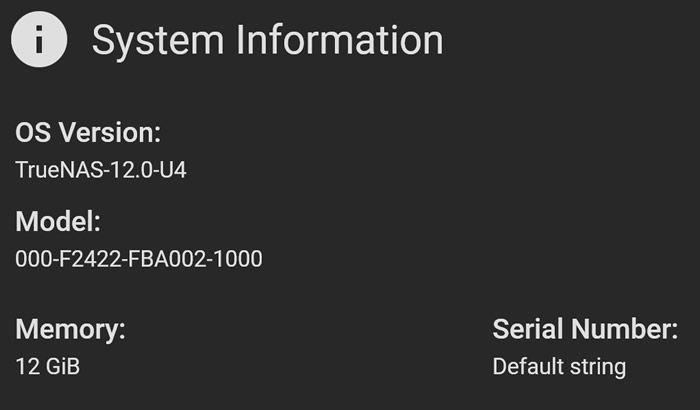
For installing the memory module you have to unscrew four (4) screws at the back with the included screwdriver. After that you will pull towards you the fan case and detach the power fan cable from the main motherboard. Then you pull the entire case out of the box. Then you have four more screws that hold the motherboard to the case to remove and then you can gently pull up the board and install the memory kit. Put all things back together and... our device reported that it had 12GB of DDR3 ram on board, great success. That wasn’t so hard after all.


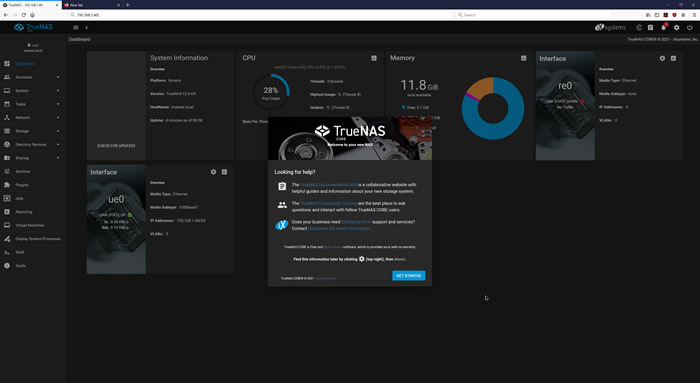
The next step was to try to install other operating system on the case like FreeNAS (which now is called TrueNAS). There are more FREE NAS operating system, more details here.
This may require several more steps but nothing hard. For sure you need a second USB flash drive either internal or external. For our tests we removed the default stock USB flash drive that includes the TOS operating system. We used a Samsung FitPlus 128GB low profile USB stick. Since there isn't much space, you have to use low profile USB sticks at the internal USB header. There are lots of info at various pages like here, here and here. The whole process also requires another USB flash drive that will used to boot the installer and afterwards we will transfer the TrueNAS into the inside USB drive. To get into the BIOS of the device you need to connect mouse/keyboard and press DEL during the boot process.


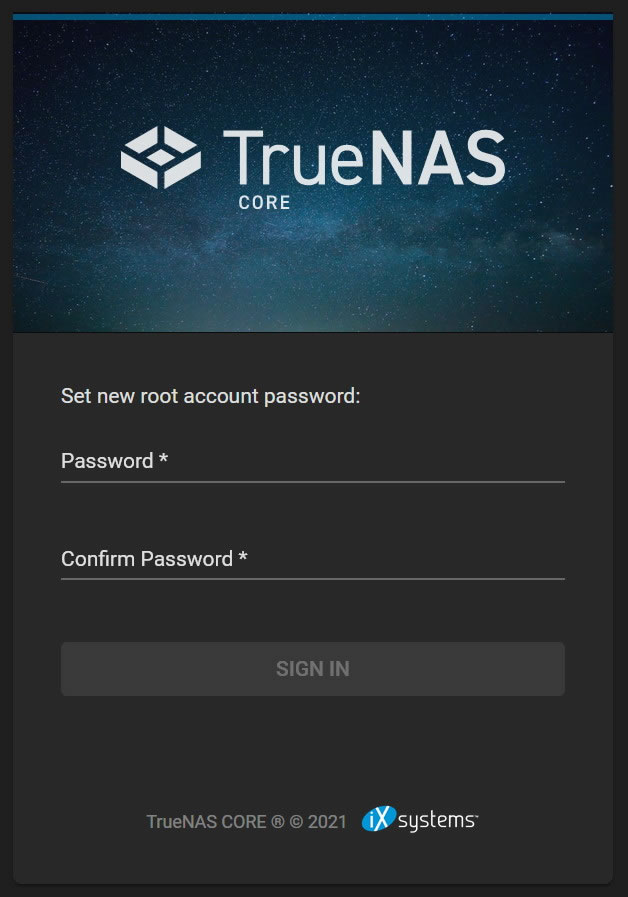
After the first boot, the TrueNAS will be loaded from the Internal USB drive so you can start the setup process:

Review Pages
2. Retail Package
3. Getting familiar with the TOS operating system
4. TOS System
5. Apps/Performance
6. Upgrade/Other operating systems
7. Bios
8. Conclusion

