Vantec NexStar 3 eSATA
2. Installation
Review Pages
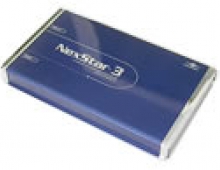
The installation process is quite easy and no special skills are required to setup the NexStar 3 (NST-360SU-BK). You will need a 3.5" SATA Hard Disc Drive since this is not included in the package. For our tests, we used a Serial ATA Western Digital 300Gb HDD.
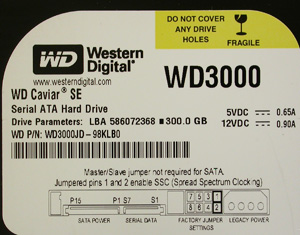 |
| the WD3000 we used... |
To open the NexStar 3, you have to remove the back plate, which has the connections and the power button on it. The back plate is not initially screwed on to the case and simply pops out. There are two screws included in the package so you can screw the back plate on after the installation of the HDD.
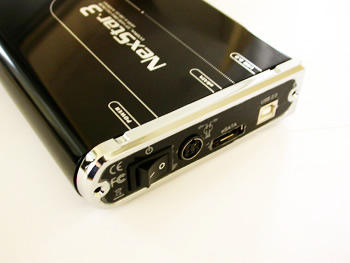
After removing the back plate, you'll have to mount the HDD onto the drive caddy. Connect the SATA drive to the SATA/Power Cable.
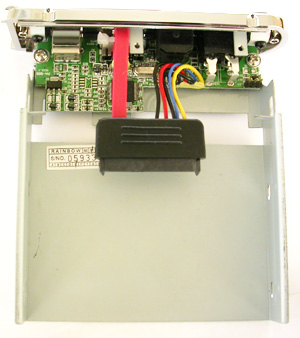 |
| the drive caddy... |
 |
| the WD3000 connections.... |
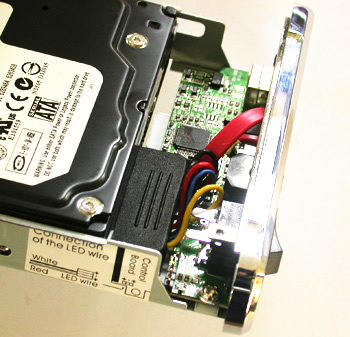 |
| the drive connected... |
In order for the HDD to sit firmly and properly in the drive caddy, you have to screw it on. The picture below shows the screws, which are located on the sides.

Insert the drive caddy into the aluminum case and connect the LED cable before closing the unit.

And don't forget the screws...

Connect the USB cable or the eSATA cable to your PC, then the external power supply and you are ready to roll. Turn on the power button and your system should automatically recognize the NexStar 3. In the case that it is not recognized by the Operating System, you can install the drivers found on the drivers CD included.

Review Pages


