Vantec PSU
3. Installation
The installation of the ION 2 Power supply unit was easy and the time needed from putting in the first screw to pressing the power button was only a few minutes.
First of all, we removed the old PSU from our test PC and put the ION 2 in its place...
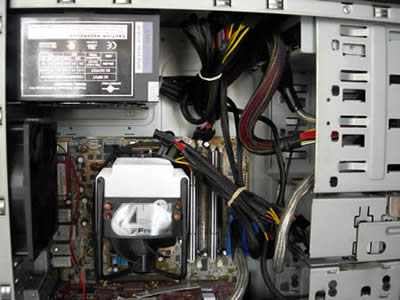
No difficulties until now, as only some screwing and unscrewing was needed. Ensure that the PSU seated correctly and installed firmly in the case (this may vary depending on the case).
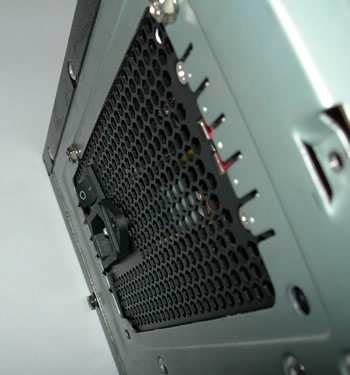
When installed in our PC case, the PSU fan is located on the bottom of the PSU, facing the motherboard. The fan draws air from the case, blows it across the PSU components and out the perforations at the rear.
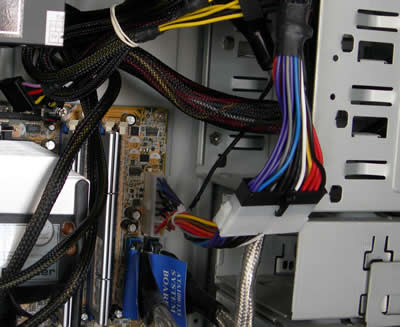
We then installed the Universal adaptor, in order for the 24 pin cable to plug into our motherboard which has a 20-pin connector. This adds a few cm of extra cable inside the case though.
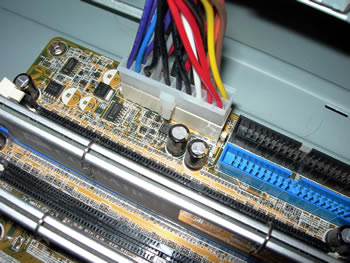
The connector firmly placed on the motherboard...
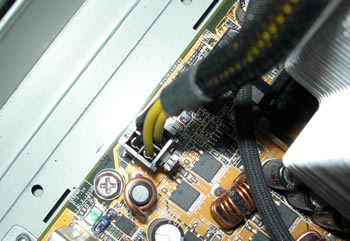
Next step was to plug the 4-pin power cable onto the motherboard.
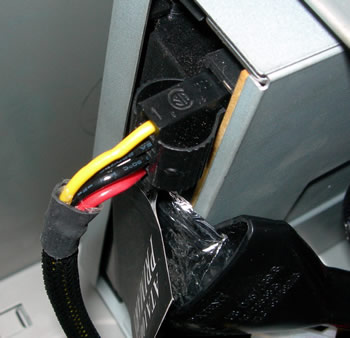
And finally, we plug in the molex cables to each device. We installed the cables from top to bottom, starting with the DVD drive...
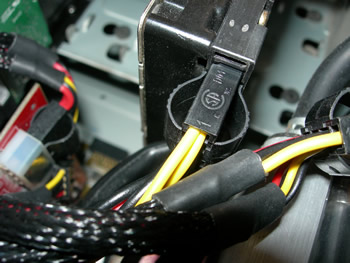
..moving on to the HDD drives, and finally the GPU card.
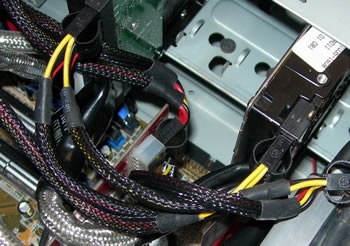
As one may notice here, the cables cause a bit of a clutter, due to the nature of the the layout of components in the case. The test machine was an AMD 3500+ CPU with an ASUS A8N deluxe (AGP 8x) motherboard, an ATI X800 graphics card, two hard drives and an optical drive.

The case used was a HEROICHI MIDI TOWER PRO. The pre-sleeved cables do make a difference though, and airflow is not restricted as much as it would be with standard cabling (no sleeves).


